Installing wire shelving is straightforward with the right approach. Most units assemble without tools using split-sleeve connectors and clip-on shelves.
Tools and Materials You Need
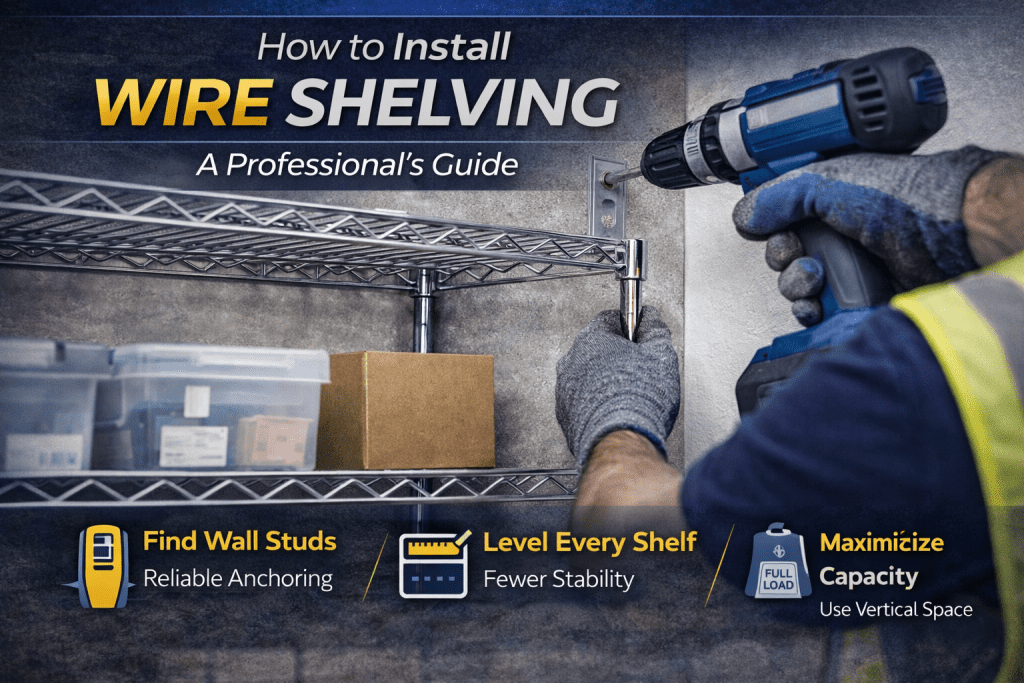
Installing wire shelving requires the shelving components (posts, shelves, and clips), a rubber mallet, a level, and a tape measure. For wall-mounted units, you will also need a drill, wall anchors, and mounting brackets. Most wire shelving systems are designed for tool-free assembly using split-sleeve connectors.
Step-by-Step Assembly
Start by inserting the leveling feet into the bottom of each post. Place the bottom shelf clips at the desired height on all four posts. Set the first wire shelf onto the clips and tap it into place with the rubber mallet. Repeat for each shelf level, working from the bottom up. Check that the unit is level and plumb before loading.
Tips for a Stable Installation
Place the unit on a flat, level surface. If the floor is uneven, adjust the leveling feet rather than shimming with cardboard or wood. For tall units (over 72 inches), secure the top to the wall with a stabilizing bracket. Do not exceed the per-shelf weight rating, which is typically 300 to 800 pounds depending on the shelf width and gauge.
Common Mistakes to Avoid
Do not skip the leveling step or assume the floor is flat. Unevenly loaded shelves can cause the unit to lean or tip. Make sure all clips are fully seated before adding weight. If using casters instead of leveling feet, lock all four wheels before loading inventory.