
Home › Wire Shelving › How to Install Wire Shelving
How to Install Wire Shelving
Step-by-step assembly: identifying parts, how the tapered-sleeve system locks shelves in place, squaring the unit, adding shelves later, going mobile, and anchoring for tip-over prevention.
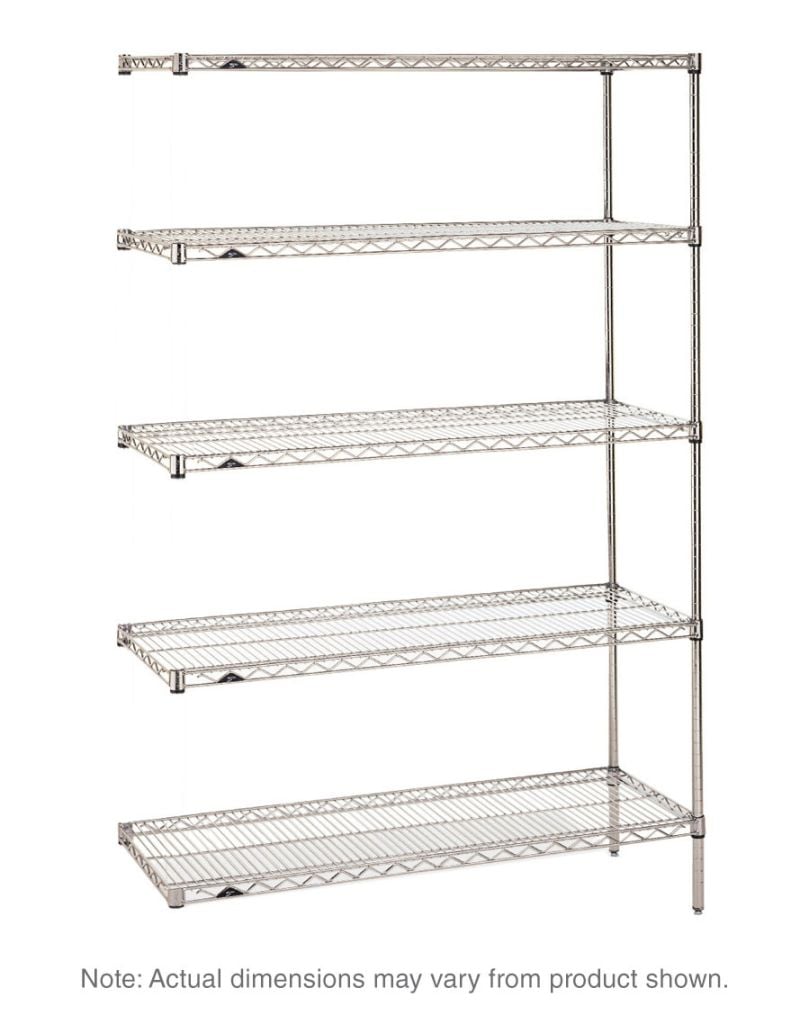
4 posts
Per standard unit
1 in.
Groove spacing
15-30 min
First assembly
1 tool
A rubber mallet
Assembly Is Easy: Square, Level and Anchored Is the Part People Miss
Adjustable wire shelving goes together without a bolt: four posts, two-piece tapered sleeves, and shelves that lock down under their own weight. A first unit takes under half an hour.
What goes wrong is rarely the assembly. It is sleeves set a groove apart so the shelf rocks, a unit built flat that never came back to square, a mobile unit loaded to its stationary rating, and a tall narrow unit that was never anchored.
This applies to any post-and-sleeve system. Still picking sizes and finishes? Start on our wire shelving page.
Tools and Site Prep
- Rubber or dead-blow mallet, tape measure, level, and gloves, plus a stud finder and drill/driver for anchoring.
- Never a steel hammer: it chips chrome and epoxy and starts corrosion at the strike mark.
- Clear floor space about twice the unit footprint, and sweep it. Grit under a foot becomes a wobble.
- Check finished height against ceilings, sprinkler heads and door openings before you build.
- Still sizing the run? Our shelving designer helps plan post heights, shelf counts, and bay widths before you order parts.
Unpack and Identify the Parts
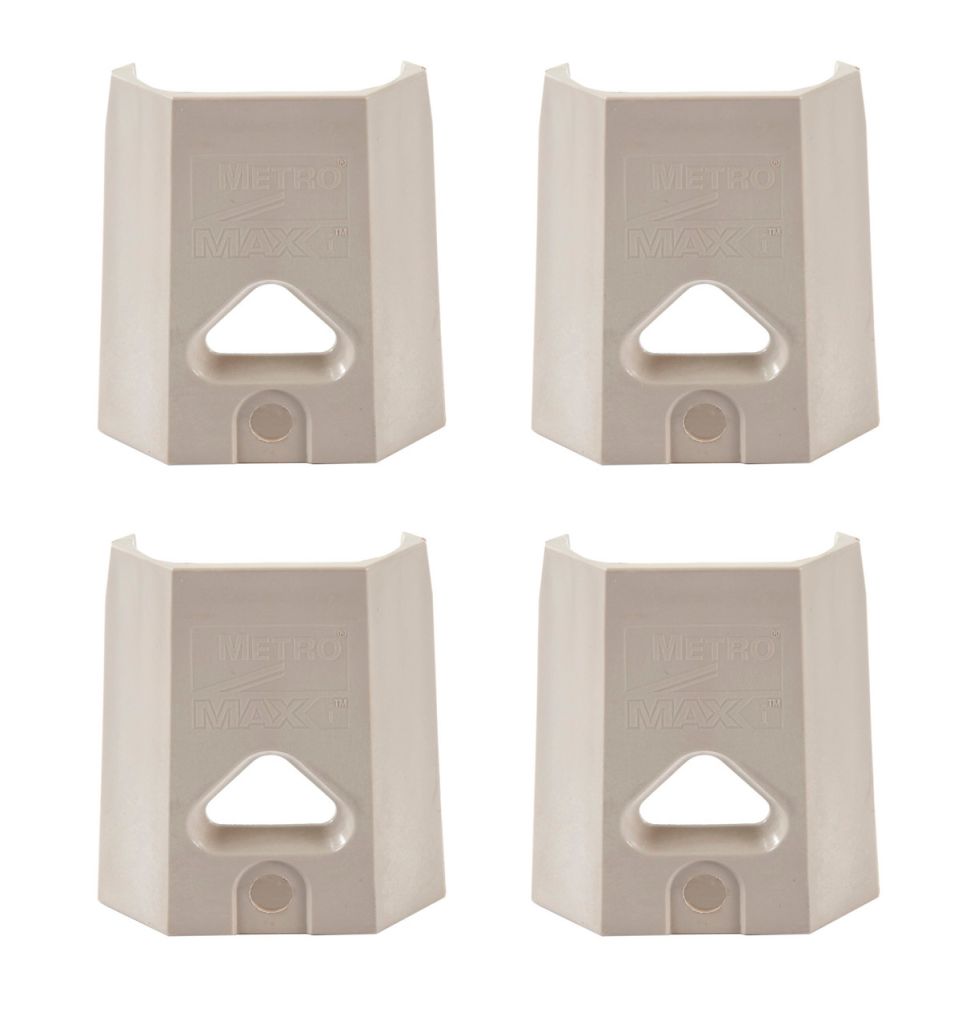
Sort first. A stationary unit is four posts, your shelves, one pair of tapered split sleeves per shelf per post (four shelves = sixteen pairs), feet or casters, and accessory bags. Count sleeve pairs against shelves before you start. One pair short and you cannot finish.
Posts (uprights) are grooved every inch and numbered. That numbering is the trick to a square unit. The bottoms thread for a foot or stem caster.
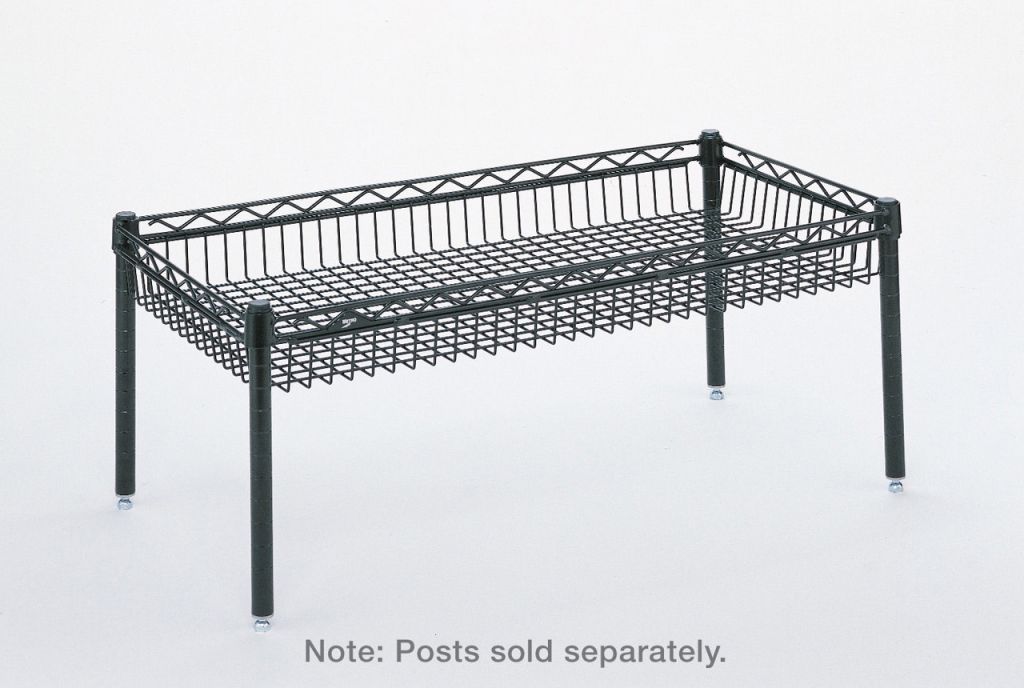
Shelves have a welded truss frame and four internally tapered corner collars; basket, cantilever, solid and polymer shelves use the same posts.
Split sleeves are the two-piece cones that snap into the grooves and carry the shelf. Feet adjust for leveling; casters come swivel, rigid and braked.
How the Tapered-Sleeve System Locks Shelves in Place

Nothing fastens a wire shelf to a post. The system is a friction wedge. Each sleeve half has an internal rib that drops into a machined groove, fixing its height; assembled, the pair forms a cone that matches the internal taper in the shelf collar. Tap the collar down and the two wedge together, and load only drives it tighter. A loaded shelf is a locked shelf.
So: a sleeve not seated in a groove slips under load; all four posts must use the same groove number or only two collars bear; and because it is a wedge, the joint is reversible. Tap a shelf up from underneath and it releases.
Metro Super Erecta is one common example. See Metro wire shelving. Other makers use the same principle with their own sleeve geometry; parts are not interchangeable between brands.
Assembly Sequence, Step by Step
Lay out the posts
Bottoms aligned, numbers facing the same way. Write your groove numbers down, for example 4, 20, 34, 48, 62.
Set the bottom-shelf sleeves
A pair per post at the bottom groove, wide end up, both halves in the same groove.
Start the bottom shelf
Slide the collars over all four sleeves; start every corner before driving any.
Install the top shelf next
Not the middle ones. Bottom plus top holds the posts parallel.
Square the unit
Measure both diagonals across the top shelf. When they match, it is square.
Tap the collars home
Rubber mallet, a few taps per corner, rotating around the shelf.
Add the middle shelves
Bottom up: sleeves in, shelf down, tap home, check level.
Level, accessorize, anchor
Adjust the feet until all four bear; anchor before loading.
Build it standing up if you can
Building a tall unit flat and tipping it upright is how units go out of square. If you must, re-check the diagonals afterward.
Adding, Moving or Removing a Shelf Later
To move a shelf: unload it and everything above it, tap it up at each collar from underneath, alternating corners, then move the sleeves to the new groove and reseat.
To add a shelf: you need a shelf of the same nominal footprint and one pair of sleeves per post. Everything above the new position comes off, so plan the layout in one pass.
To change shelf type: basket, cantilever, solid and polymer shelves share the sleeve interface, so mix them freely.
A unit missing its top or bottom shelf loses most of its rigidity, and worn sleeves should be replaced.

Converting a Stationary Unit to Mobile
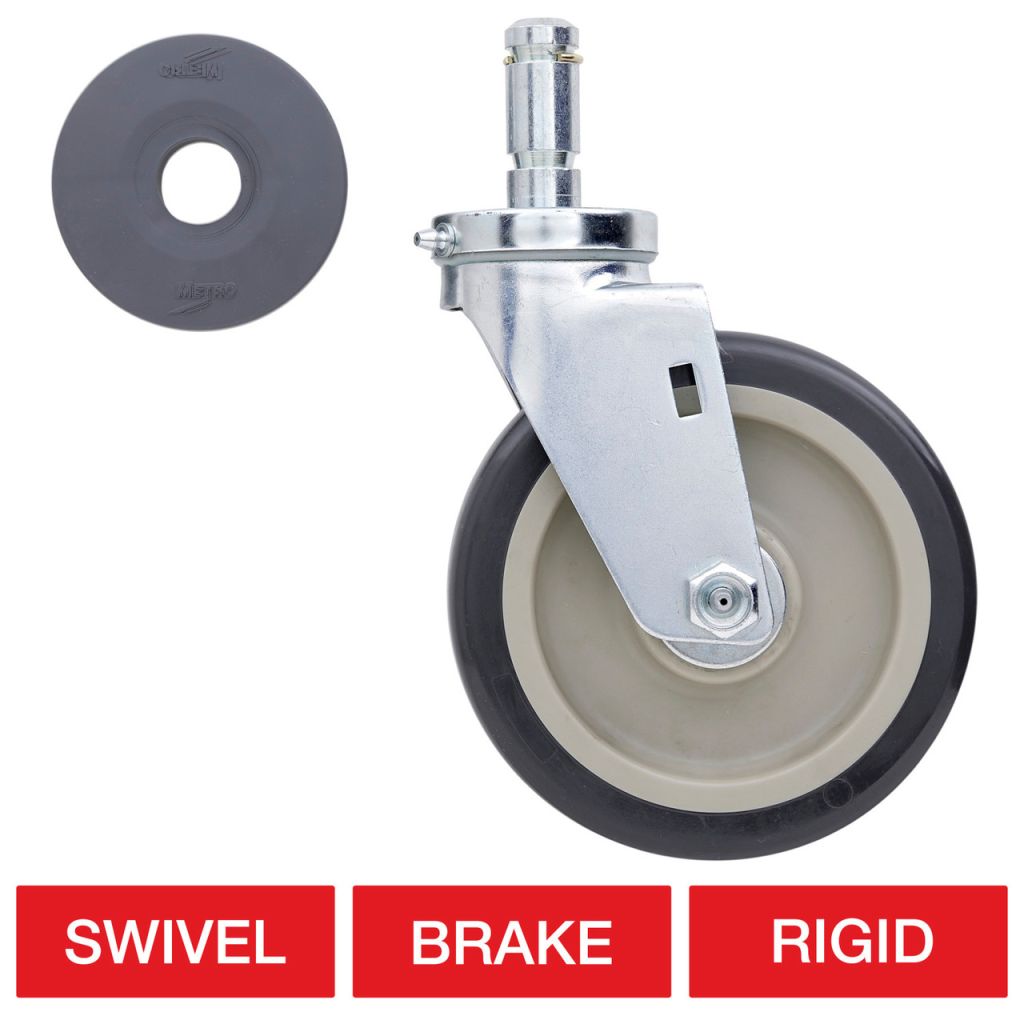
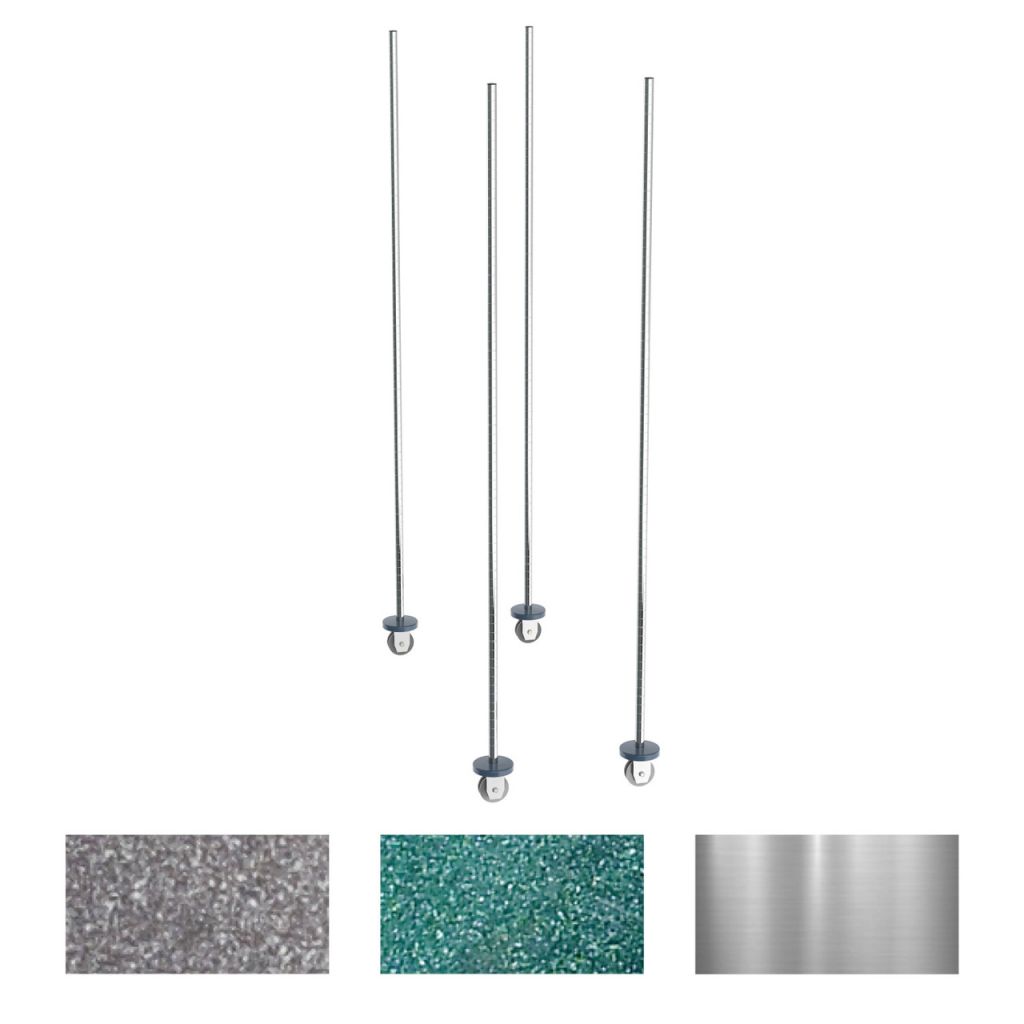
Unload, unthread the leveling feet, and thread stem casters into the posts, or bolt on plate casters where the design uses them.
Two rigid plus two swivel casters track straight; four swivels turn in place. At least two should have brakes.
Height changes: casters add several inches over feet, so a unit that just cleared a doorway may not clear it on wheels, which is why mobile posts are often sold shorter. Capacity drops: as a general principle a mobile unit carries less than the same unit on feet, because load passes through the caster stems and wheels while it is pushed. Specify to the published mobile rating for your post and caster combination.
If mobility is the point of the project, look at purpose-built mobile shelving rather than wheels on static units.
Mobile Shelving Installation Guide: Track Systems vs. Casters
Rolling a standard unit on stem casters, described above, is a same-day job. A track mounted, high-density mobile shelving system is a different project. The rail goes down first and has to be level and anchored to the subfloor along its full run, or the carriages will not track straight. Shelving, end panels, and accessories only go on after the rail and carriages are set and squared.
Because the rail work is structural, most facilities have high-density mobile shelving installed by a professional crew rather than assembled in-house.
When to hire a professional shelving installer
A single freestanding wire unit is a reasonable do-it-yourself project. Consider professional shelving installation instead when any of the following apply:
- The run includes rail-mounted or high-density mobile shelving.
- Units will be wall-mounted on unknown wall construction, such as older masonry or unfinished block.
- The order includes many connected bays that need to be square and level as one system.
- Local code requires anchoring documentation for seismic or life-safety compliance.
Material Handling USA provides free layout designs and professional installation across the United States for both simple and complex shelving runs. Call (800) 326-4403 to talk through your project.
Wall Anchoring and Tip-Over Prevention
A tall, narrow, top-heavy unit is a tipping hazard. The usual trigger is someone pulling on an upper shelf or a cart striking a post.
When to anchor
- High height-to-depth ratio, such as a 74-inch unit on 14-inch shelves.
- The heaviest product cannot live low, or the public can reach the unit.
- Seismic design areas. The whole Wasatch Front qualifies, and Utah projects routinely require restrained storage equipment.
- Your building official, insurer or structural documents require it.
Finding structure and choosing an anchor
| Wall type | Finding structure | Anchor approach |
|---|---|---|
| Wood stud + drywall | Stud finder, confirm with a test screw; studs usually 16 in. o.c. | Lag or structural screws into the stud center |
| Steel stud + drywall | Stud finder in metal mode | Self-drilling metal-stud anchors or through-bolts. Light drywall anchors are not adequate |
| Concrete or CMU | Solid tap sound; avoid mortar joints | Sleeve or wedge anchors at full embedment, hammer-drilled |
| Concrete floor | Locate rebar, post-tension cable and conduit | Bolt post base plates to the slab, the best restraint for a tall unit |
Restraint hardware
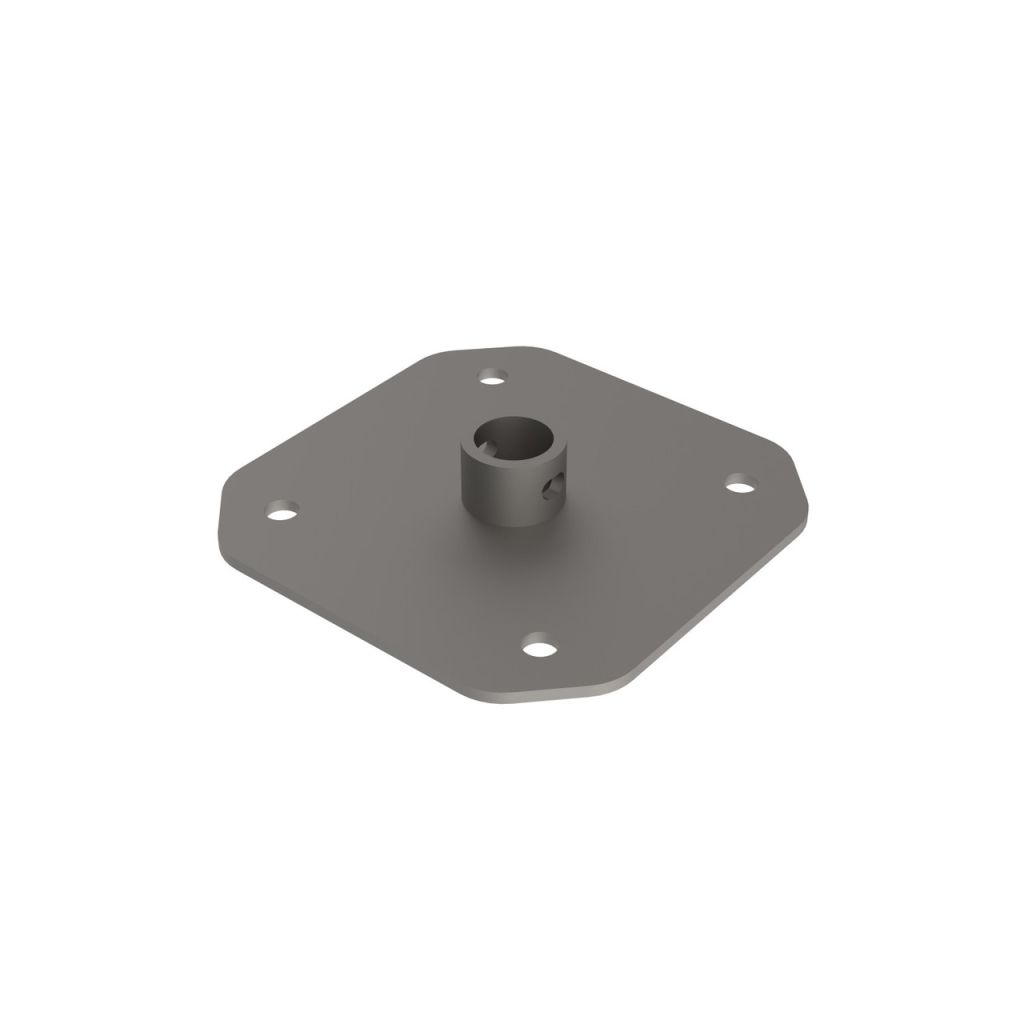
Base plates give you a bolt pattern into the slab; single-post plates handle individual legs, multi-post plates tie two or four legs into one footprint.
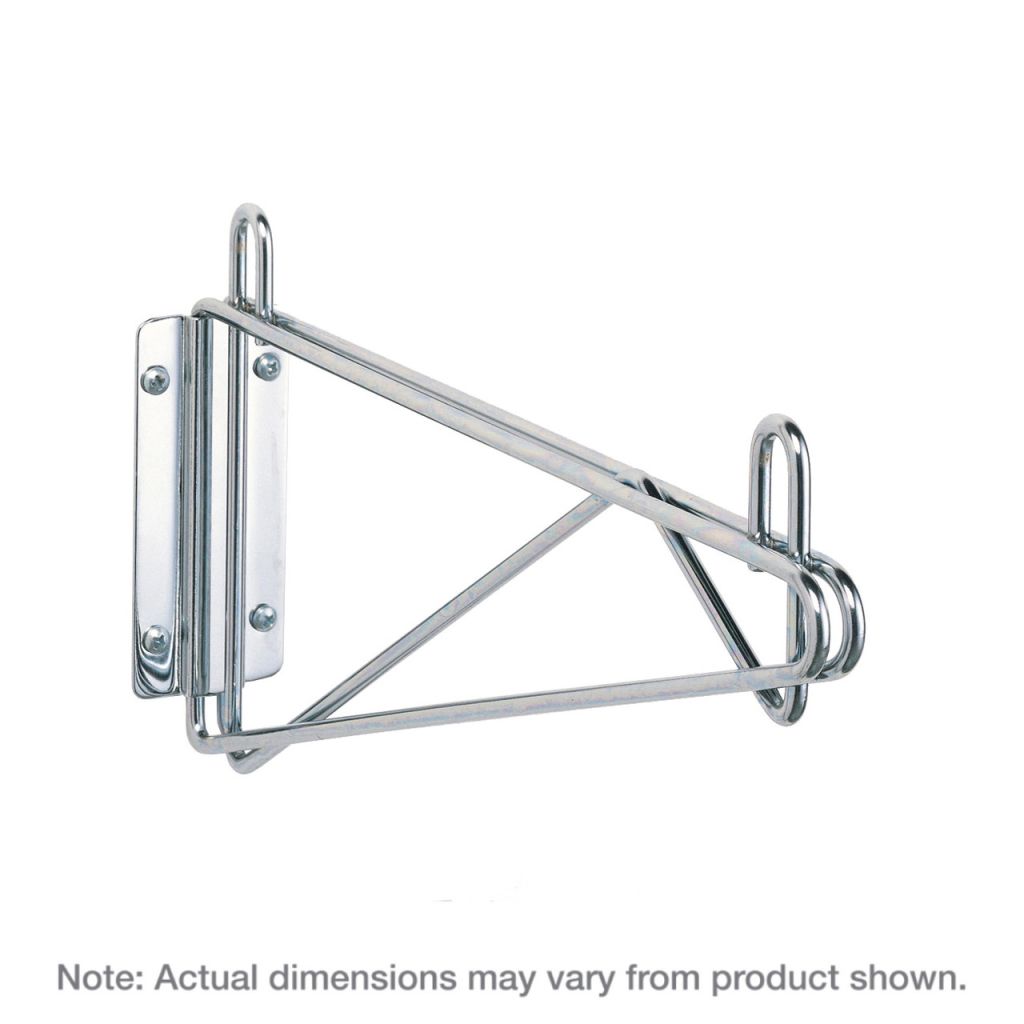
Wall-mount brackets fasten a shelf to the wall, as tip restraint or to hang shelves with no posts, useful over a sink or where the floor must stay clear. Top-track systems support units from above, and sway braces and post clamps tie a row into one restrained assembly.
In drywall with no stud, heavy toggles rated well above the load are the fallback, but de-rate hard. Anchor into structure, never finish material, and follow the anchor maker’s hole size and embedment. On engineered work, have the attachment reviewed by the engineer of record.

Ganging Units Together and Leveling Uneven Floors
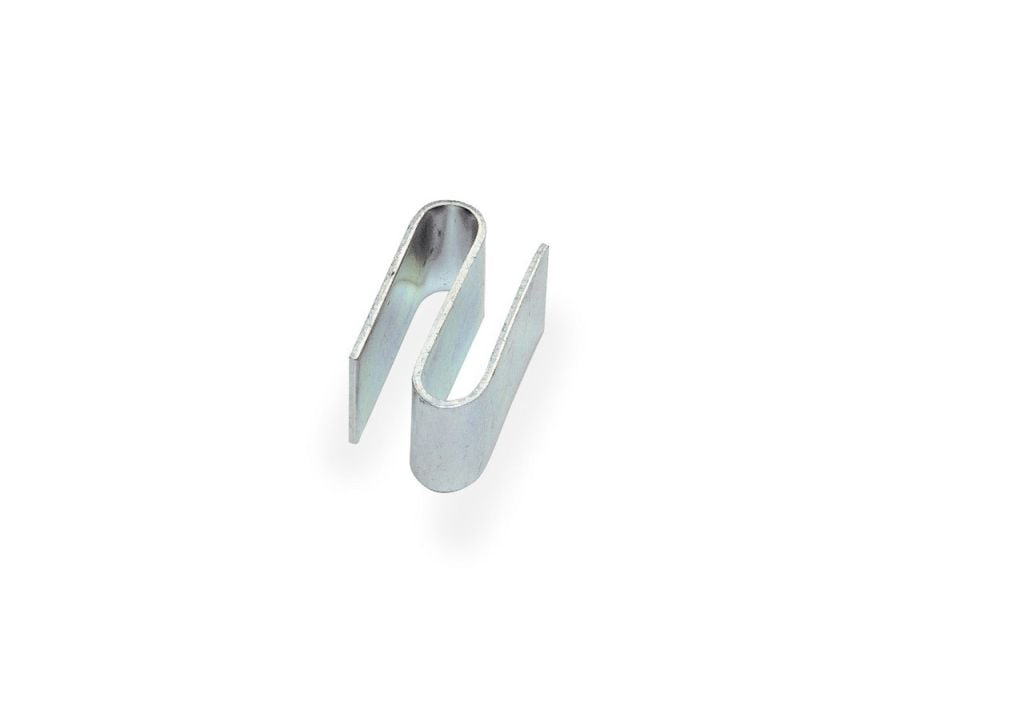
Ganging units into a run kills dead space, stabilizes the row, and lets add-on units share posts. S hooks top and bottom pull adjoining posts tight; post clamps are sturdier and are what a restrained row uses.
Leveling is structural. If only three feet bear, the unit racks every time someone leans on it. Level the bottom shelf both directions, then extend the low feet until all four bear. On floors sloped to a drain expect one row to run longer. Adjust the threaded feet rather than shimming.
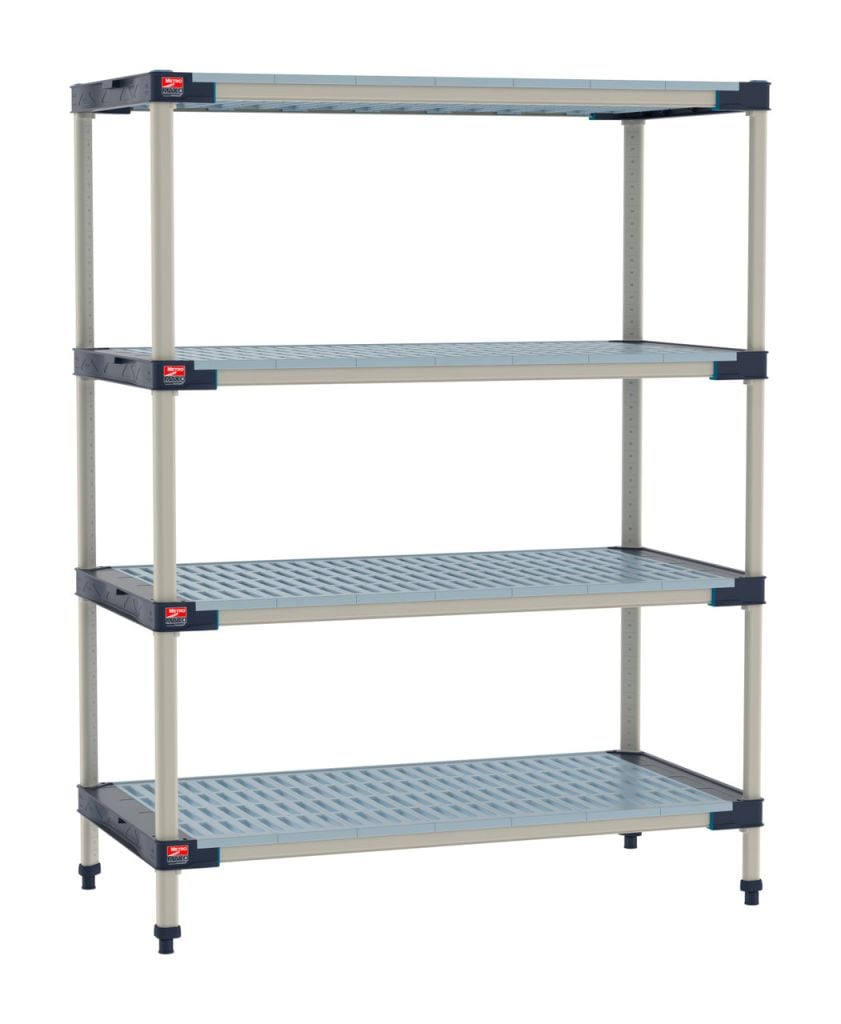
Polymer systems such as MetroMax polymer shelving use the same post-and-sleeve logic, so ganging and leveling work identically.
Load Distribution, Sag and Rework
Published capacities are uniformly distributed loads. Nearly every sagged shelf we see was point loaded, not overloaded in total.
| Symptom | Usual cause | Fix |
|---|---|---|
| Shelf bowed mid-span | Heavy item centered on a long shelf | Move mass toward the posts or shorten the span |
| Dents where a machine sat | Point load through small feet or casters | Add a solid shelf, mat or plate under it |
| Shelf slipped down the post | Sleeve not seated, or worn sleeves | Unload, reseat in the groove, replace pairs |
| Cracked collar | Steel hammer or over-driven collar | Replace the sleeve pair; rubber mallet only |
| Corrosion at strike marks | Plating chipped in assembly | Specify epoxy or stainless for wet rooms |
- Heaviest product low, loads inside the shelf footprint, small hard items on a mat or solid shelf.
Disassembly is the same in reverse: unload, tap the shelves off the sleeves, pull the sleeves, knock the posts down. Bag sleeves by size with their posts. Mixed sleeve sets are why a reused unit will not go back together. For a relocation our shelving solutions team can lay out a new configuration.
Common Installation Mistakes
Need the anchoring hardware, or a second opinion on an install?
Send photos, room dimensions and what you are storing. We will tell you whether the configuration is sound and quote the sleeves, shelves, casters, base plates, post clamps or wall brackets you are missing.
Shop Wire Shelving Online
Buy select items directly from our online store, or request a quote for volume, custom sizes and freight-rated orders.


Wire Shelving Installation FAQ
How do you install wire shelving step by step?
Which way do the split sleeves go on the post?
How do you secure wire shelving to a wall?
Can you add a shelf to an existing unit later?
How do I convert a stationary unit to mobile?
Why are my wire shelves sagging?
Do I need to anchor shelving in Utah?
Need Parts, Hardware or Help With an Install?
Sleeves, shelves, posts, casters, feet, base plates, post clamps, and wall brackets, quoted fast and shipped nationwide.