
Modular Building Installation: Step-by-Step Process and Timeline
From site prep and delivery to wall panels, electrical hookup and handover: how modular offices and buildings are installed, what you need ready, and how long each step takes.
Call (800) 326-4403 or email Sales@MH-USA.com
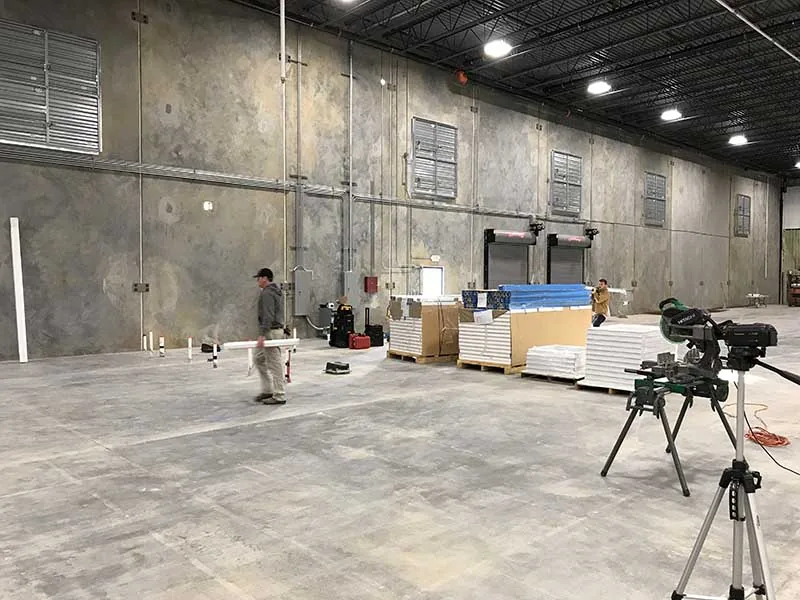
1 to 5 Days
Typical On-Site Assembly
Small Crew
Hand and Battery Tools
Pre-Wired
Panels Arrive Ready
Turnkey
Delivery & Installation
What happens on installation day
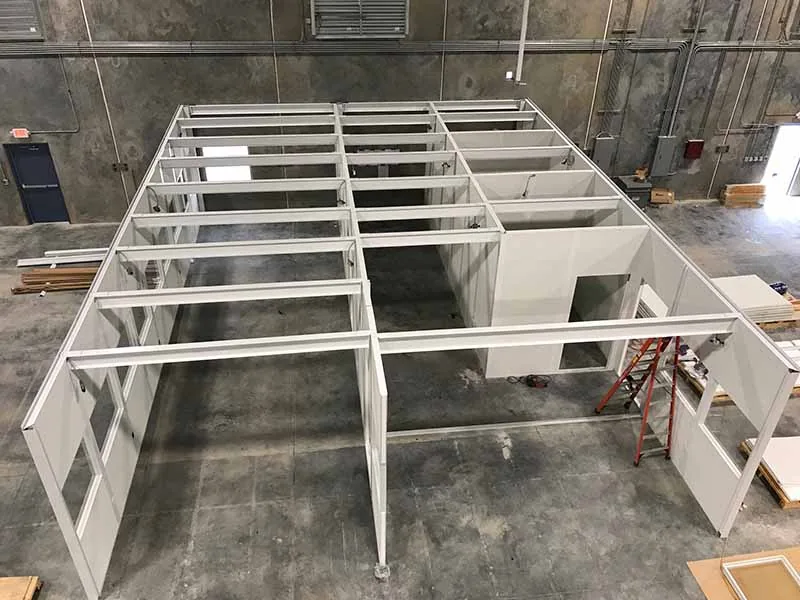
A modular building arrives as a kit of finished parts: wall panels with the electrical raceways already in them, door and window frames, ceiling or roof components, the HVAC unit and the hardware to tie it all together. Installation is the assembly of that kit on a prepared floor or foundation, followed by the utility hookups and a walkthrough.
Because the cutting, finishing and wiring happened in the factory, the on-site work is mostly layout, fastening and connecting. That is why a single in-plant office is often assembled in about a day while the plant keeps running around it.
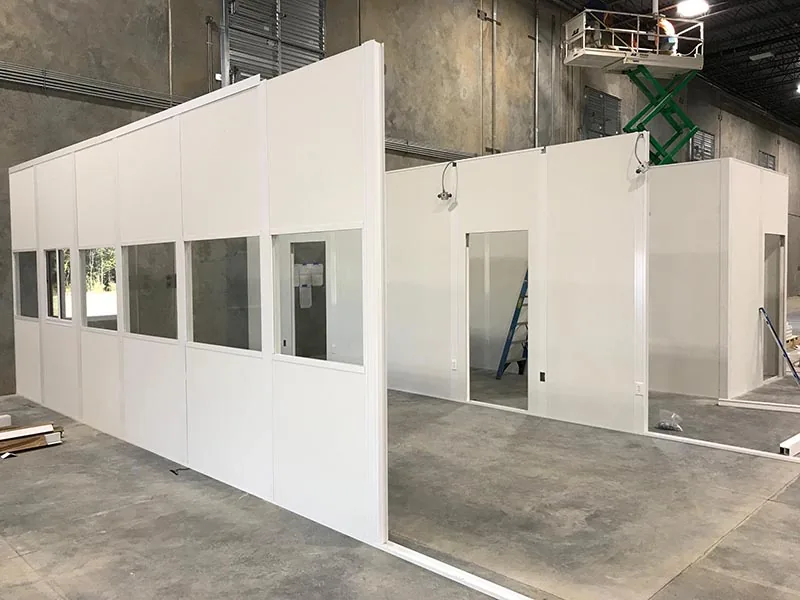
This page walks through the process in order, from the planning call to the handover. It applies to in-plant offices, break rooms, equipment enclosures and two-story offices inside a building, and it notes where exterior modular buildings and guard booths differ. For the overall schedule from order to move-in, see modular building lead times; for the parent range, visit our in-plant and industrial modular buildings hub.
Three ways modular buildings are installed
Modular installation covers three different jobs, and the one you need depends on how the building ships. Our manufacturer partner ships some structures fully pre-assembled and others as panelized components, always with the hardware needed to install them.
| Method | What arrives | Typical buildings | How it is set | Key site need |
|---|---|---|---|---|
| Panelized | Numbered wall panels, posts, frames, ceiling or roof parts, HVAC unit | In-plant offices, break rooms, enclosures, two-story offices | Assembled by hand on the floor with hand and battery tools | Clear, sound slab and a staging area |
| Pre-assembled | A finished building ready to place | Guard booths, small offices and equipment buildings | Lifted by forklift, telehandler or crane and anchored | Finished pad, anchors and lift access |
| Volumetric modules | Large factory-built sections | Exterior modular buildings and multi-section buildings | Craned onto a foundation and joined together | Foundation, utilities stubbed up, crane path |
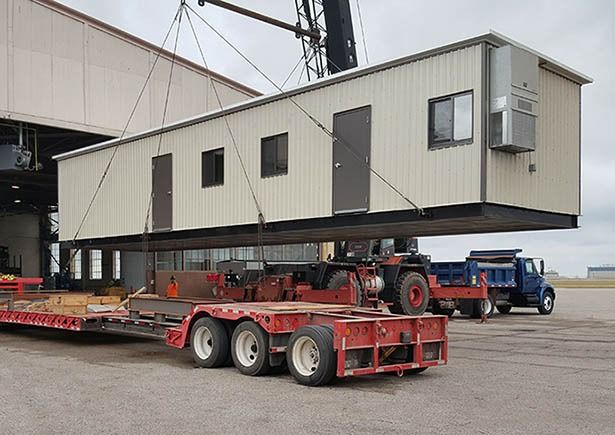
How volumetric modular structures are installed
For modular structure installation with large sections, a crane lifts each module off the trailer and sets it on the foundation bearing points. Neighboring modules are pulled tight and fastened along the seam, often called the marriage line, then sealed against weather.
Utilities and finishes that cross the seam are connected on site. Modular homes follow this same volumetric path; this guide focuses on commercial and industrial buildings.
Modular building installation, step by step
Every project follows the same sequence. The time each step takes depends on size, number of rooms and site access.
Pre-installation planning
Confirm the delivery date, truck route, unloading equipment, staging area, power location and any plant safety rules or work-hour limits.
Site preparation
The area is cleared and the slab checked for level and damage. Exterior buildings need a finished, cured foundation and utilities stubbed up.
Delivery and staging
Panels and components arrive palletized or crated, are unloaded by forklift, and are staged in install order close to the footprint.
Layout
The crew snaps the footprint on the floor from the approved drawings, checks square and marks door, window and anchor locations.
Walls and frames
Floor track is anchored, wall panels are set and locked together with posts, and door and window frames go into their openings.
Ceiling or roof
The ceiling grid and tiles, or a structural deck for a storage roof or upper floor, are installed and tied to the walls.
Electrical and HVAC
Factory-wired devices are connected, the HVAC unit is mounted and started, and your licensed electrician makes the final feed.
Inspection and handover
Punch list, any required inspection, cleanup and a walkthrough of doors, lights, outlets and HVAC with your team.
Delivery day: receiving, unloading and staging
Panels leave the factory finished and numbered to the panel schedule, so most delivery-day problems come from handling, not from the parts. A few minutes of checking when the truck arrives prevents a missing or scuffed panel from stopping the crew halfway through.
Stage everything flat, dry and close to the footprint, in the order the panel schedule calls for, and keep forklift traffic away from the stack.
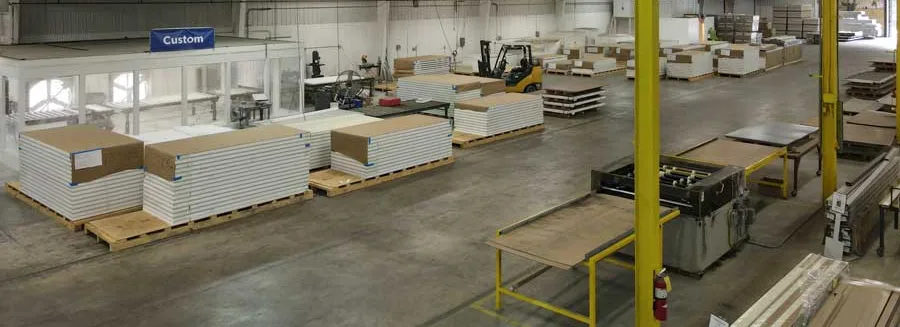
- Count against the packing list before the driver leaves, and photograph each bundle.
- Note any damage on the delivery receipt and report it right away so replacements can be ordered.
- Unload with the right equipment: a forklift with fork extensions suits long panel bundles; hand-carrying works but adds time.
- Protect the stack from rain, dust, overspray and passing forklifts until the crew is ready.
- Plan lifts for pre-assembled units: booths and volumetric modules need a lift plan, rigging and a qualified operator. OSHA 29 CFR 1926 Subpart CC covers cranes in construction.
Preparing your site
Inside a plant or warehouse
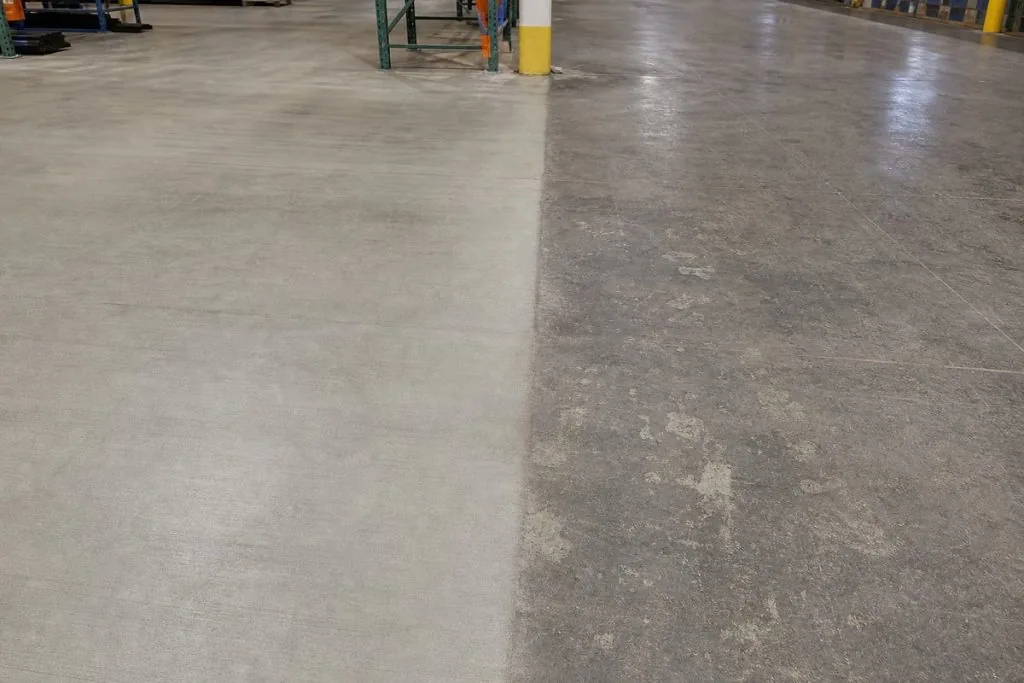
Most in-plant buildings sit directly on the existing concrete slab. Before delivery, clear the footprint plus a working zone around it, and tell us about cracks, joints, slopes toward drains or recent coatings. Small variations are taken up by shims and the floor track.
Check overhead clearance for the building height, sprinkler heads, lights, conveyors and crane rails, and confirm where the electrical feed will come from.
- Footprint clear of racking, equipment and stored material, with room for a forklift to stage panels.
- Slab sound and reasonably level. Large slopes or damaged areas are flagged during the quote so they can be handled before install day.
- Power source identified. Your electrician will run the feed from the nearest panel to the building’s load center.
- Fire protection plan confirmed. A roofed room may need sprinkler heads added inside it; see our fire suppression guide.
- Traffic plan agreed. Forklift routes, pedestrian aisles and any area that must stay open while the crew works.
- Protection decided. Guardrail or bollards where the building faces forklift traffic. See forklift protection for in-plant offices.
Exterior buildings and booths
An exterior building is set on a prepared foundation: a concrete slab, piers or a compacted pad with footings, as specified in the drawings. Utilities are stubbed to the pad before delivery. The building or its modules arrive by truck and are lifted into place by forklift, telehandler or crane, then anchored. Our foundation options guide covers each base type.

Modular building installation instructions
Every building ships with the documents an installer needs. Whether our crew or a local installer we coordinate does the work, the package usually includes:
| Document | What it shows | Why it matters |
|---|---|---|
| Approved layout drawing | Footprint, wall lines, door and window locations, ceiling height | The crew lays out the building from it |
| Panel schedule | Each numbered panel and where it goes | Panels go up in order with no guesswork |
| Anchor and base details | Floor track or base anchors, embedment, spacing | Required for structural and seismic compliance |
| Electrical drawing | Load center, circuits, device locations, feed point | Guides the electrician’s final connection |
| HVAC data | Unit model, mounting, condensate route | Startup and service |
| Stamped drawings and calculations | Structure, loads and code basis, when required | Plan review and inspection |
What the instructions walk an installer through
Instruction sets for panelized in-plant offices follow a similar order across the industry. This is the sequence in plain terms, with the check that matters at each step. Always follow the drawings and instructions shipped with your building, since details vary by system.
| Step | What the installer does | What to check before moving on |
|---|---|---|
| 1. Inventory | Opens the bundles and matches parts to the packing list and panel schedule | Nothing missing or damaged |
| 2. Read the drawings | Learns the legend: panel numbers, door and window symbols, post types, dimensions | Drawing matches the space on site |
| 3. Lay out the floor track | Snaps chalk lines for the outside edge of each wall from the dimensions | Corners square, using a 3-4-5 triangle or equal diagonals |
| 4. Anchor the track | Cuts track to length, stops it at door openings and fastens it to the slab | Fasteners suit the slab and follow the anchor details |
| 5. Start at a corner | Sets the corner post and the first two panels, then plumbs the corner | Corner plumb and tight before adding panels |
| 6. Run the walls | Adds panels and connecting posts along each wall; 2- and 3-wall offices start from a channel on the existing building wall | Walls plumb, panels seated in the track |
| 7. Doors and windows | Fits door frames and window units into their openings and hangs doors | Doors swing freely and latch; glazing sealed |
| 8. Ceiling or roof | Installs ceiling grid and tiles, or beams and roof deck; load-bearing roofs use the beams shown on the drawings | Beam type matches the roof rating on the drawings |
| 9. Electrical and HVAC | Sets devices and fixtures, mounts the HVAC unit and readies the load center for the final feed | Circuits match the electrical drawing |
| 10. Trim and punch | Installs trim, caulks joints, cleans up and lists open items | Punch list reviewed with the owner |
Modular wall system installation
The wall system is the heart of the install. Panels drop into the floor track and lock to connecting posts, which also carry the factory wiring, so walls go up in order from a corner without framing, drywall or paint. Window and door panels are part of the same run. Panel types, cores and finishes are covered in our wall panels and insulation guide.
Typical tools and equipment
- Layout: tape measure, chalk line, laser level and a framing square.
- Fastening: hammer drill with masonry bits for floor anchors, impact driver and screw guns.
- Access: step ladders, a rolling scaffold or a lift for ceiling, roof deck and two-story work.
- Handling: a forklift for panel bundles, plus a crane or telehandler for pre-assembled units.
- Finishing: caulk guns, sealant and shims, plus the PPE your plant requires.
On long-distance or cross-border projects, a well-documented panelized kit assembled by a local crew can make more sense than flying a crew in. Our in-plant office shipped into Canada explains how that was handled. Drawings for permit review are covered in modular building permits and code compliance.
Who installs it: our crew, a local installer or your own team
Bolt-together modular systems are designed so that more than one kind of crew can install them. Our manufacturer partner ships detailed instructions and all the hardware, and also offers professional installation through a nationwide installer network. Here is how the options compare.
| Turnkey installation | Local installer we coordinate | Your own crew or contractor | |
|---|---|---|---|
| Best for | Most first-time buyers and multi-room or two-story projects | Remote sites and cross-border jobs | Plants with skilled maintenance staff and simple single rooms |
| Who manages the schedule | Our team, start to finish | Our team, with the local crew on site | You, with our drawings and support |
| Electrical final connection | Your licensed electrician | Your licensed electrician | Your licensed electrician |
| What to confirm | Site readiness, access and shift rules | Installer scope and site rules | Tools, lift equipment, and permit and inspection needs |
MEP connections: electrical, HVAC, plumbing and low voltage

MEP stands for mechanical, electrical and plumbing. In a modular building most of the electrical work is done in the factory: boxes and wiring sit inside the wall posts and panels, and circuits run to a load center. On site, the work is connecting those systems to your facility.
Plan every connection before the walls go up, because the feed route, drain route and data runs all affect where the building sits.
| System | What arrives from the factory | What happens on site | Who does it |
|---|---|---|---|
| Electrical | Pre-wired panels, devices and a load center | Feeder from your nearest panel to the load center, then testing | Your licensed electrician |
| HVAC | Wall unit or split system specified for the room | Mounting, condensate drain route, startup | Installer, with your HVAC contractor for split systems |
| Plumbing | Fixture locations shown on the drawings for restrooms or break rooms | Water, drain and vent tie-ins, sometimes floor coring | Your plumber |
| Data and low voltage | Raceway space in the walls | Data, phone, camera and access-control cabling | Your IT or low-voltage contractor |
| Fire alarm and sprinklers | Ceiling layout for heads and devices | Branch lines and devices tied to building systems; see the fire suppression guide | Your fire protection and alarm contractors |
| Exterior utilities | Entry points shown on the drawings | Utilities stubbed to the pad before delivery, connected after the set | Site contractor and utility providers |
Wiring options, circuits and load centers are explained in electrical systems and wiring for modular buildings, and unit choices in HVAC options for modular buildings.
Installing two-story offices and storage roofs
A second level or a load-bearing storage roof adds structure to the install. Beams set on the wall panels or posts, then the deck goes down and is fastened, and guardrail, gates and a stair or ladder are added at the edges.
Concentrated loads at posts may call for a slab check before install day. These jobs also need lift equipment and fall protection for the crew. See two-story modular offices and the modular office with a storage roof.
How long installation takes
On-site time depends on size, room count, height and access. These are typical ranges once materials are on site and the site is ready. Your installation plan confirms the schedule for your project.
| Building | Typical on-site time | What adds time |
|---|---|---|
| Single-room in-plant office | About 1 day | Extra doors, windows or a storage roof |
| Multi-room office or break room | 1 to 3 days | Interior walls, plumbing, more circuits |
| Two-story office | 3 to 5 days | Structure, stair and upper-level guardrail |
| Pre-assembled guard booth | Usually set in a day | Pad readiness, crane access |
| Exterior modular building | Several days to a few weeks | Foundation, roof, utilities, weather |
| Cleanroom | 2 to 5 days plus certification | Filtration, sealing, testing |

Working around your operation
Assembly uses hand and battery tools, so there is little dust, no paint fumes and no wet trades. The crew works in a small taped-off zone and can follow your PPE rules, forklift traffic plan and shift times. Multi-day jobs are cleaned up and secured at the end of each day so the next shift is not blocked.
See how a 3PL kept shipping during install in our Enlinx in-plant office project.
Common installation problems and how to avoid them
Most installation delays trace back to a handful of site issues that are easy to catch during planning. Use this list as a pre-install review.
| Problem | Usual cause | How to avoid it |
|---|---|---|
| Walls will not close up square | Layout not checked for square, or dimensions taken from an old drawing | Check diagonals at layout and confirm the drawing is the approved revision |
| Gaps under the floor track | Slab slopes toward a drain or has a damaged area | Report slopes and damage during the quote so shimming or repair is planned |
| Crew waiting on power | Electrical feed not scheduled with your electrician | Book the electrician for the day the walls and ceiling are done |
| Ceiling work stalls | Sprinkler tie-in not coordinated | Send the layout to your fire protection contractor at order, not at install |
| Building sits in the wrong spot | Racking, conveyors or overhead items not checked | Walk the footprint and overhead clearance before final drawings |
| Late start on install day | Truck access blocked, no forklift, or the area still in use | Confirm the route, unloading equipment and a cleared zone the week before |
| Occupancy held up | Permit or inspection not lined up | Check permit needs early; see permits and code compliance |
| Damaged panels | Panels stored in traffic or in the weather | Stage flat, dry and away from forklift lanes |
Permits and inspections around installation

Requirements depend on the jurisdiction and the building type. An in-plant office is often reviewed by the local building department like other interior work, with the electrical connection inspected where a permit applies.
Exterior commercial modular buildings in many states go through a state modular program: units are built under an approved quality program, inspected by a third-party agency and labeled. Foundation, utility connections and final occupancy still stay with the local AHJ.
Build permit timing into the schedule, since plan review often takes longer than the install itself. Start with our permits and code compliance guide, and see seismic anchorage for modular buildings if you are in a seismic area.
After installation
Installation projects to read
Real in-plant installs, with the site conditions and choices that shaped each one.
- In-plant office and pallet rack for a 3PL: Enlinx
- Change room under a storage mezzanine: Stork
- Shipping an in-plant office into Canada
- Forklift protection for in-plant offices
Planning a project? Start with the modular building buyer’s guide, size an office on the in-plant offices page (standard 8×10, 10×12 and 12×16 sizes), or lay out a room in the modular building configurator.
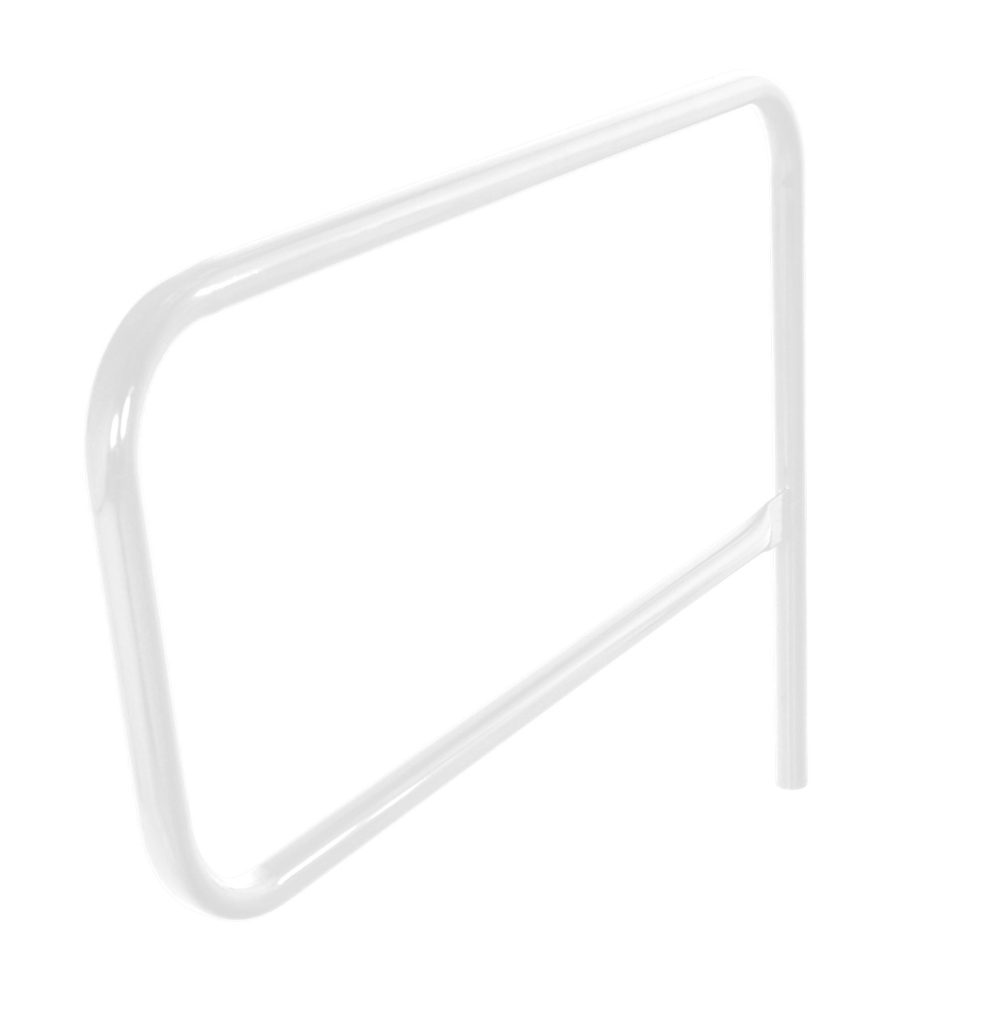
Protect the Building: Bollards and Guardrail
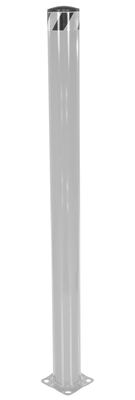
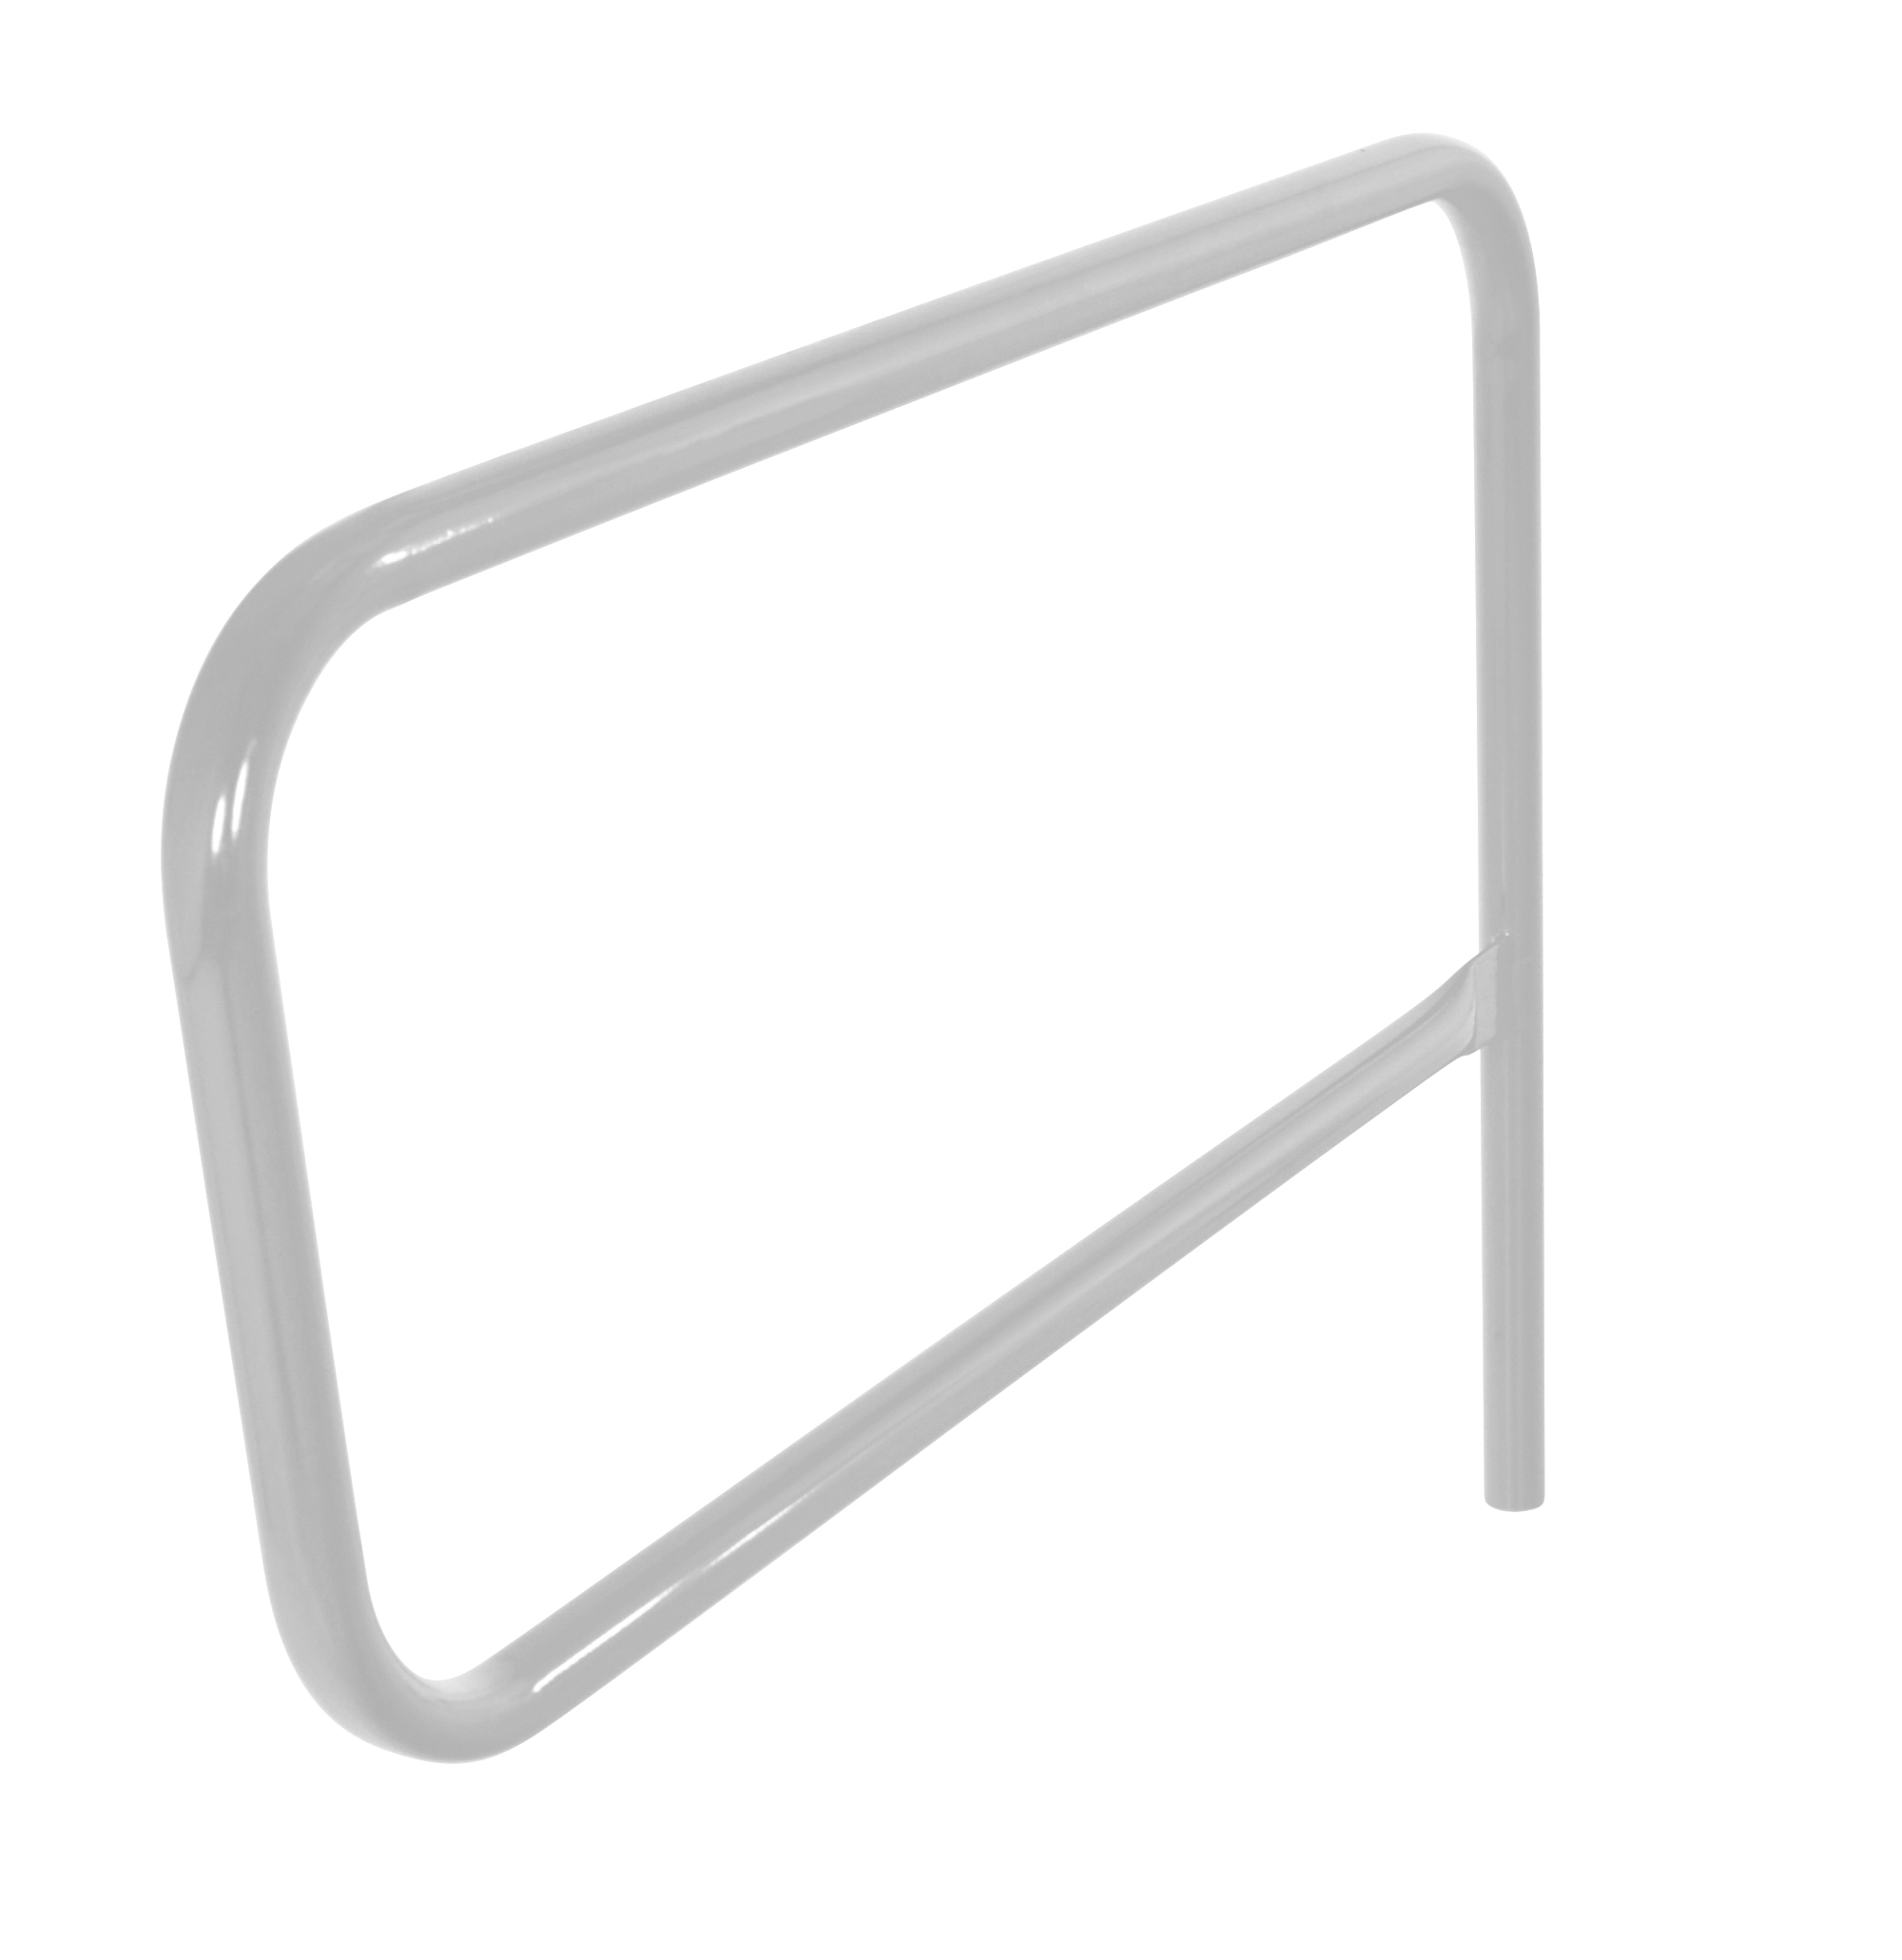
Modular buildings are quoted per project. Steel bollards and pipe safety railing that protect new walls and doors from forklift traffic can be ordered online.

Frequently asked questions
How long does it take to install a modular building?
Do I need to shut down my operation during installation?
What do I need to prepare before the building arrives?
Who makes the electrical connection?
Are installation instructions provided?
Can we install a modular office ourselves?
What tools are needed to install a modular office?
What MEP connections does a modular building need?
Do you need a crane to install a modular building?
How are volumetric modular buildings installed?
Does modular building installation need a permit or inspection?
Can the building be moved or expanded later?
Plan your modular building installation
Send the building type, size, location and timeline. We will return drawings, a quote and an installation plan for your site.