
Tenant Lockers for Apartments and Condominiums
Tenant lockers give residents assigned storage outside their individual homes. A useful project combines a suitable enclosure with a workable room layout, a clear access policy and a complete installation scope. Material Handling USA helps property teams compare tenant storage options and organize the information needed for a proposal, from the size of the belongings to the details of the building.

Define the storage service before counting lockers
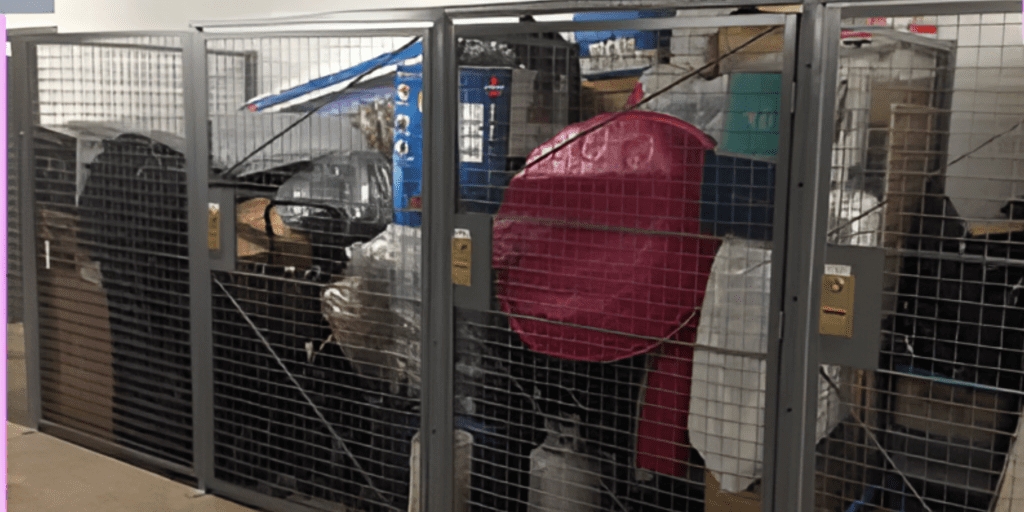
Start with the belongings the property expects to accommodate. Seasonal household items, luggage and boxed possessions create different needs from bicycles or unusually large equipment. Decide whether the project serves every residence, a selected group or a shared pool of units. Those choices affect the mix of locker sizes and how assignments will be managed.
Ask the property team what problem the installation should solve. It may be overflow in common areas, inconsistent storage assignments or a lack of enclosed space in an existing room. Record the actual situation before treating every available square foot as space for another locker. Residents and maintenance staff still need a practical way to use the room.
Establish the operating brief
- Number of households to serve and expected demand.
- Representative belongings and desired storage sizes.
- Assignment, access and turnover responsibilities.
- Areas or services that must remain accessible.
Document assumptions separately from confirmed requirements. A plan for a new development may rely on projected demand, while an occupied building can gather feedback from current residents. Both can support a proposal, but they should not be presented as equally certain.
Avoid promising a specific rent increase, payback period or reduction in theft simply because lockers are installed. Those outcomes depend on the property, operating policy and local demand. Define the project around the storage service being offered and compare the equipment against that brief. This gives the owner a clearer basis for deciding what to include in the first phase.
Compare single-tier and double-tier arrangements
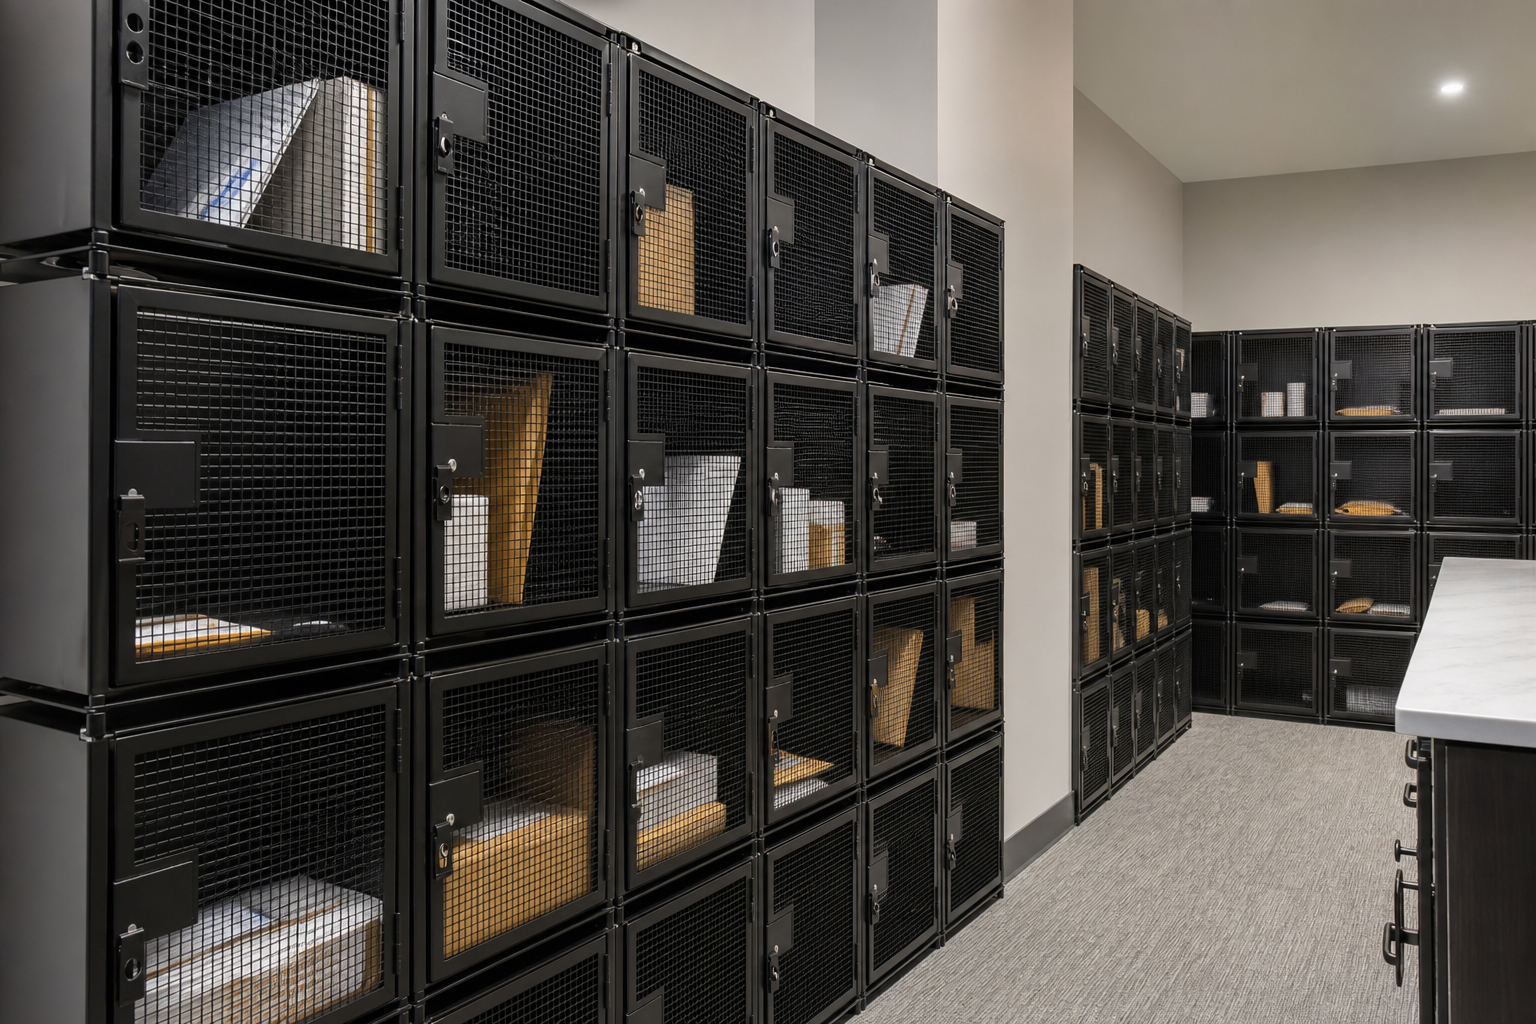
Single-tier lockers provide one full-height compartment and can suit larger belongings when the selected dimensions and access arrangement support them. Double-tier units divide the available height between two separate compartments. They may serve more assignments in the same general footprint, but each compartment has less vertical space and different reach considerations.
Compare usable compartments rather than counting doors alone. Check the clear opening, internal dimensions and any shelf or floor panel included in the configuration. A locker that looks large on an elevation may have an opening that makes a particular item awkward to move. Use representative belongings to evaluate the proposed mix.
Questions for choosing the mix
- What must fit through the door, not just inside the enclosure?
- Can residents comfortably reach and use the assigned compartment?
- Does the room need more than one locker size?
- How will upper and lower compartments be assigned?
Do not assume every resident needs an identical unit. A mix may serve the property better, provided assignments remain understandable and management can explain the available options. Consider how vacancies and changes in residents' needs will be handled over time.
Show the operating space in front of each door. Doors, adjacent lockers, carts and room entrances should be reviewed together. A higher unit count can be a poor trade if it makes normal use difficult. The final proposal should make those tradeoffs visible rather than hiding them in a total capacity figure.
Identify the manufacturer and complete enclosure
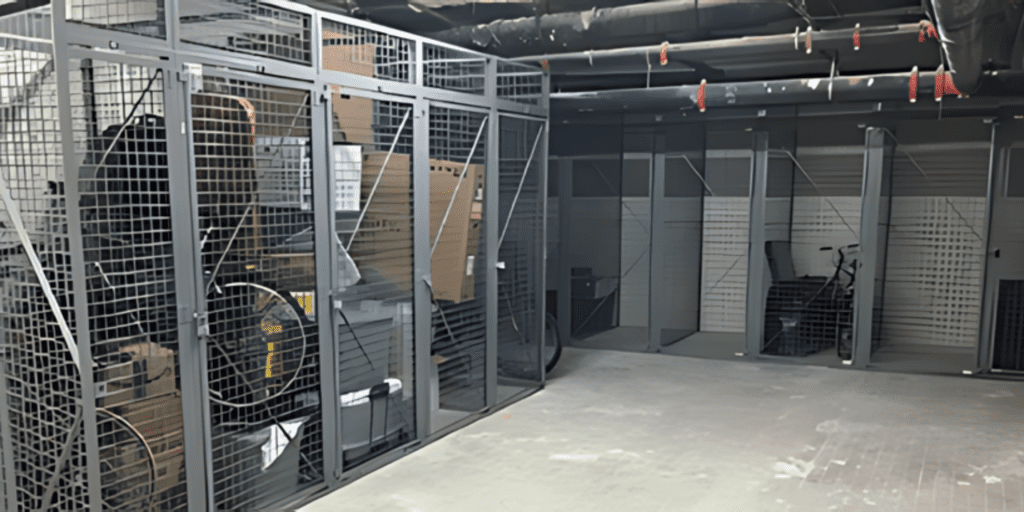
WireCrafters offers RapidWire tenant storage lockers in single-tier and double-tier arrangements. Its published product information identifies welded-wire construction and options including back panels, ceiling panels, shelves and floor panels. SpaceGuard Products offers BeastWire lockers with modular framed-panel construction and configuration choices. Treat each product line as a separate system with its own documentation and components.
Confirm which panels are actually included. A front and side arrangement may depend on a suitable existing wall for the back boundary; a freestanding or back-to-back arrangement may need additional panels. Upper closure, gaps around building features and access to adjoining areas should be discussed as part of the whole enclosure.
Ask for a defined bill of materials
Identify doors, side panels, backs, ceilings, shelves, bases, locks and connection hardware. Require the quotation to distinguish included components from available options. A photograph of a fully equipped installation does not mean that every component shown is included in the base price.
Keep manufacturer-specific details attached to the product offered. Do not combine a feature from one brand with a dimension or warranty from another. If alternatives are proposed, compare them in separate columns and ask the supplier to identify the effect on layout, installation and use.
The source photographs show examples of storage enclosures. Their appearance does not establish the dimensions, loading, finish or security performance of the configuration being quoted. Use the approved drawings and equipment schedule to define the order, with photographs serving as a visual reference for the discussion.
Survey the room and its building interfaces

Measure the room and record features that affect placement. Doors, columns, changes in floor level, pipes and service equipment may interrupt an otherwise regular row of lockers. Photograph these conditions and mark their locations on the sketch. Indicate dimensions that still need verification so they are resolved before the equipment is ordered.
Review the route into the room as well as the room itself. Locker components and installation equipment must reach the work area. Residents must later carry belongings through the same building circulation system. Include elevators, turns, thresholds and the point where delivery vehicles can unload in the project discussion.
Coordinate with the building team
Bring maintenance, property management and the appropriate project reviewers into the layout discussion. They can identify services that require continuing access and conditions that need a separate assessment. Do not place an enclosure around building equipment simply because the area appears unused during a walkthrough.
Mesh construction does not by itself establish that a proposed installation satisfies the building's requirements. The location, stored contents, enclosure arrangement and existing systems all matter. Have the relevant reviewers evaluate the actual proposal; avoid a blanket compliance statement based on the presence of openings in the panels.
Check how residents will move, open doors and handle belongings when neighboring lockers are occupied. An empty room can conceal conflicts that appear only during use. Record the approved layout and any site-specific conditions together, so installers and property staff work from the same understanding of the project.
Make access and assignments easy to manage
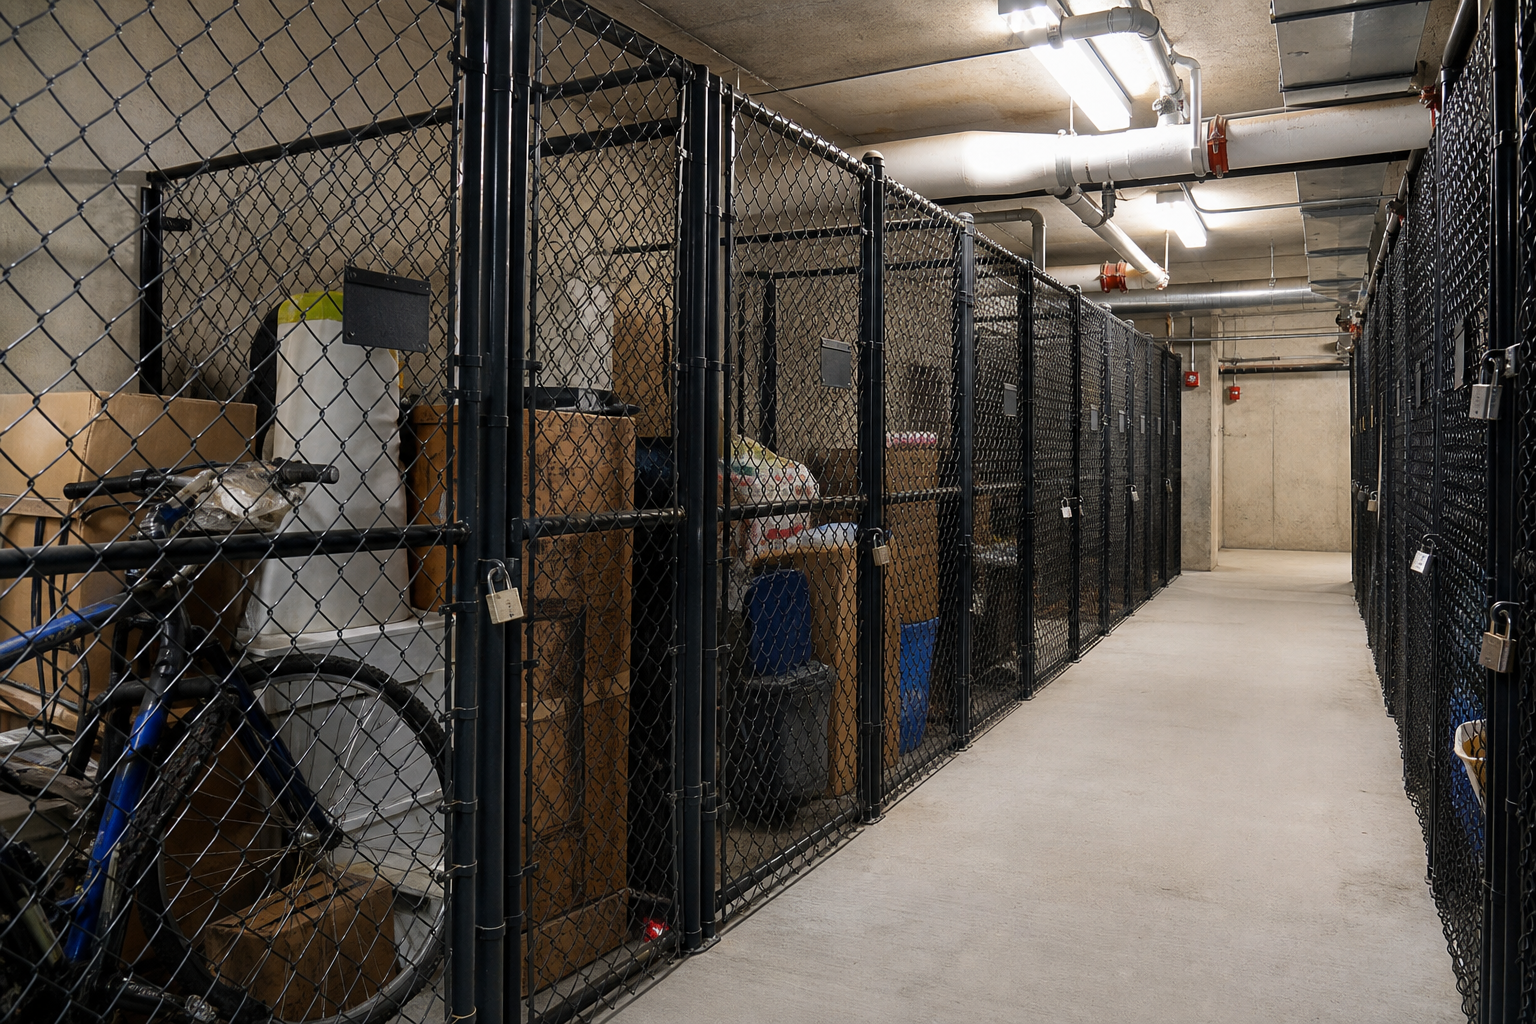
Choose the locking arrangement in the context of the property's operating policy. A resident-supplied padlock, a managed keyed lock and an electronic arrangement have different responsibilities. Confirm what the selected locker supports and identify who manages keys, credentials, replacements and changes in access. Do not assume an electronic option is part of every product line.
Give each unit a stable identifier. Connect that identifier to the property record, the resident's assignment and the physical locker. The numbering scheme should remain useful when assignments change. Avoid describing units only by a resident's name or an informal location such as the last locker on the left.
Plan for ordinary exceptions
- A resident leaves belongings after an assignment ends.
- A key or padlock is lost or damaged.
- Someone reports damage to a panel or door.
- Management needs to update the assignment record.
The property should establish its own procedures for these situations, including any notices or authorization it requires. Hardware selection should support those procedures, without being presented as a substitute for them. Store operating rules should be reviewed by the people responsible for the property's agreements and management practices.
Explain the intended use clearly when a unit is assigned. Residents should know which space is theirs, how access works and how to report a problem. A short, consistent handover can reduce confusion. The purpose is to create an understandable storage service, not merely to install a row of locked doors.
Compare the project scope and installation sequence
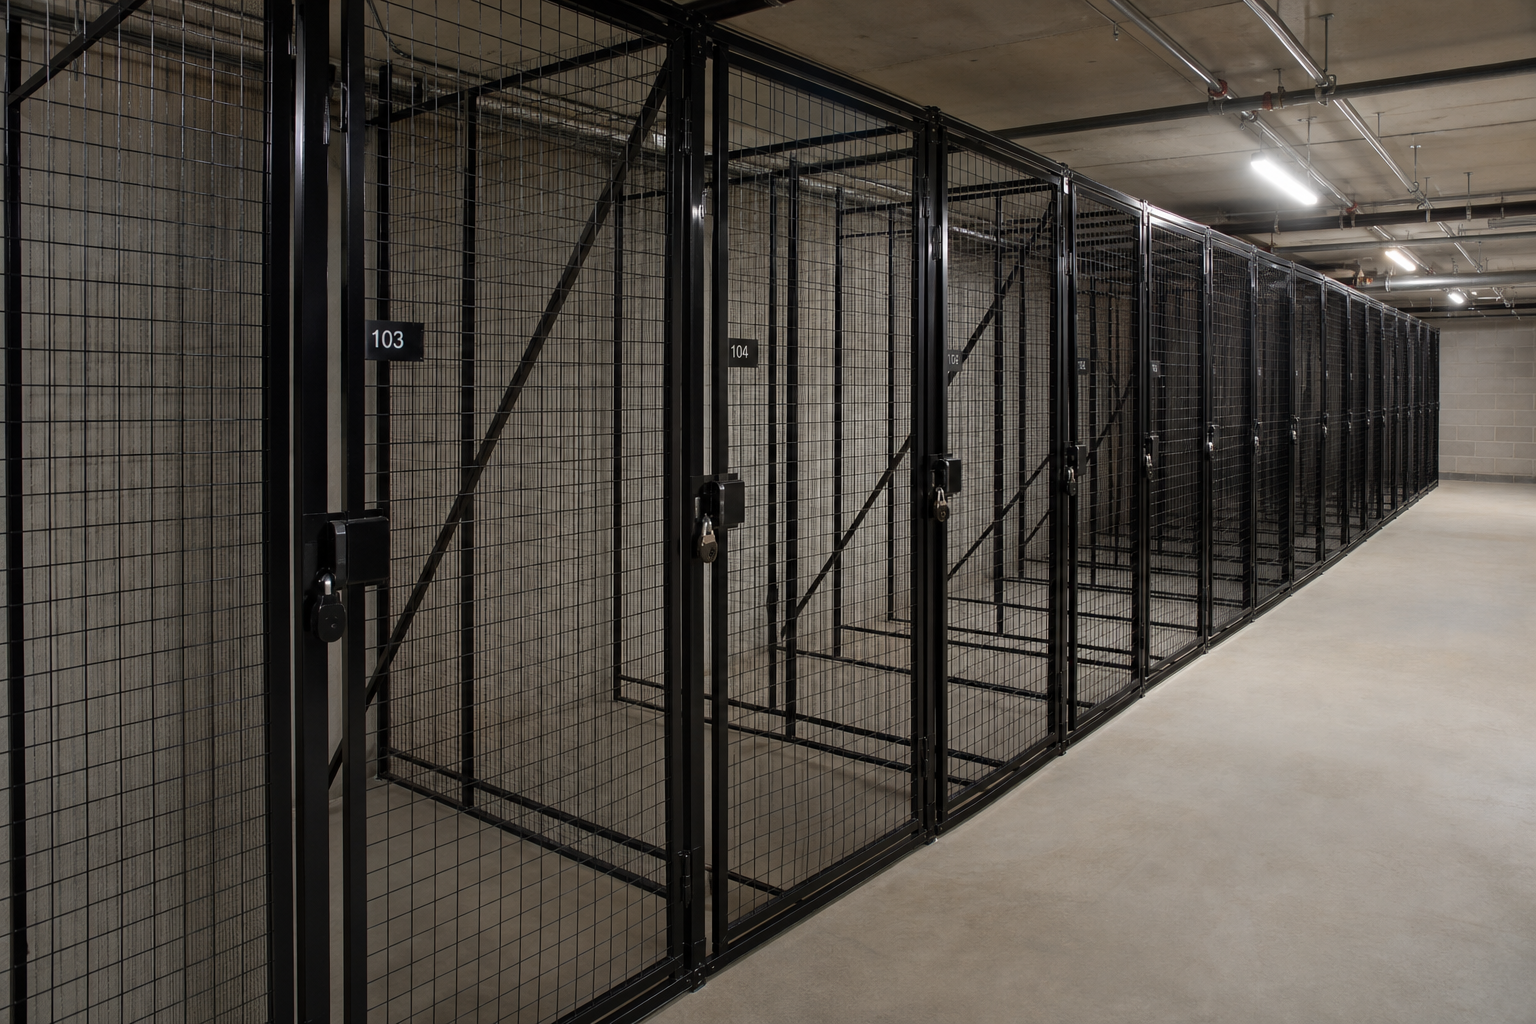
Provide each supplier with the same room sketch, photographs and storage brief. Ask proposals to identify the manufacturer, unit sizes, panel arrangement, finish and lock selection. Include any required field verification and explain whether the room is occupied. Clear input makes the resulting proposals easier to compare and reduces the chance of discovering omitted work after delivery.
Compare equipment and services separately. Delivery, unloading, assembly, positioning, connections, site preparation and removal of existing storage may have different owners. A proposal described as installed should explain which activities it covers. Confirm the work needed from the building team before the installation date is agreed.
A useful comparison sheet
| Scope item | What the property should confirm |
|---|---|
| Usable storage | Compartment sizes, door openings and the mix of unit types. |
| Enclosure | Included backs, ceilings, shelves and floor or base components. |
| Access | Lock selection, unit numbering and assignment responsibility. |
| Installation | Delivery route, preparation, work boundaries and handover conditions. |
| Documentation | Approved layout, product information and maintenance guidance. |
If residents already use the room, plan the temporary relocation of their belongings through the property's normal process. Identify the sequence, communication responsibilities and conditions for releasing each area. Avoid assuming installers can move or dispose of existing contents as part of the equipment order.
For a broader view of organizing a constrained room, our retail stockroom shelving guide explains how storage and access space should be considered together. Tenant storage has different users and operating rules, but the same need to preserve a workable circulation route.
Review the installation and maintain the service

Compare the completed installation with the approved layout and equipment schedule. Check that the intended units, panels, doors and locks are present and that the numbering agrees with the assignment record. Record outstanding work and damaged components rather than treating delivery as the end of the project.
Walk the room as a resident would use it. Review the route from the entrance, the ability to identify a unit and the space available to open it and handle belongings. Bring maintenance staff into this review so they can confirm that agreed service access remains practical.
Retain the handover information
Keep the equipment identity, approved drawings and supplied maintenance instructions. Record where replacement parts can be identified and how damage is reported. A clear equipment file is especially useful when property staff change or the building adds another phase of storage later.
Review demand and usage after the service has been operating for a representative period. Some unit sizes may be more useful than others, or the assignment process may need clarification. Use those observations before expanding. A second phase should respond to actual needs while remaining compatible with the selected equipment and the room.
The conceptual illustration shows one possible relationship between individual enclosures and a shared aisle. It is not a measured layout or a specific manufacturer's installation. Your project should be defined by the approved drawing, the selected product and the building review.
Material Handling USA can help organize those decisions into a practical tenant-locker proposal. Share the room measurements, photographs, intended number of assignments and any known constraints to begin the discussion.
Frequently asked questions
What is the difference between single-tier and double-tier lockers?
A single-tier unit provides one taller compartment; a double-tier arrangement provides separate upper and lower compartments. Compare the usable opening, internal space and reach requirements with the belongings residents need to store. More doors do not necessarily provide the most useful mix for a particular property.
Do all tenant lockers include back and ceiling panels?
No. Included components depend on the manufacturer and quoted configuration. An arrangement against a suitable existing wall differs from a freestanding installation. Ask the supplier to identify each enclosure boundary and list any back, ceiling, shelf or floor components required for the proposed layout.
Can lockers fit around pipes and columns?
Site conditions can often be incorporated into a project proposal, but the approach must be reviewed for the selected system. Provide measurements and photographs of obstructions. Have the supplier and building team resolve the arrangement before ordering rather than assuming any panel can be modified on site.
Which locking arrangement should we choose?
Choose around the property's access and assignment policy. Confirm who manages keys or credentials, how changes are authorized and what happens when a lock is damaged. Verify that the exact product supports the proposed option; a lock does not automatically provide transaction records or item tracking.
Can the project be installed in phases?
A phased installation may be practical if the room and existing contents can be managed through an agreed sequence. Identify temporary storage, resident communication, delivery access and work boundaries. Confirm how the first phase will connect with future equipment before treating expansion as automatic.
What should we provide for a proposal?
Send a room sketch with dimensions, photographs, the desired number and types of assignments, representative belongings and the preferred access approach. Include building-service locations and delivery restrictions. Clearly identify provisional measurements and the staff responsible for reviewing the final layout and installation scope.
Plan tenant storage around your property
Share your room measurements, photographs and requirements with Material Handling USA to start a focused project discussion.