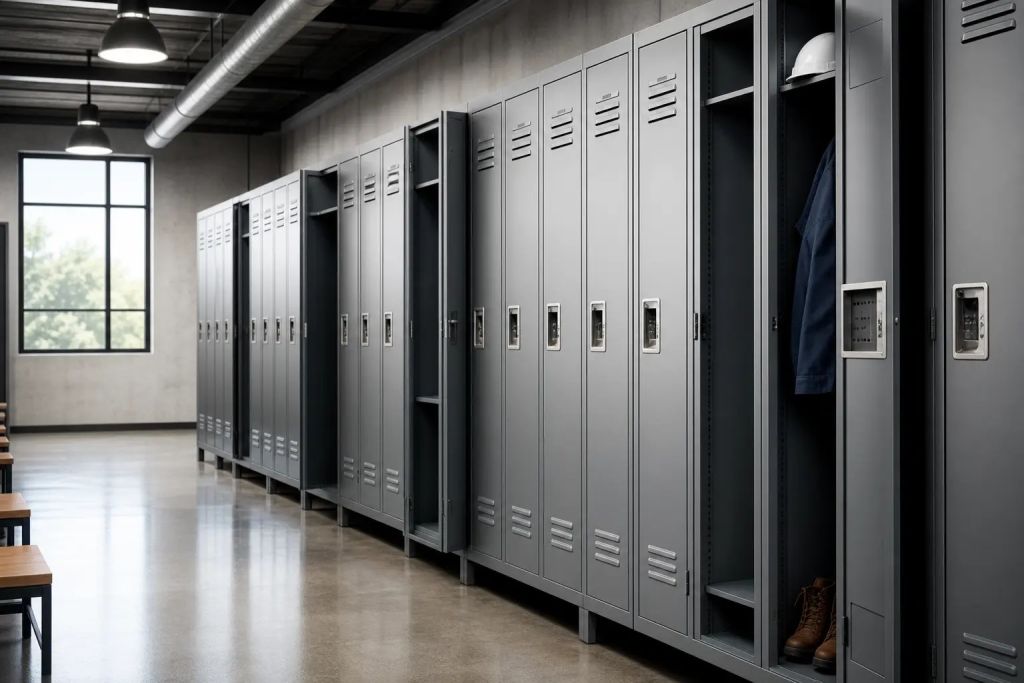
At 5:55 a.m. the night crew is leaving and the day crew is walking in. Twenty people need the same room for ten minutes. Locker doors are open on both sides of the aisle, two people are sitting on the bench lacing boots, and someone with a backpack is stuck at the door. If the room was planned around how many lockers fit, this is the moment it fails.
Good employee locker room layout ideas for warehouses start with that ten-minute rush, not with the locker count. This guide covers where the room should go, how wide aisles really need to be, five layout patterns that work, which locker type fits which worker, the ADA and OSHA rules that apply, and a 7-step plan you can use before you ask for a quote.
Quick answer
- Plan for the busiest shift overlap, not total headcount.
- Draw every aisle with locker doors open. Plan at least 59 inches between facing rows and more with a bench in the aisle.
- Keep exit routes at least 28 inches clear (OSHA) and accessible routes at least 36 inches clear (ADA).
- Make at least 5 percent of lockers, and one of each type, accessible, plus one ADA bench.
- Separate street clothes from dirty or contaminated work clothes when the work calls for it.
- Tape the plan on the floor and test a real shift change before you order.
Start With the Shift Change, Not the Locker Count
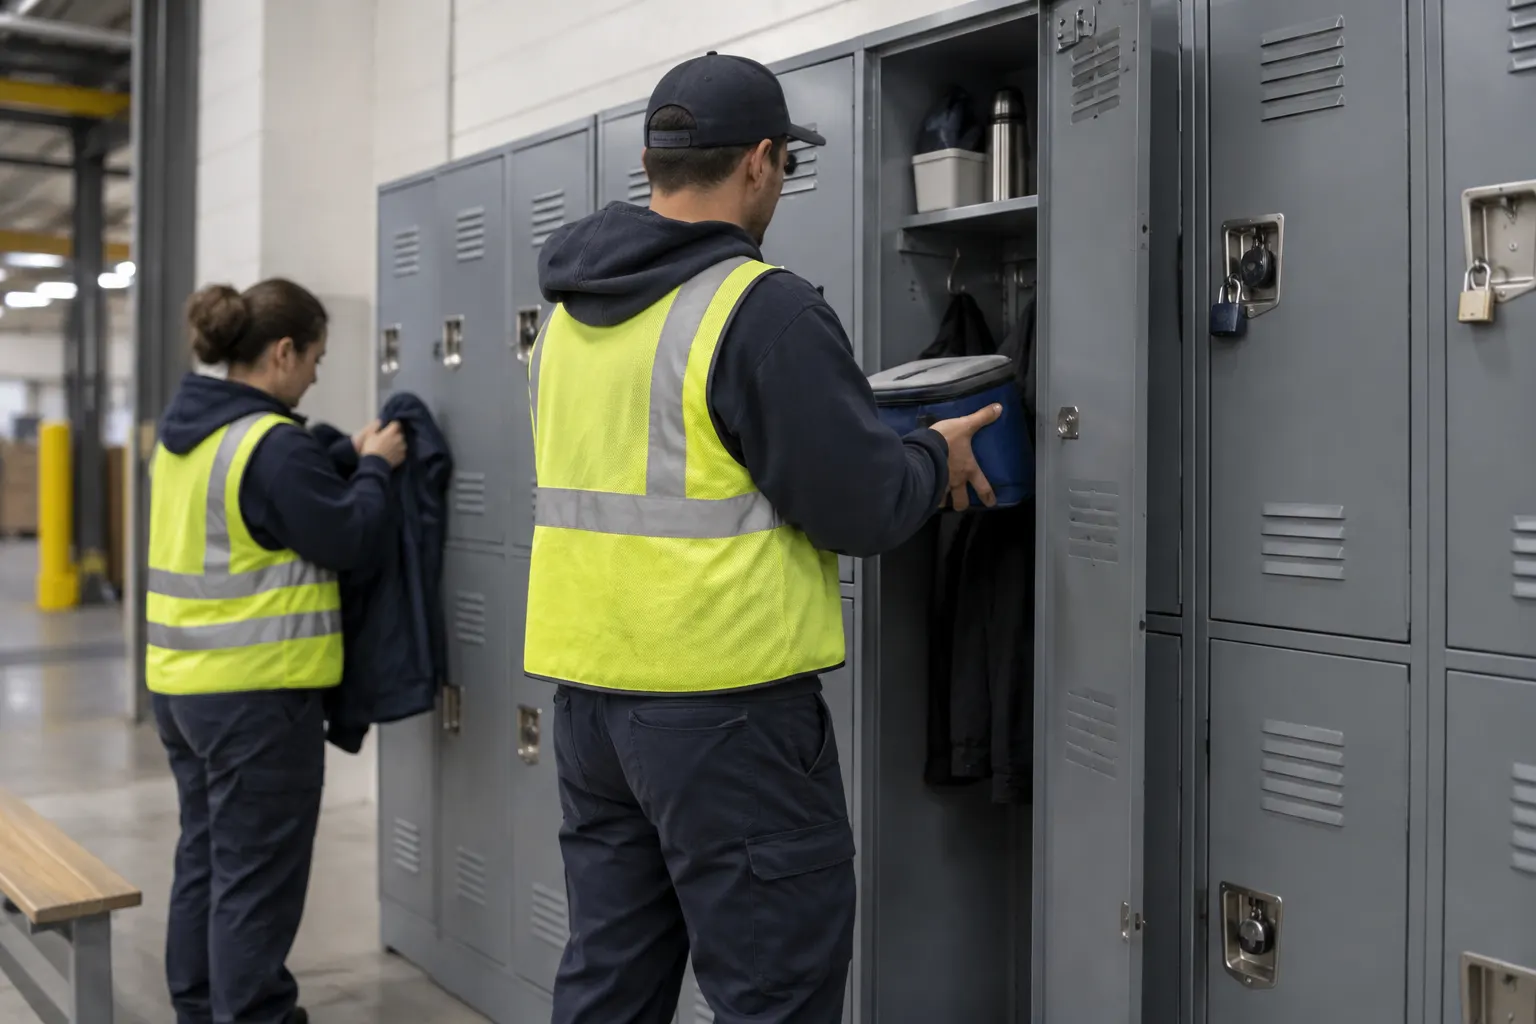
A warehouse locker room is busy in short bursts. Each worker walks in, opens a locker, maybe sits to change boots, grabs a vest or hard hat, and heads to the floor. The crew going home does the same thing in reverse, often through the same door.
That means the number that matters is how many people use the room at the same time. A building with 150 employees on three shifts may only have 40 people in the room at the 6:00 a.m. overlap. Size the aisles, benches and entry for those 40. Size the locker count for everyone who needs one.
Practical rule: Judge the room when it is full, not when every door is closed and the floor is empty.
A room that works also keeps bags, coats and changing out of work aisles and dock areas, which supports the bigger goal of improving warehouse safety and productivity. It gives the cleaning crew a clear floor, and it gives you room to add lockers when the next shift starts.
Where to Put the Locker Room
Put the room on the path workers already take from the parking lot or time clock to the warehouse floor. If people have to walk past the room and come back, they will leave bags at their workstations instead.
Irish workplace rules are a useful checklist even in the US. They say changing rooms should be easy to reach, big enough for the people using them, and fitted with seating. Where the work calls for it, they also call for separate lockers for work clothes and a way to dry wet work clothing, as laid out in this Irish workplace guidance.
In the US, the firm rule is narrower. Under OSHA 29 CFR 1910.141(e), when a specific OSHA standard requires protective clothing because of possible contamination with toxic materials, the employer must provide change rooms with storage for street clothes and separate storage for the protective clothing. Even when that rule does not apply, food, chemical and wet-work warehouses often want the same separation for hygiene.
Other location checks:
- Keep the room next to restrooms and handwashing if you can, so wet or soiled items do not cross clean areas.
- Do not block an exit route. If the room sits on one, the route must stay clear (see the next section).
- Avoid walls with electrical panels, sprinkler risers or equipment that needs service access.
- Look for a floor drain and good ventilation if workers come in wet or dirty.
Aisle Widths and Clearances That Actually Work

There is no single US standard that sets locker room aisle widths for a private warehouse. Your building and fire code official decides for your project. What you can do is check the plan against the hard minimums and then against planning guides that are based on real use.
| Clearance | Figure | Source and note |
|---|---|---|
| Exit access route | 28 in (71 cm) minimum at all points | OSHA 1910.36(g)(2). Exit routes must also stay free of obstructions under 1910.37. |
| Accessible route | 36 in (915 mm) clear width | 2010 ADA Standards 403.5.1 |
| Wheelchair turning space in the room | 60 in circle or a T-shaped space | 2010 ADA Standards 304 and 803.2 |
| Clear floor space at an accessible locker | 30 by 48 in | 2010 ADA Standards 305 and 811.2 |
| Between facing locker rows | 1.5 m (about 59 in) minimum | Locker-room layout guide, 1.8 m (about 71 in) for bulky gear |
| Row to wall / between rows (Polish rules) | 110 cm (about 43 in) / 150 cm (about 59 in) | Polish changing-room requirements |
Design for open doors and people
Steel employee lockers commonly come 12, 15 or 18 inches wide, and an open door swings out into the aisle by close to its own width. Here is a quick example. Two facing rows of 15-inch lockers with doors open on both sides use up about 30 inches of the aisle. In a 59-inch aisle that leaves about 29 inches to walk through. That is barely more than the 28-inch exit minimum and well under the 36-inch accessible route. This is why a plan that looks fine with doors closed can fail at shift change.
Benches eat aisle width fast
A center bench is handy, but it splits the aisle in two. One locker-room guide points out that a 400 mm (about 16 inch) bench in a 1.8 m (about 71 inch) aisle leaves about 700 mm (about 28 inches) on each side. That is room for one person at a time, not two, according to the same layout guide. If people sit on the bench facing the lockers, the space shrinks again.
Polish rules for industrial changing rooms add useful planning numbers. They call for at least 0.3 m² of free floor per person in a room for personal clothes and 0.5 m² in a basic changing room, seating for at least half of the largest shift, at least four air changes per hour (two for small rooms with windows), and a room temperature of at least 24°C (75°F), as summarized in these changing-room requirements. They are not US code, but they are a good sanity check.
Five Warehouse Locker Room Layout Ideas
Most rooms use one of the patterns below, or a mix of two. The right one depends on room shape, how many lockers you need, and whether clean and dirty clothing must be kept apart.
| Layout | Best for | Watch out for |
|---|---|---|
| Single-sided wall runs | Narrow or long rooms, moderate traffic | Fewer lockers per square foot. Keep runs away from the entry door. |
| Facing rows with a center bench | Mid-size rooms with one main shift change | Open doors from both sides plus seated workers. Needs the widest aisle. |
| Back-to-back island rows | Large rooms that need high locker counts | Every aisle has doors opening into it. Add end panels and keep end aisles open. |
| Clean and dirty split | Food, chemical, wet or dirty work, OSHA change rooms | Uses more floor and a partition. Plan a one-way path. |
| Box lockers at the entry plus full lockers inside | Mixed crews where some arrive already dressed | Two traffic patterns. Keep the box locker bank out of the main doorway. |
1. Single-sided wall runs
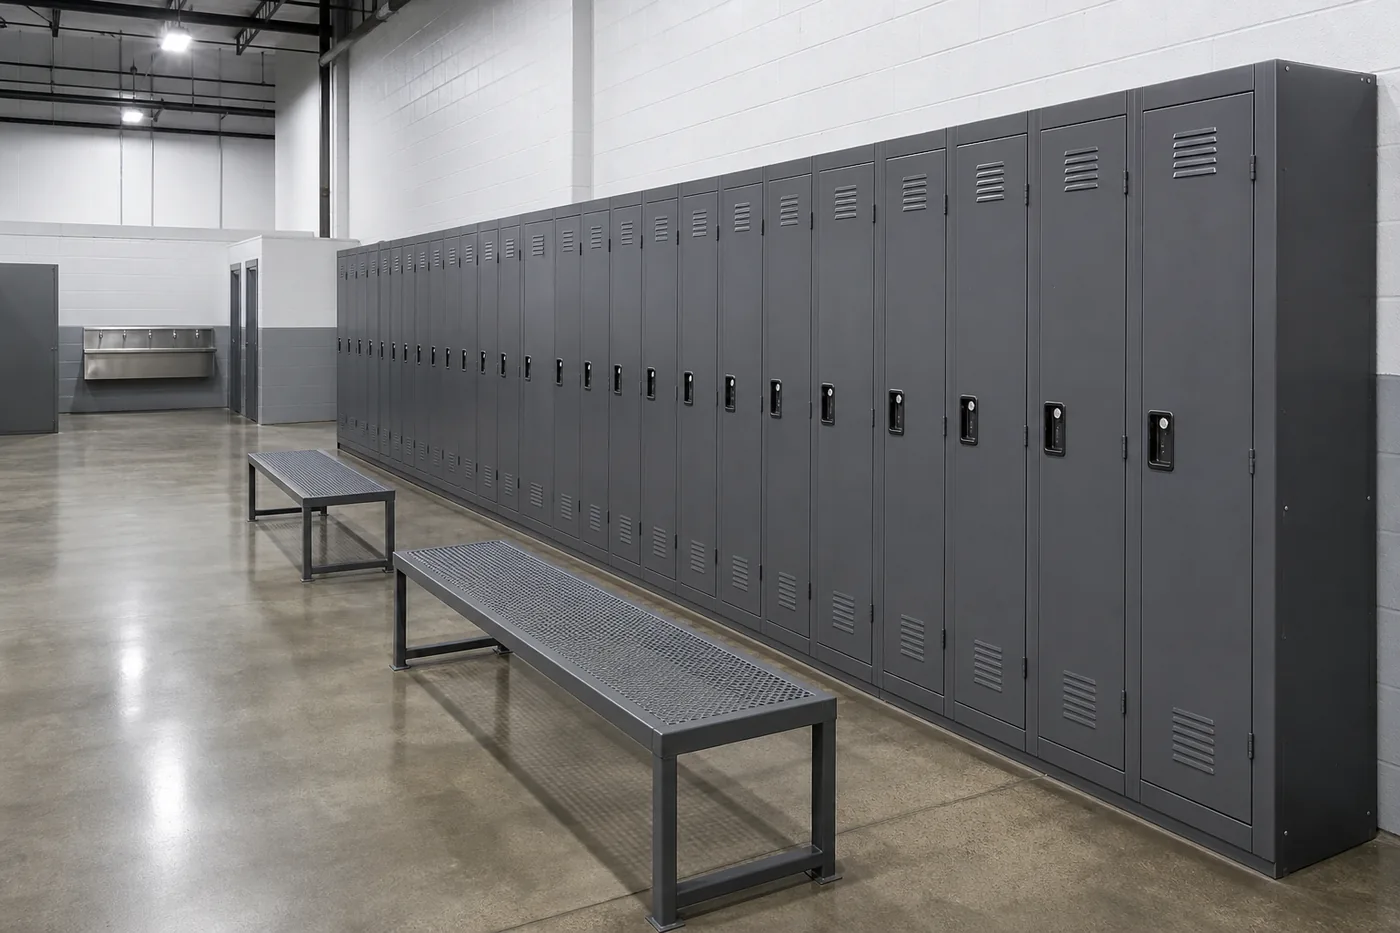
Lockers line one or more walls and the middle of the room stays open. This is the easiest layout to keep clear. Doors only open from one side, so a narrower room still works. Put the benches parallel to the lockers but out of the walking path, and keep the run a few feet away from the entry door so people coming in do not collide with an open door.
2. Facing rows with a center bench
Two rows face each other with a bench down the middle, like the photo above. It feels organized and fits more lockers than a single run. It also puts the most pressure on aisle width, so do the open-door math before you commit. If the room is tight, use a shorter bench or move it to the end of the aisle.
3. Back-to-back island rows
Two rows of lockers stand back to back in the middle of the room, with aisles on both sides. This is the densest option. Use finished end panels and a closed base or legs that are easy to mop under. Leave the ends of each island open so people can loop around instead of backing out of a dead end.
4. Clean and dirty split
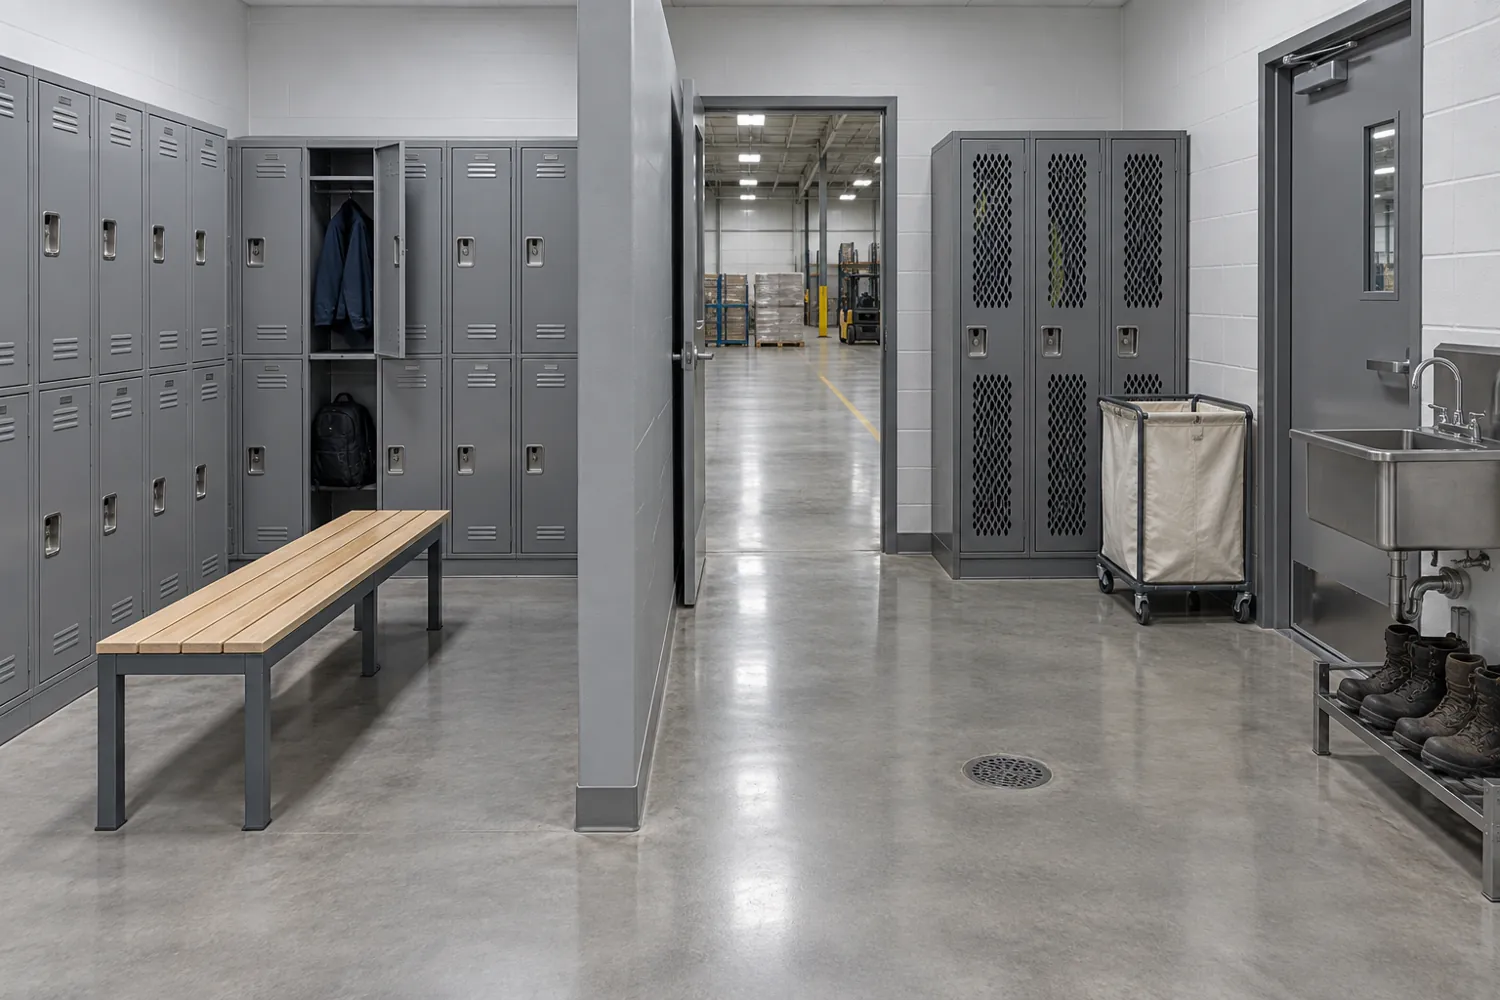
Workers enter on the clean side, store street clothes, walk through to the work side, and put on work clothes and boots there. At the end of the shift they reverse the path, dropping dirty clothing in a hamper before they cross back. Ventilated lockers help damp work clothes dry. A hand sink and boot rack by the door to the floor keep dirt on the work side. This is the layout to look at first if OSHA 1910.141(e) applies to any of your crew.
5. Box lockers at the entry plus full lockers inside
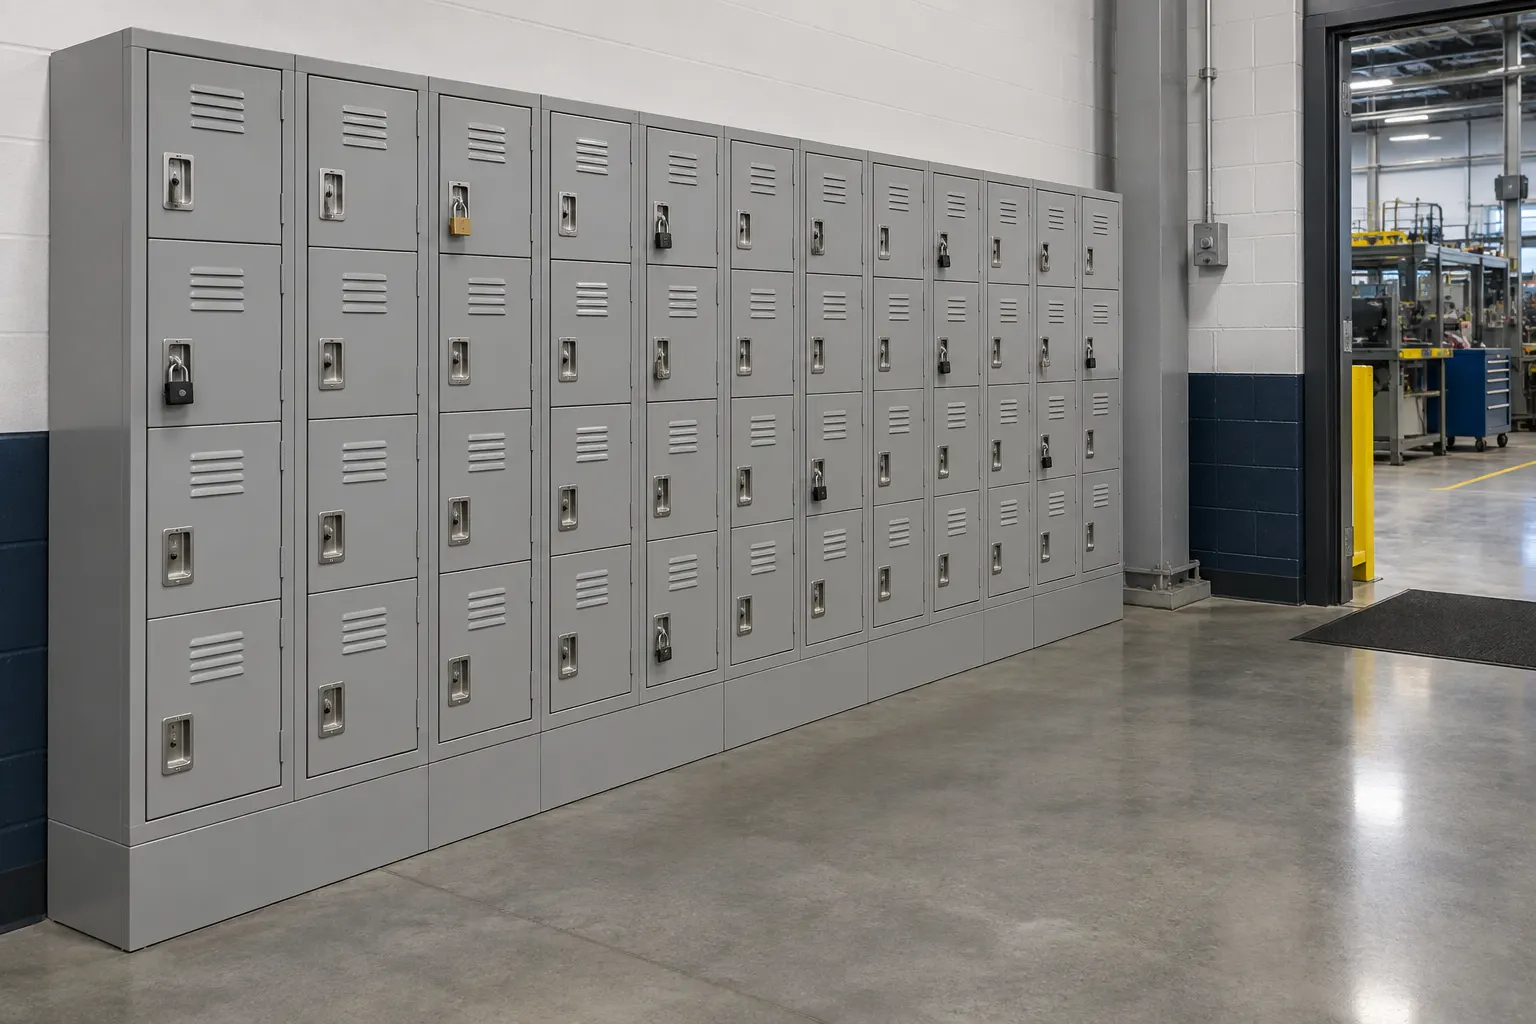
Many warehouse workers arrive dressed for work and only need to lock up a phone, keys and a wallet. Give them box lockers near the floor entrance and save the full-height lockers in the changing room for people who change. This splits one crowd into two smaller ones. Keep the box locker bank out of the doorway itself.
Bonus: a modular change room inside the warehouse
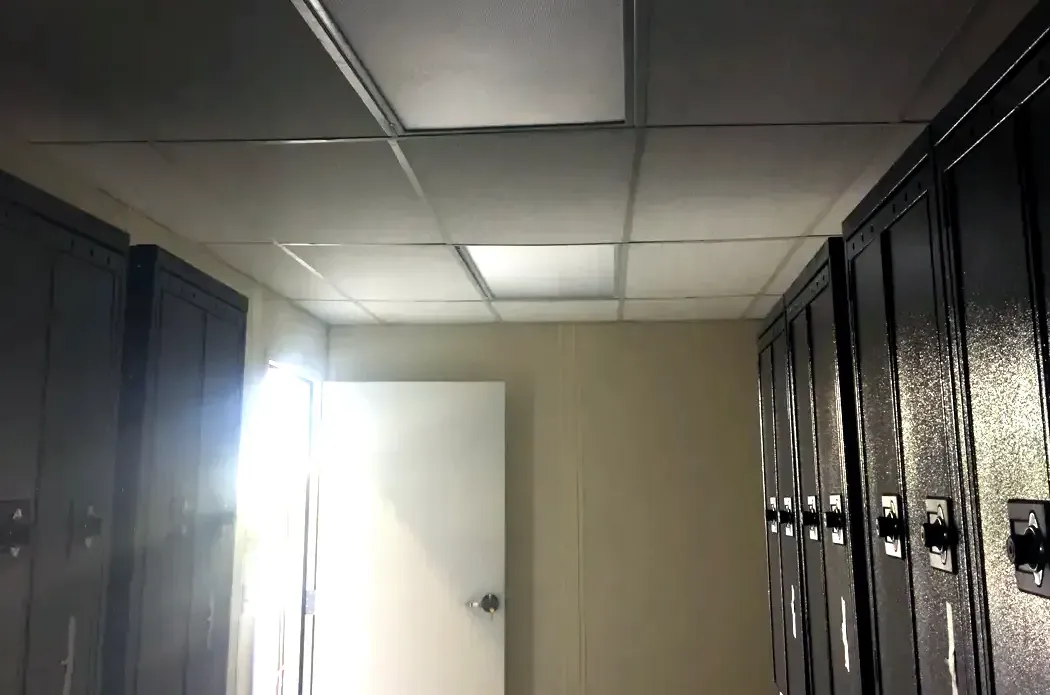
If the building has no spare room, you can build one on the floor. Material Handling USA installed a factory-built modular change room under a storage mezzanine for Stork in Salt Lake City, so the company got a private locker room and a storage deck on the same footprint. You can sketch a room like that with our modular building designer. For a separate building outside, this modular locker room trailer planning and size guide covers the trailer route and the questions to settle before pricing.
Want a second set of eyes on your plan?
Send us your room dimensions, door locations and peak user count. We will draw a free CAD layout with lockers, benches and traffic flow. Start a locker room design or call (800) 326-4403.
Match the Locker to What Workers Store
Under-sized lockers are a layout problem. When boots, hard hats or wet jackets do not fit, they end up on the bench and the floor. Decide what each group carries, then pick the locker.
| Locker type | People per column | Good fit for |
|---|---|---|
| Single-tier lockers | 1 | Coats, coveralls, boots, hard hats, uniforms on hangers |
| Double-tier lockers | 2 | A jacket, a lunch bag and a small backpack |
| Triple-tier lockers | 3 | Large crews who store a light jacket and a bag |
| Box lockers | 4 to 6 | Phones, keys, wallets for workers who arrive dressed |
| Smart lockers | Shared, assigned by software | Day-use or shared lockers for rotating shifts and temp staff |
Garment rails, hooks and shelves matter too. A long hanging rail needs solid support in the middle so it does not sag under heavy coats. A center support bracket like this deluxe wardrobe rail center bracket is an example of that detail. Put PPE hooks and boot storage near the door to the floor, not by the entry.
For rotating shifts or temp-heavy crews, shared lockers assigned by software can cut the total count you need. See how smart lockers solve business challenges. To compare materials, gauges and hardware across brands, use our locker specifications library, or browse the full range of steel employee lockers.
Accessibility: What the 2010 ADA Standards Ask For

Where the 2010 ADA Standards for Accessible Design apply, these are the main locker room items:
- How many lockers: at least 5 percent of lockers, and no fewer than one of each type, must comply with section 811 (section 225.2.1).
- Accessible locker: a 30 by 48 inch clear floor space in front, and storage and hardware within 15 to 48 inches above the floor. Hardware must work with one hand without tight grasping, pinching or twisting.
- Room: turning space inside the room, and the door may not swing into the room over the required clear floor space (section 803).
- Bench: at least one bench meeting section 903. The seat is 42 inches long minimum, 20 to 24 inches deep, and 17 to 19 inches high. It needs back support or must be fixed to a wall along its long side, as shown in ADA chapter 9 and the Access Board guide.
A locker-room dimension summary in this locker-room accessibility guidance repeats the same 30 by 48 inch, 15 inch and 48 inch figures. Put accessible lockers near the entry on the accessible route, at the end of a run where the clear floor space does not block the aisle, and put the accessible bench next to them.
How to Plan a Warehouse Locker Room in 7 Steps
- Count the peak overlap. Count how many people change at the same time during the busiest shift overlap, including temps, contractors and supervisors.
- Measure the room. Measure walls, ceiling height, columns, doors and door swings, drains, electrical panels and any exit route that passes through.
- List what people store. Write down what each group brings: street clothes, coveralls, boots, hard hats, lunch, phones. This sets the locker type and size.
- Pick the layout pattern. Choose wall runs, facing rows, island rows, a clean and dirty split or a mix, based on room shape and how many lockers you need.
- Draw aisles with doors open. Draw every aisle with locker doors open and people standing at lockers. Check exit routes, accessible routes and turning space.
- Place benches, hooks and accessible lockers. Put benches out of the main path, locate accessible lockers and the accessible bench, and add hooks, boot storage and PPE storage near where they are used.
- Test it with tape and get a CAD layout. Tape the plan on the floor, run a real shift change, fix the pinch points, then send the plan for a CAD drawing and quote.
Step 2 in practice: measure the whole room

Record wall lengths, ceiling height, columns, pipes, heaters, windows, panels, drains, doors and which way each door swings. Note any exit route that runs through the room. A locker bank can fit the wall and still block a panel or narrow an exit. Also check the delivery path: lockers have to fit through every door and hallway on the way in.
Step 7 in practice: tape it and test it

Mark lockers, benches and door swings on the floor with tape. Stand boxes on the locker outlines. Then ask a few workers to run a real shift change: walk in, open a door, sit, change boots, leave. Watch where people wait, turn around or drop bags on the floor. Move the bench or shorten a run before anything is ordered. It costs a roll of tape and fifteen minutes.
Common Warehouse Locker Room Mistakes
- Sizing for today only. Warehouses add shifts, seasonal staff and contractors. Leave a wall or a run end where lockers can be added later.
- Drawing doors closed. The room works on paper and jams at shift change. Always draw open doors and standing people.
- Adding benches last. A bench dropped into a finished plan usually ends up in the walking path.
- Blocking exits and panels. Exit routes must stay at least 28 inches wide and clear, and electrical panels need their working space.
- Lockers too small. If boots and hard hats do not fit, they live on the floor.
- Ignoring wet clothing. Damp work clothes need ventilated lockers, a drying option and good air movement, or the room will smell.
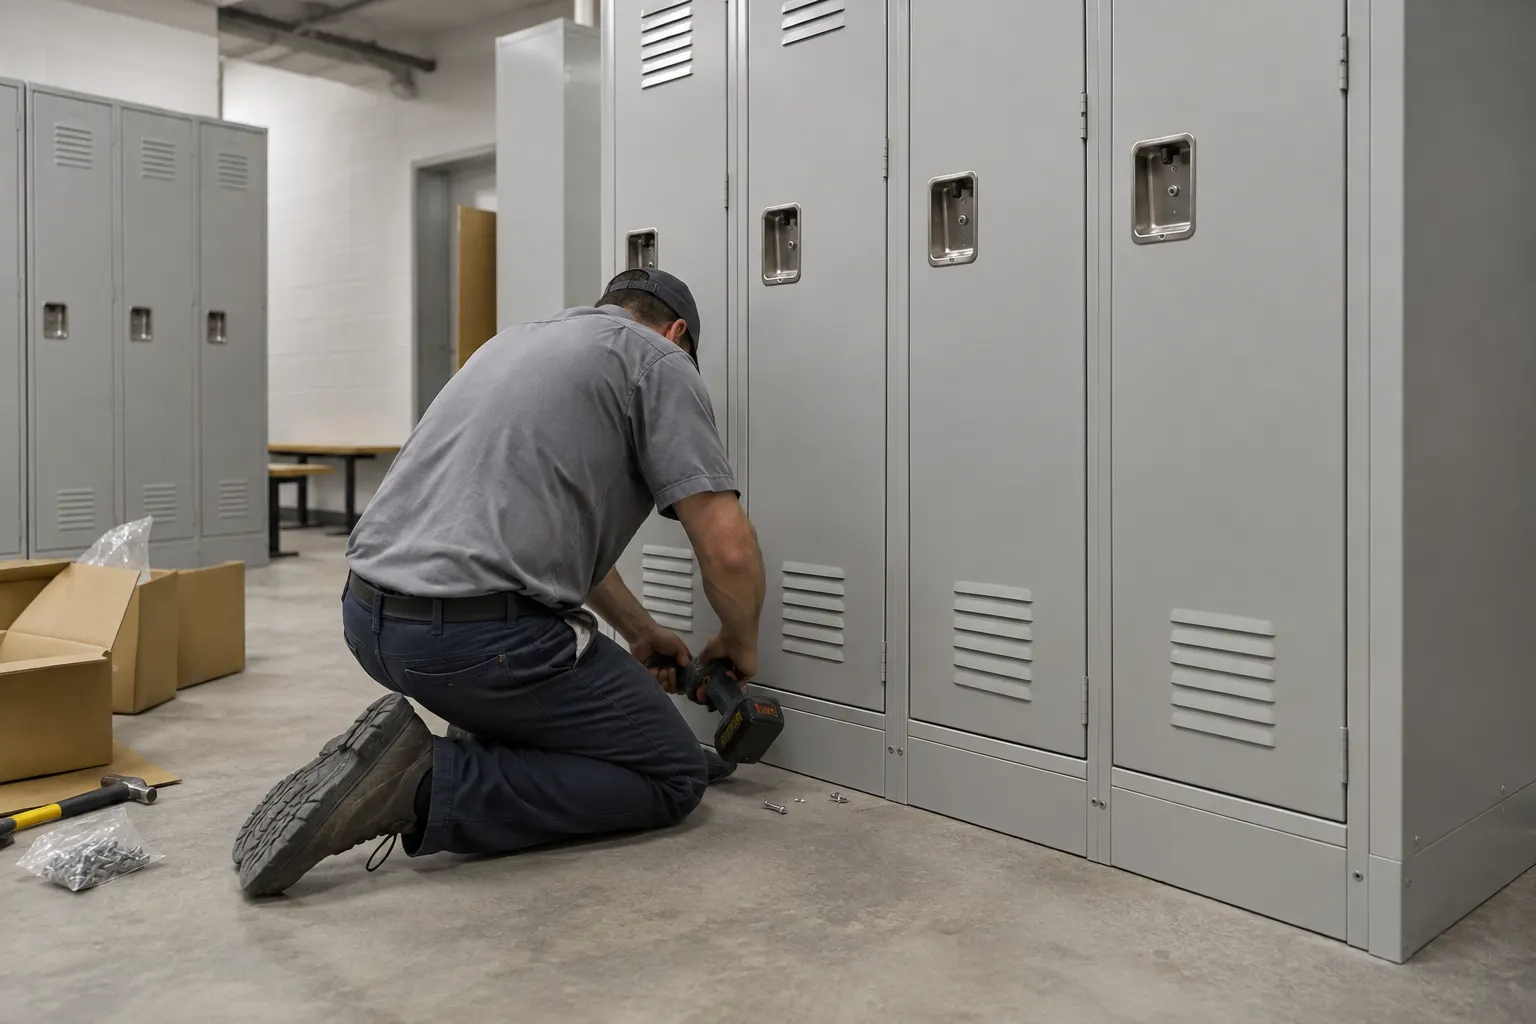
- Forgetting install access. Check door widths, the delivery path and the floor and wall where lockers will be anchored.
For a wider look at how the locker room fits the rest of the building, see our warehouse design and layout services, the warehouse design services checklist, and our guide to warehouse ergonomics. If the locker room shares a build-out with offices, the in-plant office design guide and modular building designer guide cover that side.
What to Send for a Layout and Quote
- A floor plan or sketch with all dimensions, ceiling height, doors and door swings
- Locations of drains, panels, columns and any exit route through the room
- Peak number of people changing at once, and total people who need a locker
- What each group stores (street clothes, coveralls, boots, PPE, lunch, phones)
- Whether clean and dirty storage must be separate
- Accessibility needs and any code notes from your architect or code official
- Target date the room must be ready
With that list, our team can return a free CAD locker room layout and an itemized quote, and confirm current lead times when you are ready to order. Utah buyers can also see our Utah lockers page.
Frequently Asked Questions About Warehouse Locker Rooms
How much space does a warehouse locker room need?
There is no single US number. Start with the peak number of people changing at once, then add aisles, benches and door swings. As reference points, Polish rules call for 0.3 to 0.5 square meters (about 3 to 5.4 square feet) of free floor per user, and one locker-room guide suggests 10 to 20 square feet per peak user in total. Your local code official has the final word.
How wide should the aisle between lockers be?
Plan at least 59 inches (1.5 m) between facing rows, and more if a bench sits in the aisle. Any part of the room that is an exit route must keep at least 28 inches clear under OSHA, and an accessible route needs 36 inches clear under the 2010 ADA Standards. Measure with locker doors open, not closed.
Should a warehouse use single-sided or back-to-back lockers?
Single-sided wall runs suit narrow rooms and keep one simple path. Back-to-back island rows hold more lockers in a large room, but every aisle then has doors opening into it, so the aisles must be wider. Many rooms use wall runs plus one island.
How many lockers must be accessible?
Where the 2010 ADA Standards apply, at least 5 percent of lockers, and no fewer than one of each type, must meet section 811. That means a 30 by 48 inch clear floor space in front and storage within 15 to 48 inches above the floor.
What size should a locker room bench be?
An accessible bench under ADA section 903 has a seat 42 inches long minimum, 20 to 24 inches deep, and 17 to 19 inches high. It needs back support or must be fixed to a wall along its long side. A locker room covered by the ADA needs at least one bench like this.
When does OSHA require a change room?
Under 29 CFR 1910.141(e), a change room is required when a specific OSHA standard makes employees wear protective clothing because of possible contamination with toxic materials. The room must have storage for street clothes and separate storage for the protective clothing.
Which locker type works best for warehouse workers?
It depends on what they bring. Single-tier lockers fit coats, coveralls and boots. Double-tier lockers fit a jacket and a lunch bag and fit twice as many people per column. Box lockers suit phones, keys and wallets for workers who arrive dressed for work.
Can Material Handling USA design the layout for us?
Yes. Send your room dimensions, door locations, peak user count and what people store. Our team prepares a free CAD locker room layout with locker placement, benches and traffic flow, then an itemized quote. Call (800) 326-4403.
Plan Your Warehouse Locker Room With Material Handling USA
Get a free locker room layout
Material Handling USA designs and supplies complete employee locker rooms: lockers, benches, accessories and installation. Send your room size and crew count and we will draw the layout and quote it line by line.
- Request a free locker room design
- Shop steel employee lockers
- Sketch an in-plant change room in the modular building designer
- See all free design tools
Prefer to talk it through? Call (800) 326-4403.