
Optimizing Lab Spaces for Vocational High Schools
A practical planning and installation guide for durable laboratory casework, work surfaces, storage, ventilation and accessible student work zones—designed around how career and technical education programs actually teach.
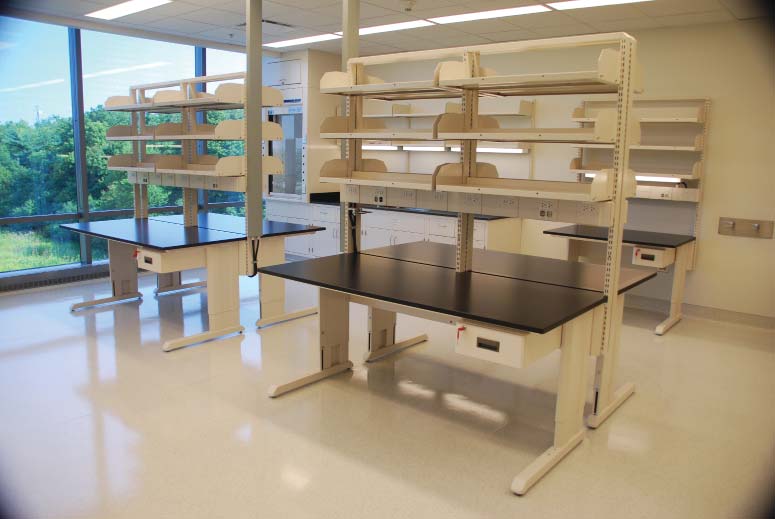
Curriculum-led
Plan around how classes work
Safety-first
Coordinate surfaces, storage and ventilation
ADA-aware
Include accessible work zones early
Turnkey support
Design, furnish and install
Good School Labs Begin With the Lesson Plan
A vocational high school laboratory has to do more than look modern. It has to let an instructor demonstrate a process, let students work safely in groups, store equipment between periods and survive years of daily use. Biology, chemistry, health science, welding support, culinary, automotive and other CTE programs all place different demands on the room.
That is why a successful lab project is not a catalog exercise. Casework, work surfaces, sinks, shelving, exhaust arms, power, lighting and technology have to be coordinated around the curriculum, the students and the building. A cabinet that is excellent in a research lab may be the wrong choice for an introductory classroom if it blocks sight lines, creates a pinch point or puts the tools students use every day too far away.
Material Handling USA helps schools, districts, architects and general contractors move from an early room concept to a coordinated laboratory package. We can assist with layout, product selection, drawings, surfaces, storage and installation planning. The goal is a lab that is teachable on day one and maintainable for the people who run it.
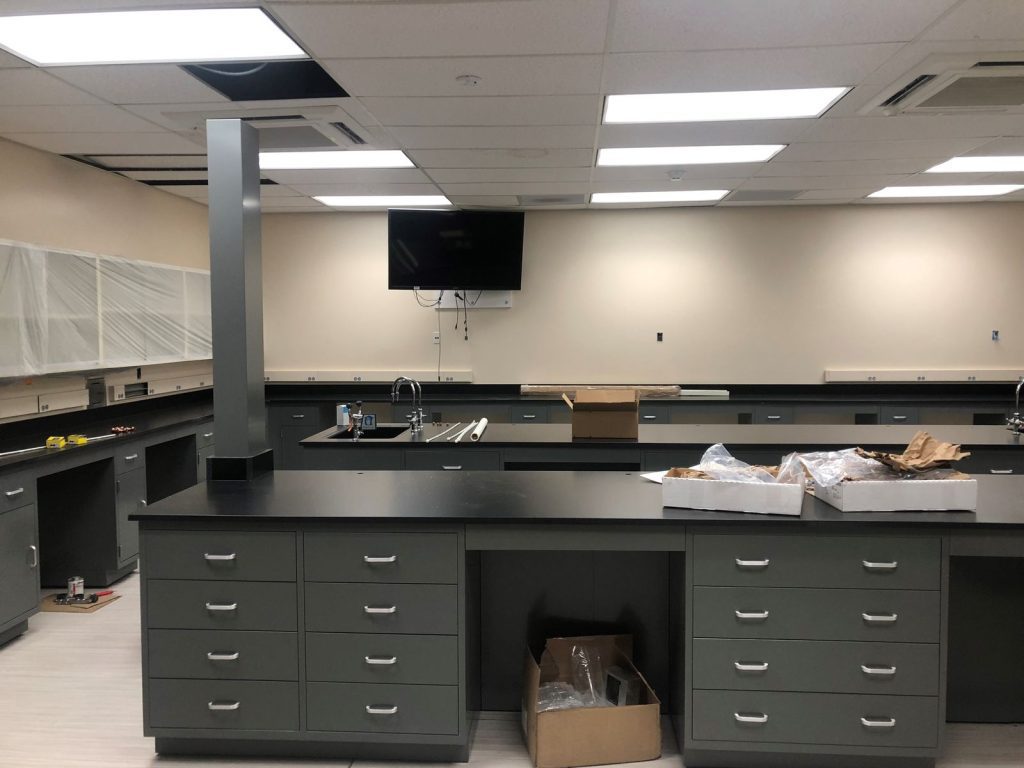
Start with the people and the workflow
Ask the instructor to walk through a normal class period. Where do students enter? Where are demonstrations visible? Which materials are issued, returned, cleaned or locked? Which stations need water, heat, compressed air, data or local capture? This conversation exposes conflicts before they become expensive change orders.
Then test the room with the less-visible moments: a student carrying a tray, a group gathering around an island, a wheelchair user approaching a workstation, an instructor opening a cabinet while students pass, or facilities staff replacing a filter. Those moments are where an otherwise attractive plan succeeds or fails.
Have a rough room, renovation or bond-project plan?
Send the footprint, curriculum and equipment list. We will help identify the design decisions that need to be made before the lab package is priced.
Start a Lab Conversation Open the Lab Layout Configurator Call (800) 326-4403
Four Planning Questions That Shape the Furniture Package
Use these questions with the instructor, facilities team and design professional before selecting finishes. They turn a generic furniture list into a room that supports teaching.
 Make instruction visibleA vocational lab has to support demonstrations, circulation and hands-on practice at the same time. Island benches, perimeter casework, clear sight lines and durable work surfaces should be selected around the lesson plan—not added after the furniture is drawn.
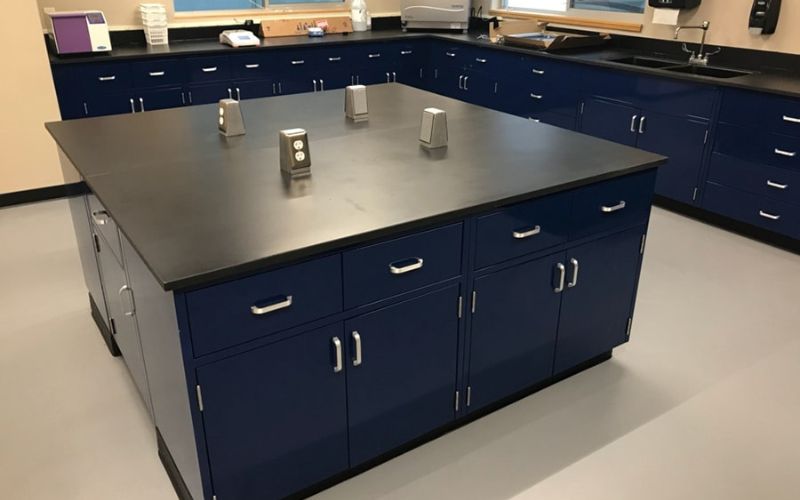 Build in safe movementStudents move differently from experienced technicians: they carry materials, gather around a demonstration and need room to pull out stools or open doors. Layout decisions should separate wet work, heat, storage and teaching zones without creating pinch points.
 Store for the next classLockable base and wall cabinets, tall storage and organized reagent or equipment locations keep the room ready between periods. The goal is not simply more cabinets; it is shorter retrieval paths and fewer objects left on student work surfaces.
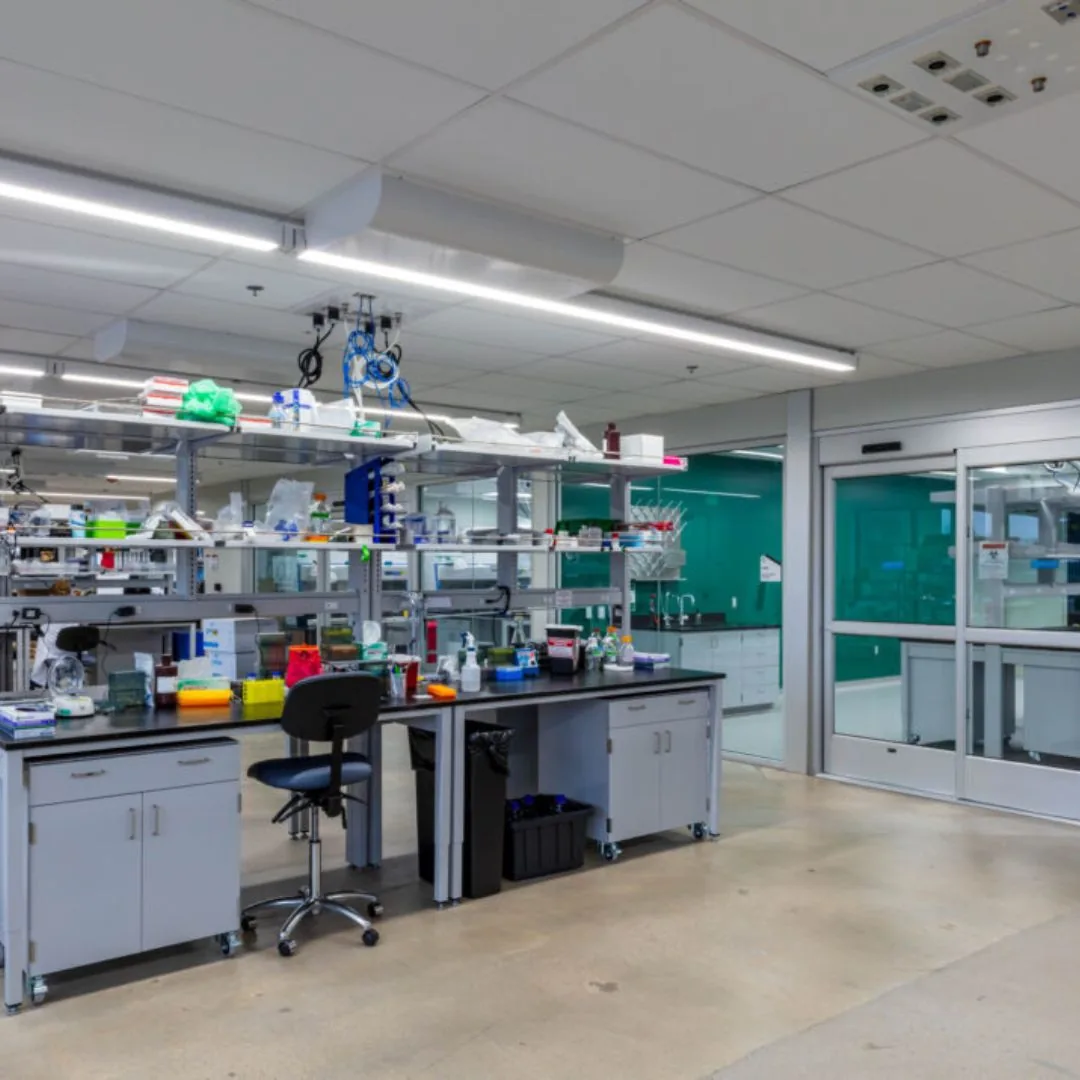 Leave room for the program to changeCareer and technical education programs evolve. A useful specification leaves service access, adjustable storage and sensible utility locations so the room can absorb new equipment without a complete furniture replacement.
Translate the answers into zones
A useful concept plan normally identifies at least a teaching and demonstration zone, student work zones, wet or sink areas, heat or process areas, storage, waste and cleaning, accessible work positions, instructor sight lines and service routes. Not every room needs every zone, but every zone that the course requires should have a deliberate place.
Keep the circulation logic visible. The fastest route through a room is not always the safest route, and a high-density furniture arrangement is not efficient if students queue around a single sink or if an instructor cannot see an active process. We review the layout as a teaching environment, not only as a set of rectangles.
Choose Laboratory Work Surfaces by Task and Exposure
The work surface is the part of the lab every student touches. It receives heat, water, cleaners, instruments, notebooks, dropped tools and the occasional spill. A surface should be specified for the work it will actually see—not chosen only because a sample looks good in a finish board.

Epoxy and phenolic resin are not interchangeable
Air Master Systems describes epoxy tops as non-porous, water and moisture resistant, and resistant to heat and chemicals. Its phenolic description emphasizes a non-porous double-cured acrylic coating and resistance to harsh chemicals, including acids. Durcon also publishes epoxy advantages and a technical specification sheet. Those manufacturer descriptions are useful starting points, but the final surface selection still belongs to the project team that knows the chemicals, cleaning program, sink details and expected temperature exposure.
Edge profiles matter too. A raised or marine edge can help manage incidental liquid; a cove backsplash changes how a perimeter bench meets the wall; and a sink cutout, faucet location or service penetration needs to be coordinated before fabrication. We ask about those details early so the top is not treated as a last-minute accessory.
| Surface | Where it may fit | Verified manufacturer information | Confirm before ordering |
|---|---|---|---|
| Epoxy resin | Non-porous work surface for wet classroom work, sinks and general laboratory use. | Air Master describes epoxy tops as water/moisture resistant and resistant to heat and chemicals; Durcon publishes epoxy performance and testing information. | Specify thickness, edge, backsplash, sink cutouts and chemical exposure with the project team. |
| Phenolic resin | Lightweight, chemical-resistant option for many classroom, research and storage applications. | Air Master describes a double-cured acrylic, non-porous coating and resistance to harsh chemicals, including acids. | Confirm the exact grade and chemical exposure; no surface is a substitute for safe handling. |
| Stainless steel | Hygienic, long-lasting surface for high-moisture, infection-control or specialized work areas. | Air Master identifies stainless work surfaces for high-moisture areas, bacteria/infection control and radioisotope work. | Coordinate welds, sound-deadening treatment, sinks and cleaning requirements. |
A surface is not a safety program
Chemical resistance, cleanability and durability do not eliminate the need for labeling, personal protective equipment, chemical hygiene, spill response, supervision and training. OSHA’s laboratory resources identify chemical, biological, physical and other hazards; use the school’s written procedures and the responsible safety professional for the complete program.
Need help comparing tops for different stations?
Send the station list—wet bench, demonstration island, fume hood, clean area or equipment bench—and we will map surface choices to the work instead of specifying one material everywhere.
Discuss Your Lab Surfaces Design a Lab Bench Call (800) 326-4403
Casework and Storage That Survives the School Day
Casework determines where students reach, where instructors supervise and where supplies live when class ends. It also carries the practical burden of doors, drawers, hinges, shelves, locks, cleaning and service access. The right mix is usually more useful than a room filled with one cabinet type.
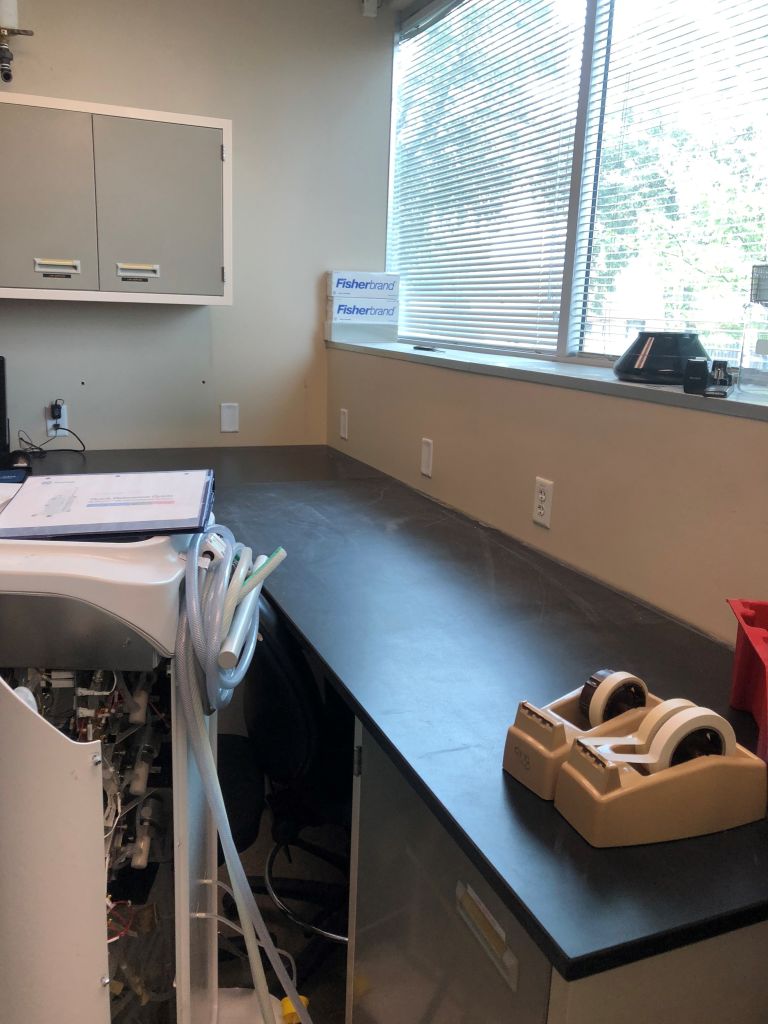 Base, wall and hanging caseworkPainted steel casework can be arranged as base, wall, hanging or floor cases. Air Master publishes inset and overlay styles, adjustable shelving, full-extension drawer slides, double-pan doors and chemical-resistant baked-on epoxy powder paint.
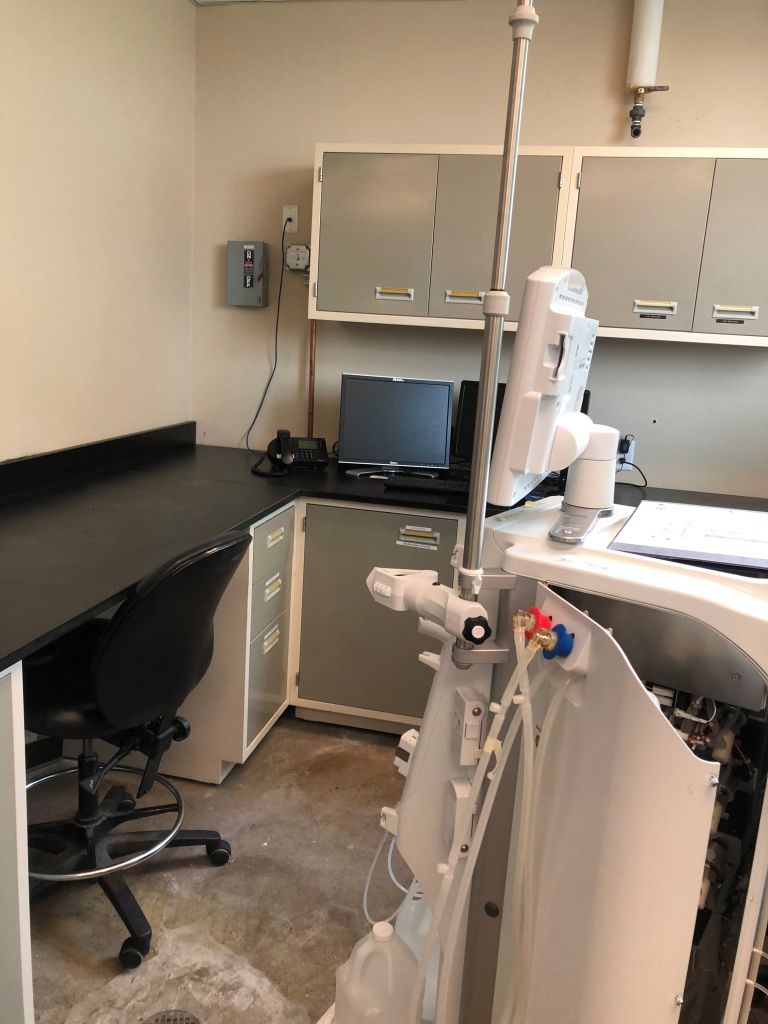 Flexible and mobile work zonesMobile casework can help a teaching lab change between demonstrations and student work. Air Master describes front-locking 3-inch casters and a counterbalance weight on its mobile cabinets; the final configuration must be selected for the equipment and room.
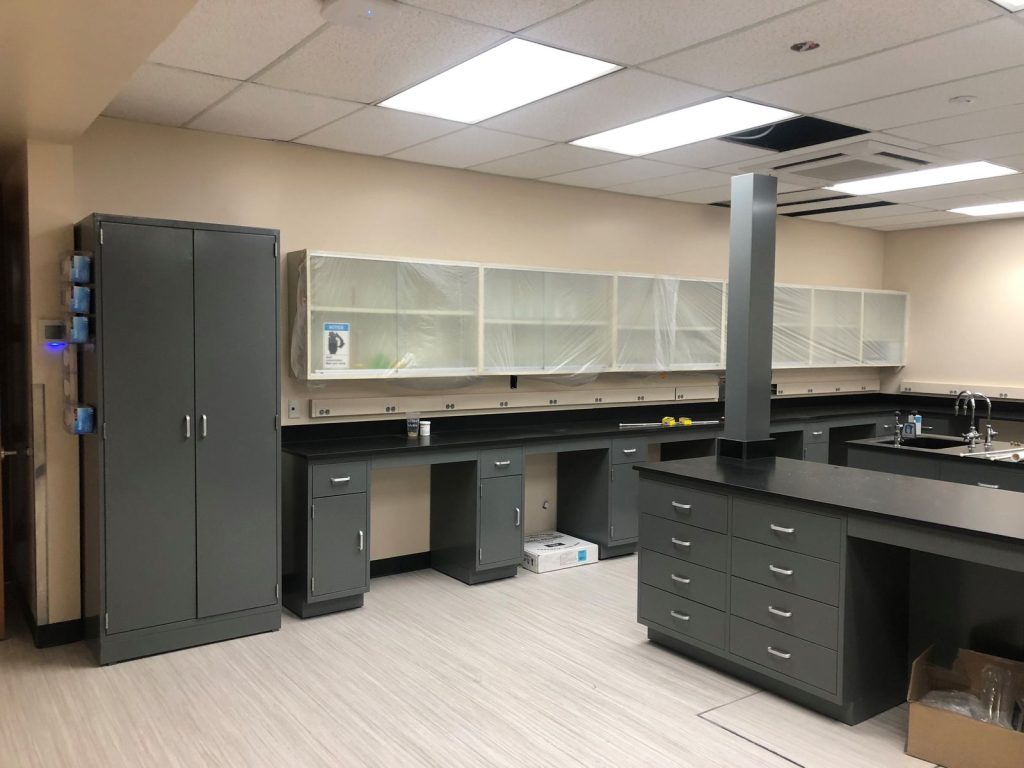 Tall storage and controlled accessFull-height cabinets, lockable doors and well-labeled shelves put equipment where instructors can supervise it and students can retrieve it safely. Separate clean, dirty, chemical and maintenance storage during the planning conversation.
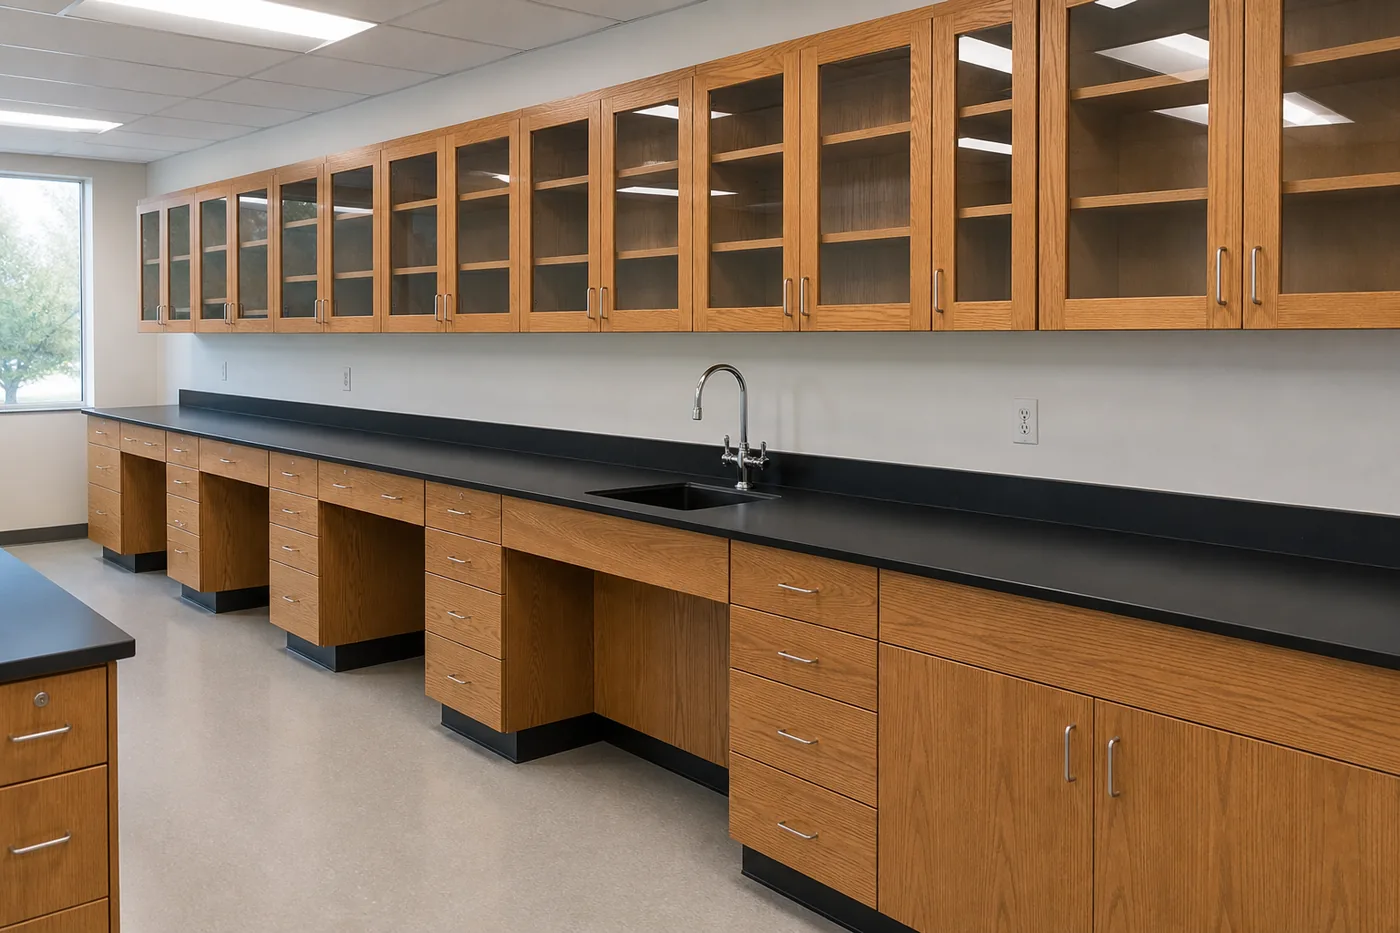
Painted steel, wood and specialty casework
Air Master’s painted-steel casework offering includes base, wall, hanging, mobile and floor cases, with inset or overlay styles, adjustable shelving and full-extension drawer slides. The manufacturer also describes double-pan doors and drawer fronts, sound-deadening construction, stainless five-knuckle hinges and a chemical-resistant baked-on epoxy powder paint. Those details matter in a high-use classroom because the casework is touched and opened constantly.
Wood veneer or specialty casework can create a different visual and functional language for an instructor station, collaboration zone or program-specific room. We do not assume that one finish belongs everywhere. We separate high-abuse, wet, chemical, clean and presentation areas and specify the construction against that use.
- Store the items students use every period close to the work zone.
- Separate chemical, clean, waste, maintenance and personal-storage needs.
- Use lockable storage where the program, district policy or safety plan requires controlled access.
- Reserve room for tall equipment and confirm door swings before ordering full-height cabinets.
- Coordinate mobile units with power, plumbing, exhaust, floor protection and egress.
- Include labels, shelf adjustment and a closeout plan so the room stays organized after handoff.
Ventilation and Local Capture Belong in the First Layout
Ventilation is not a decorative accessory added after the benches are placed. A chemistry or process lab may require fume hoods, local extraction arms, general exhaust, make-up air, service clearances or a combination of systems. The correct choice depends on the materials and processes taught, not simply on the room name.
OSHA’s laboratory standards page identifies 29 CFR 1910.1450, laboratory ventilation references and ASHRAE 110 hood-performance testing among the resources teams may need to consider. The school’s architect, mechanical engineer and safety professional determine the applicable requirements. MH-USA can coordinate furniture and equipment locations with that design, but does not promise compliance or hood performance from a furniture selection alone.
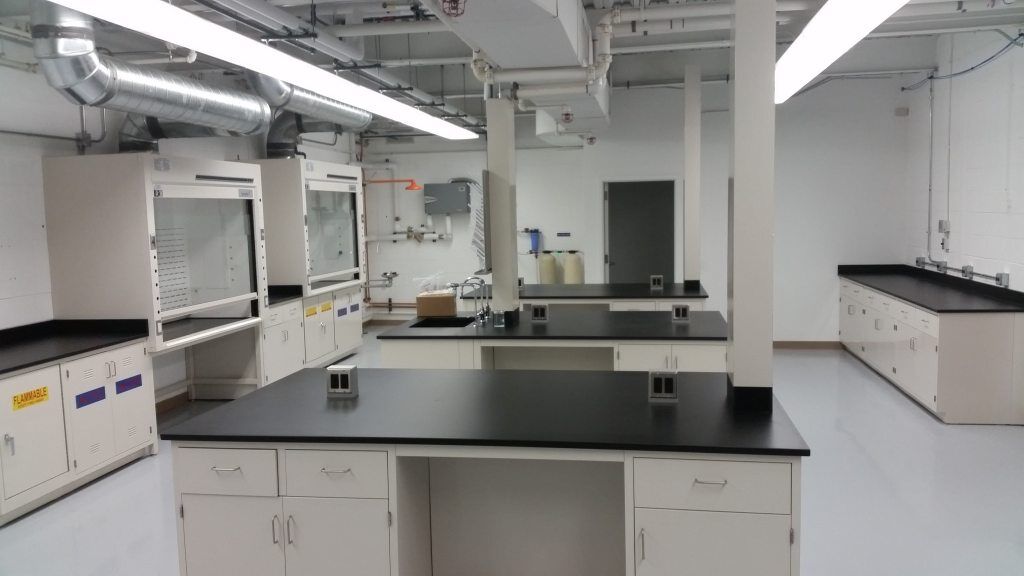 Fume hoods and local captureOSHA points laboratory teams to the Occupational Exposure to Hazardous Chemicals in Laboratories standard and to fume-hood guidance. A hood or local-capture device is selected for the process, hazard and exhaust design—not simply because a room is called a chemistry lab.
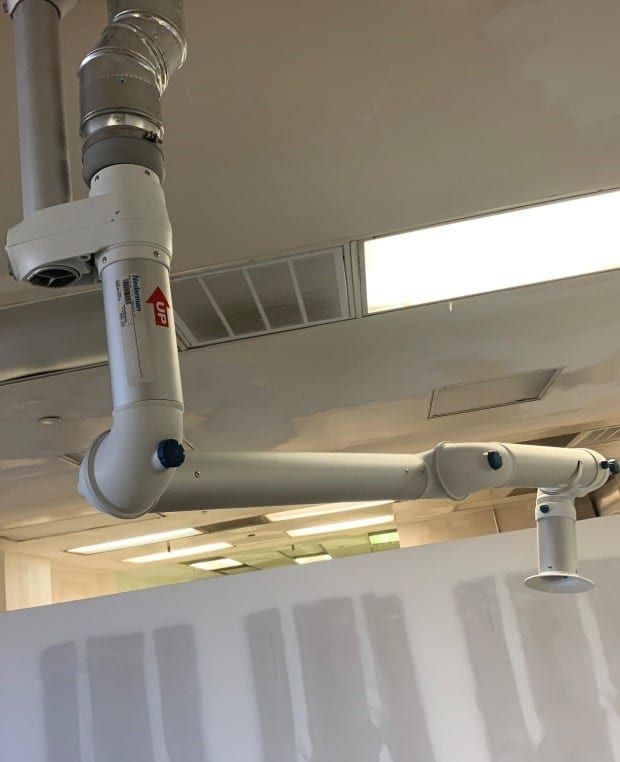 Bench-top extraction armsNederman describes its FX families as extraction arms for fumes, aerosol suction and odor capture in laboratories and other environments. Original, CHEM and ESD/EX families serve different use cases; the responsible ventilation engineer must confirm the correct model and system performance.
 Coordinate the ceiling earlyDuct routes, ceiling grids, service drops, lighting and sprinklers compete for the same space. The layout should reserve penetrations and access panels before furniture is ordered, rather than improvising around a finished ceiling.
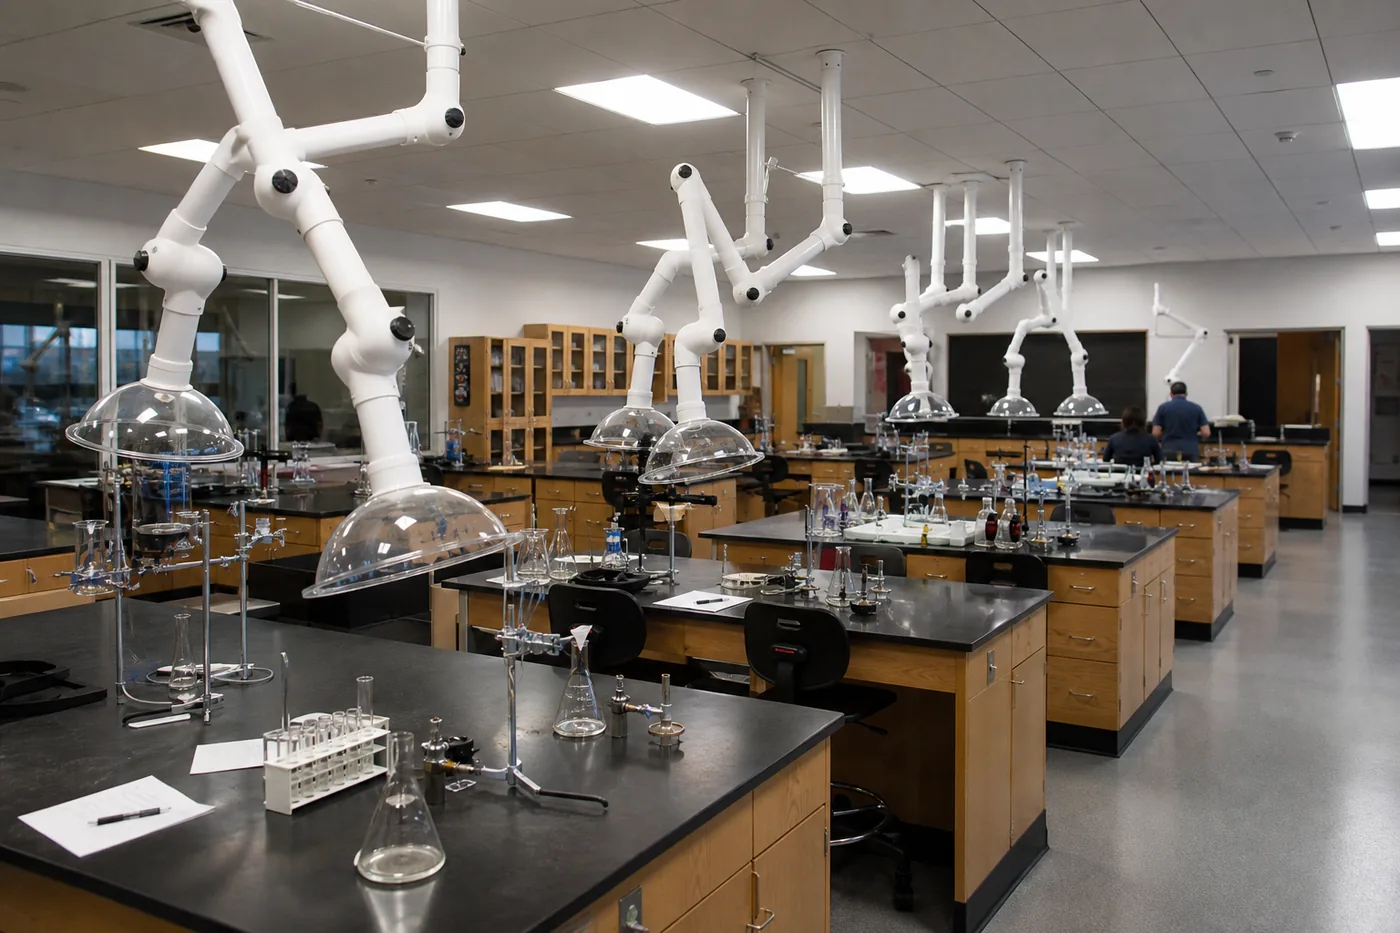
Service drops change the room plan
Ceiling-mounted arms, ductwork, lighting, sprinklers, cameras and instructional displays all compete for overhead space. A drop through a suspended ceiling may require an extension profile and cover plate; a bench-mounted arm needs a clear capture zone and a route for the hose or duct. These are coordination items, not field improvisations.
Nederman’s FX page describes Original, CHEM and ESD/EX families for different use cases. We use the official product family information and the manufacturer’s literature as inputs, then leave model, airflow, duct sizing and commissioning to the responsible ventilation design. That discipline protects the school from specifying an attractive but unsuitable arm.
Design Inclusive, Supervised Work Areas
Accessibility is easiest to support when it is part of the initial room geometry. Identify which workstations, sinks, controls, storage locations and instructional positions need to be approachable and usable by students with different mobility, reach and sensory needs. Then protect those clear areas through the rest of the design process.
Air Master publishes ADA casework and says its ADA cabinets are available in widths from 12 to 48 inches, with attention to height, depth, wheelchair clearance and aisle space. That is product information—not a certification of a complete room. The 2010 ADA Standards, the district, the architect and the accessibility professional govern the final design. We flag the furniture decisions that affect that review and coordinate them with the plan.
| Review area | Questions for the school and design team |
|---|---|
| Approach | Can a student reach the workstation, sink or equipment without passing through an active hazard zone? |
| Clear floor space | Does the furniture arrangement preserve the required approach and maneuvering space after stools, carts and equipment are placed? |
| Reach and controls | Are frequently used controls, handles, outlets, storage and instructional interfaces within the planned reach range? |
| Visibility | Can the instructor supervise the accessible station and can the student participate in the same lesson as the class? |
| Routes and egress | Do doors, aisles, service access and emergency paths stay usable during normal class activity and maintenance? |
| Future changes | Can a bench, shelf or mobile unit be adjusted without removing the accessible position from the room? |
Accessibility review belongs in the drawing set
We can identify furniture options and protect accessible work zones, but no cabinet or countertop alone makes a laboratory compliant. Coordinate the complete route, clearances, controls, plumbing, equipment and egress with the project’s architect and applicable authority.
From Room Survey to Installation and Handoff
Installation quality is determined before the crew arrives. A measured survey, coordinated drawings, confirmed utility responsibilities and a realistic phasing plan prevent the most common school-lab problems: furniture arriving before the floor is ready, sinks landing over the wrong rough-in, an exhaust arm competing with lighting, or equipment that cannot pass through the door.
Listen to the program
We start with courses, class size, teaching style, equipment list, storage habits and the difference between an instructor demonstration and a student work station.
Survey and map the room
Existing dimensions, windows, doors, floor levels, structural conditions, utilities, ceiling services and any equipment that must remain are documented before layout decisions.
Lay out zones and circulation
Wet work, dry work, heat, ventilation, storage, accessible work areas, instructor visibility and student circulation are tested together. The layout is not just a furniture plan.
Specify the system
We coordinate casework, work surfaces, sinks, shelving, extraction, service panels, power, lighting and accessories against the room’s teaching and safety requirements.
Review and install
The school team reviews drawings and finishes, then our installation plan accounts for access, phasing, protection of adjacent spaces, connections and final adjustment.
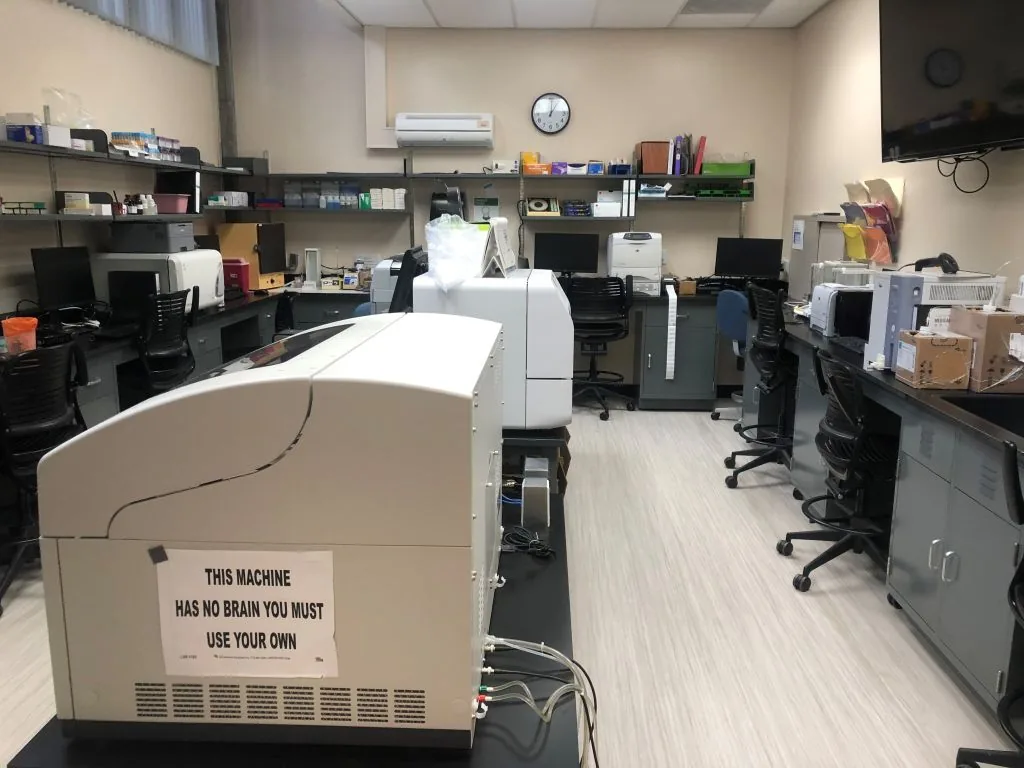
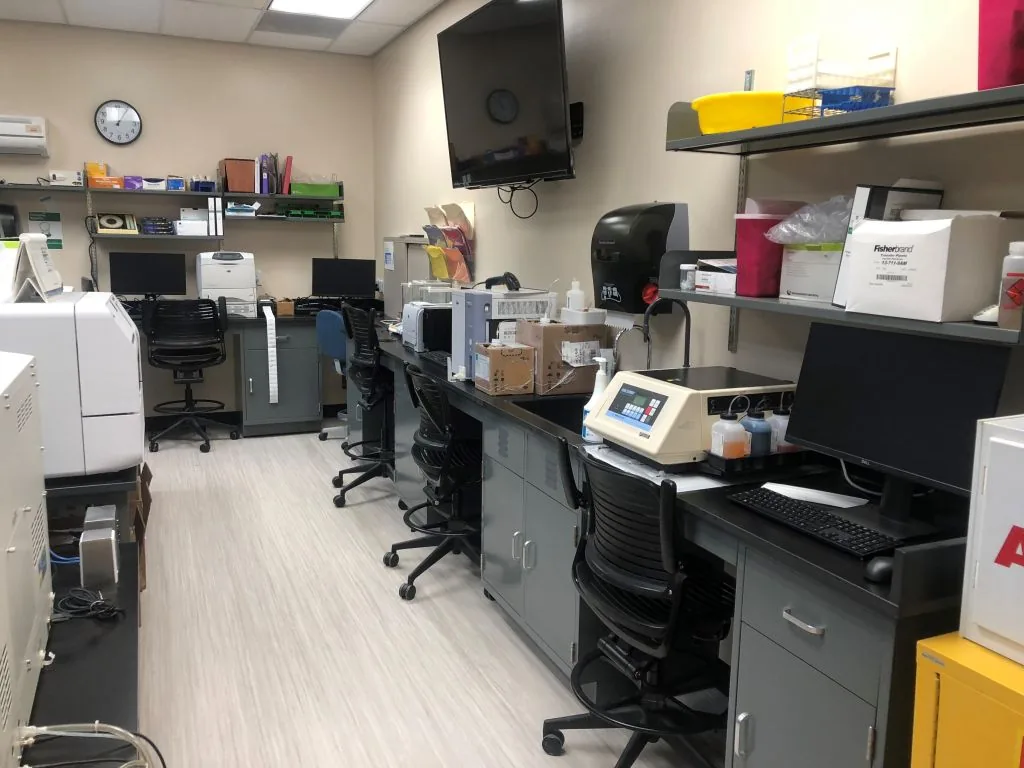
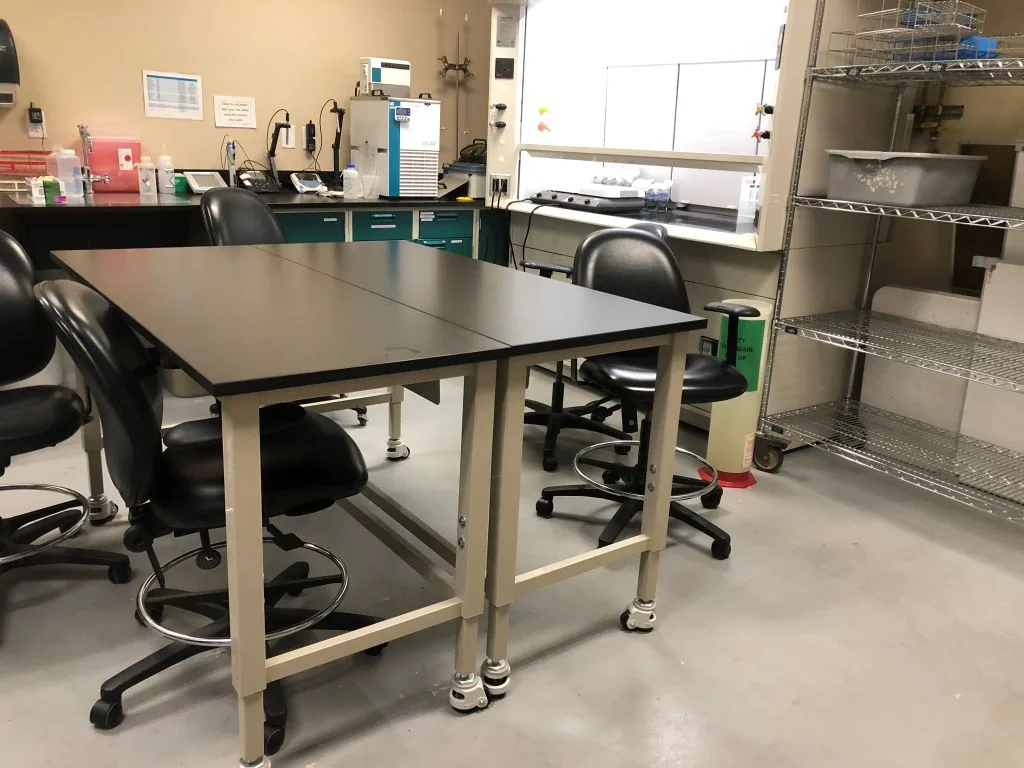 Document the existing roomRecord dimensions, doors, ceiling height, utilities, windows, floor condition, equipment that stays and equipment that moves. Photos of existing walls and service points reduce surprises during the site walk.
 Coordinate the tradesFurniture, electrical, plumbing, HVAC, exhaust, data and instructional technology must share a coordinated plan. Resolve conflicts in drawings instead of on the installation day.
 Install and close outA professional closeout includes leveling and anchoring where specified, connection checks, door and drawer adjustment, surface inspection, cleanup and a handoff package for instructors and facilities staff.
What we ask for when a quote needs to be accurate
Provide the room footprint, ceiling height, doors and windows, existing utilities, class size, course list, equipment schedule, storage quantities and the desired installation window. For renovations, include demolition limits, access restrictions, floor protection, phasing, after-hours requirements and what the school will move or dispose of. A short site visit can resolve questions that a plan alone cannot.
Our deliverable depends on the scope, but may include a layout, product schedule, finish direction, coordination notes, installation scope and closeout requirements. We clearly identify work by others—especially electrical, plumbing, HVAC, exhaust, fire protection and data—so the school does not discover those gaps on move-in day.
Planning a new CTE lab or renovation?
Bring us into the room-planning conversation before the furniture schedule is locked. We will help connect the curriculum, the equipment list and the installation sequence.
Get a Lab Planning Quote Open the Lab Layout Configurator Call (800) 326-4403
Vocational High School Laboratory Planning FAQs
What should a vocational high school provide before lab design starts?
Which laboratory work surface is best for a high school?
Can you include accessible student workstations?
Do school chemistry labs need fume hoods or snorkel arms?
Can lab casework be mobile or reconfigured later?
Do you install the lab after supplying the furniture?
Laboratory Design Resources
Use these pages and tools to move from broad planning to a specific room conversation. The linked product and resource images belong to the destination pages; they are not generic placeholders for unrelated equipment.
 Laboratory Design & Equipment ServicesA broader design overview covering planning, equipment, ventilation, furniture and project coordination.
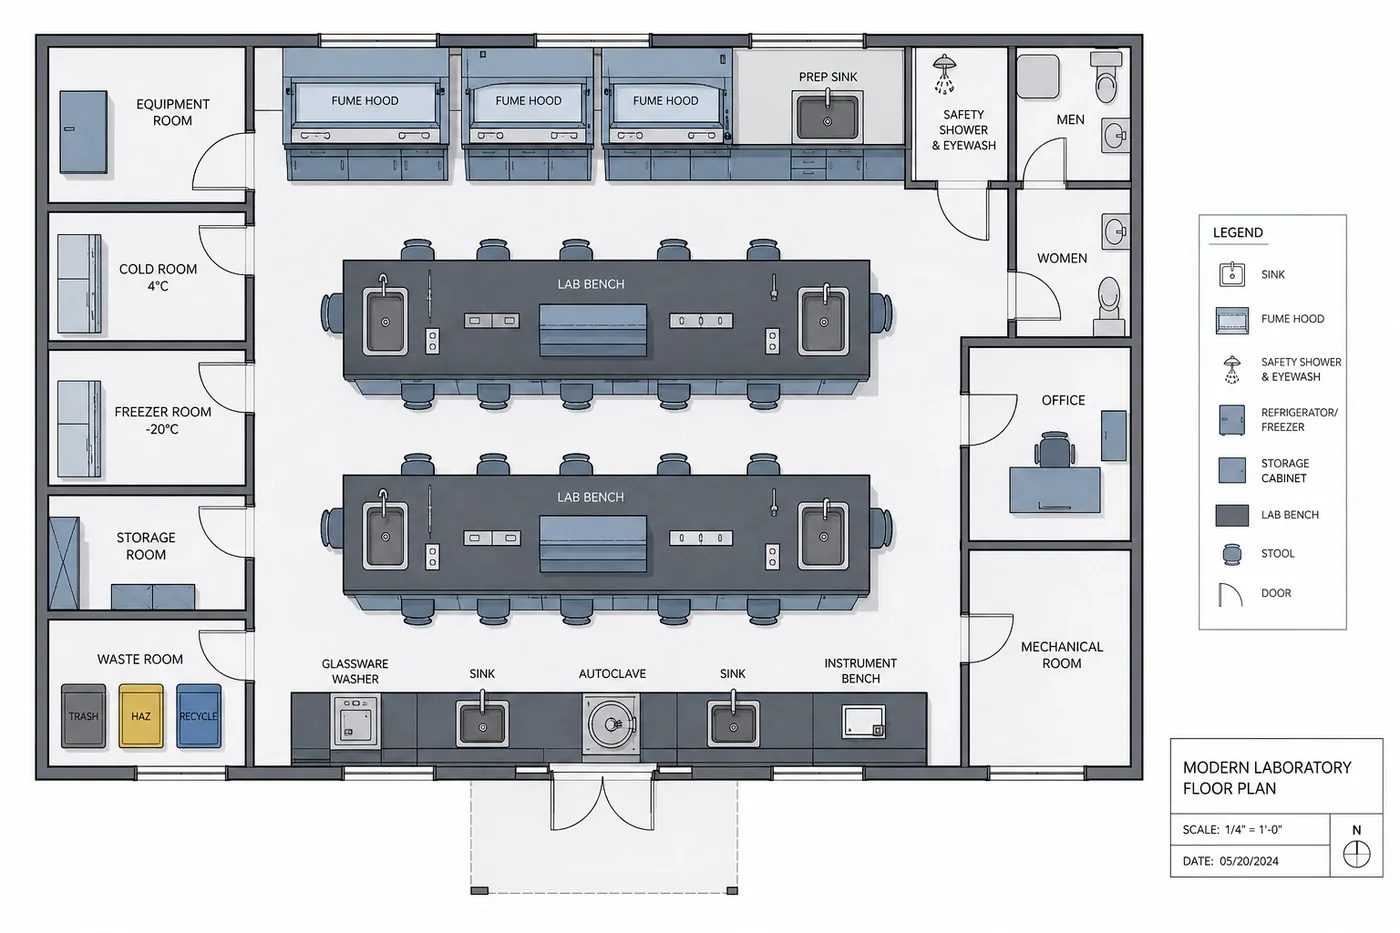 Lab Layout ConfiguratorSketch a laboratory footprint, benches and equipment zones before the design conversation.
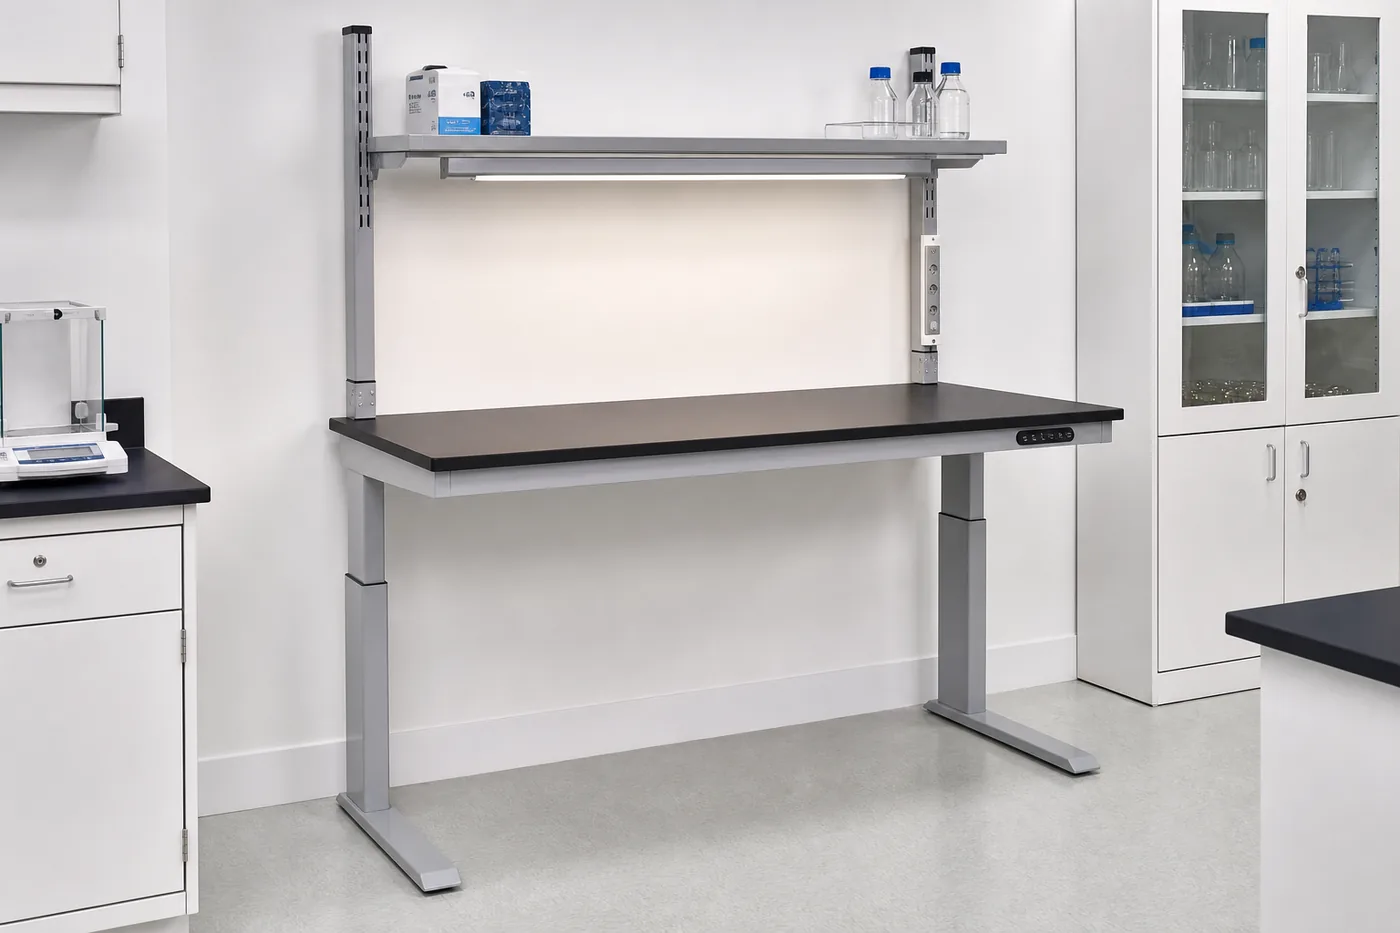 Lab Bench ConfiguratorExplore a configurable bench concept and send the layout to the MH-USA team.
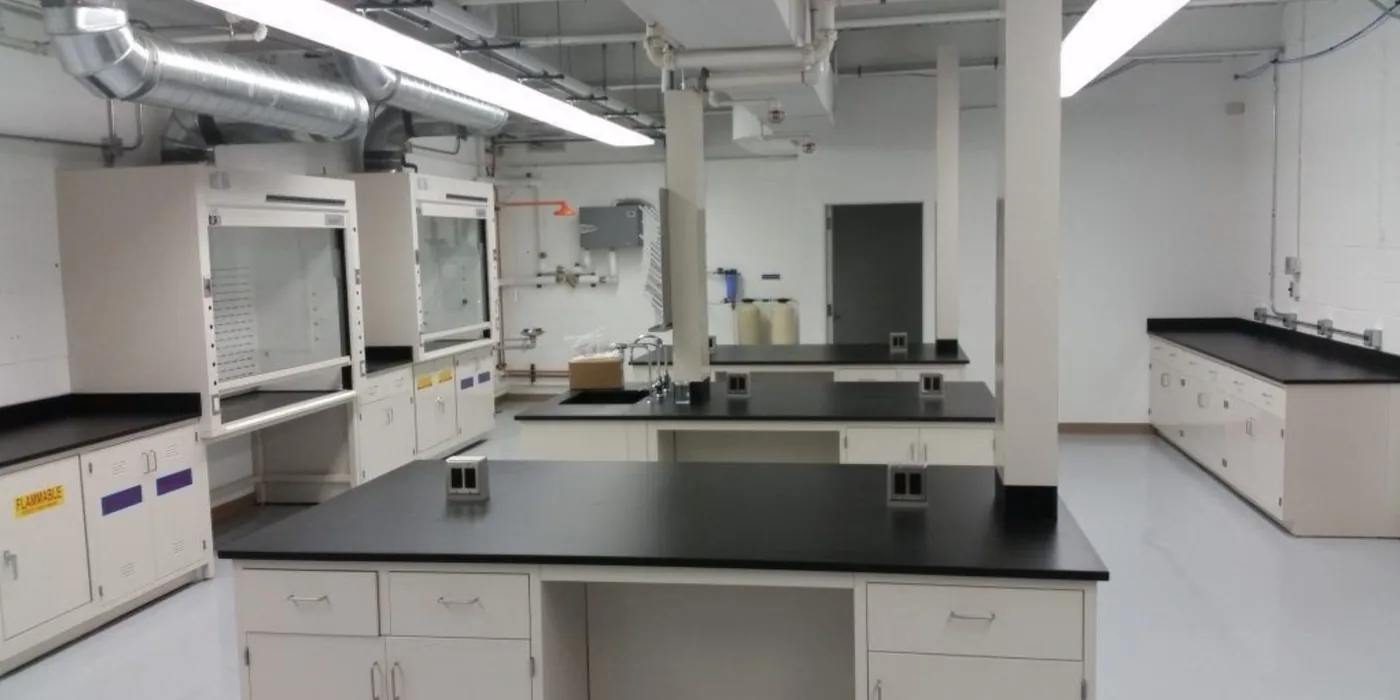 Laboratory SpecificationsReview casework, hoods, surfaces and planning details before finalizing a specification.
 Fume Extraction Systems for LaboratoriesExplore laboratory extraction arms and related ventilation planning considerations.
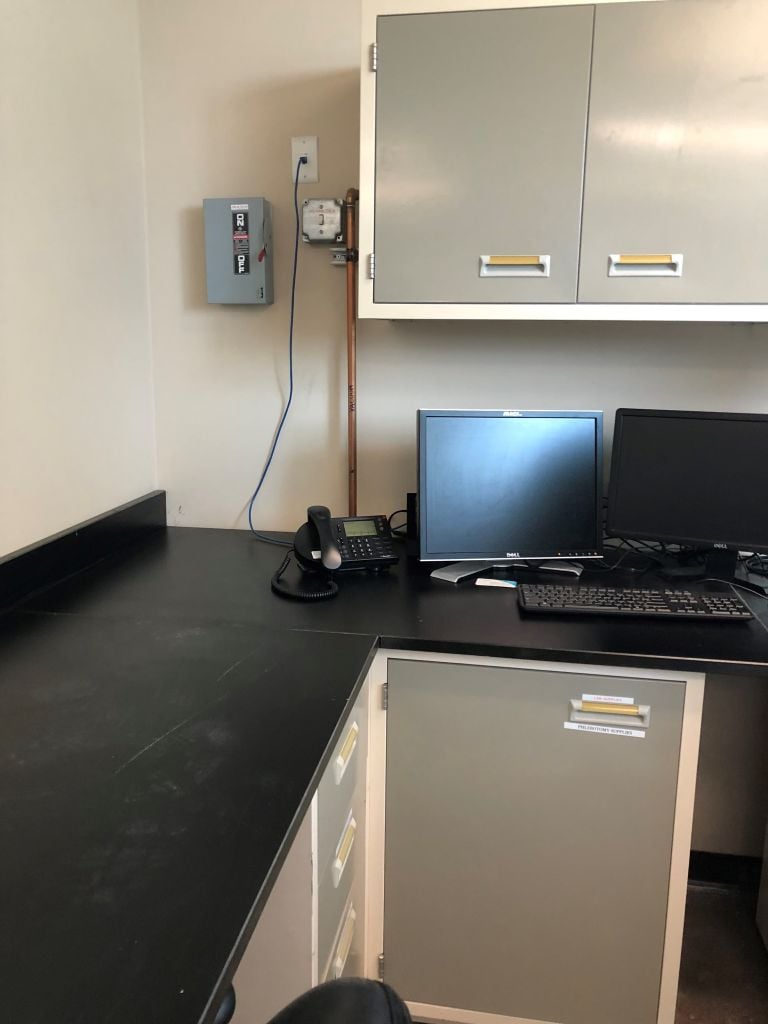 Complete Laboratory SolutionsCasework, work surfaces, sinks, shelving and equipment support for a coordinated room.
 Custom Laboratory Furniture SolutionsSee how custom workstations and casework can be tailored to a program’s workflow.
Standards and manufacturer references
These external sources were used to verify the technical framing on this page. They are reference points, not substitutions for project-specific engineering, commissioning or the school district’s safety program.
- Explore Labs USA laboratory furniture solutions
- Explore Labs USA laboratory furniture solutions
- Explore Labs USA laboratory furniture solutions and BenchTop Arms brochure
- OSHA — Laboratories overview, standards and hazard-recognition resources
- ADA.gov — 2010 ADA Standards for Accessible Design
- SEFA — current laboratory standards index
- Explore Labs USA laboratory furniture solutions and Explore Labs USA laboratory furniture solutions
Build a Lab Students Can Use and Instructors Can Run
Share the room, the curriculum and the equipment list. MH-USA will help you plan the casework, surfaces, storage, ventilation coordination and installation scope around the way your vocational program teaches. Call (800) 326-4403 or start with a free design conversation.