
Laboratory Furniture for Analytical Testing
Analytical laboratory furniture needs to support the work performed in the room: placing instruments, preparing materials, recording results and keeping supplies accessible. Material Handling USA helps develop furniture configurations around those practical requirements. Start with the equipment and workflow, then coordinate benches, casework, storage and services as one plan.
Map the work before choosing the furniture
Begin by listing the activities each room must accommodate. An analytical testing area may combine instrument operation, preparation, temporary staging, computer work and storage. These activities do not necessarily need identical surfaces or the same amount of space.
Follow a representative job through the room with the people who perform it. Note where materials arrive, where work pauses, where records are entered and where completed items go next. The furniture plan should reflect the laboratory’s established process, including any separation requirements identified by the responsible team.
Create an equipment schedule with model numbers, dimensions, weights and service information. Include items that are easy to overlook, such as a monitor arm, printer, sample holder or accessory placed beside a larger instrument. Reserve space for operation and maintenance as well as the equipment itself.
- Identify the tasks and users assigned to each area.
- Record equipment and accessory footprints.
- Show existing doors, windows and fixed services.
- Mark areas that must remain accessible.
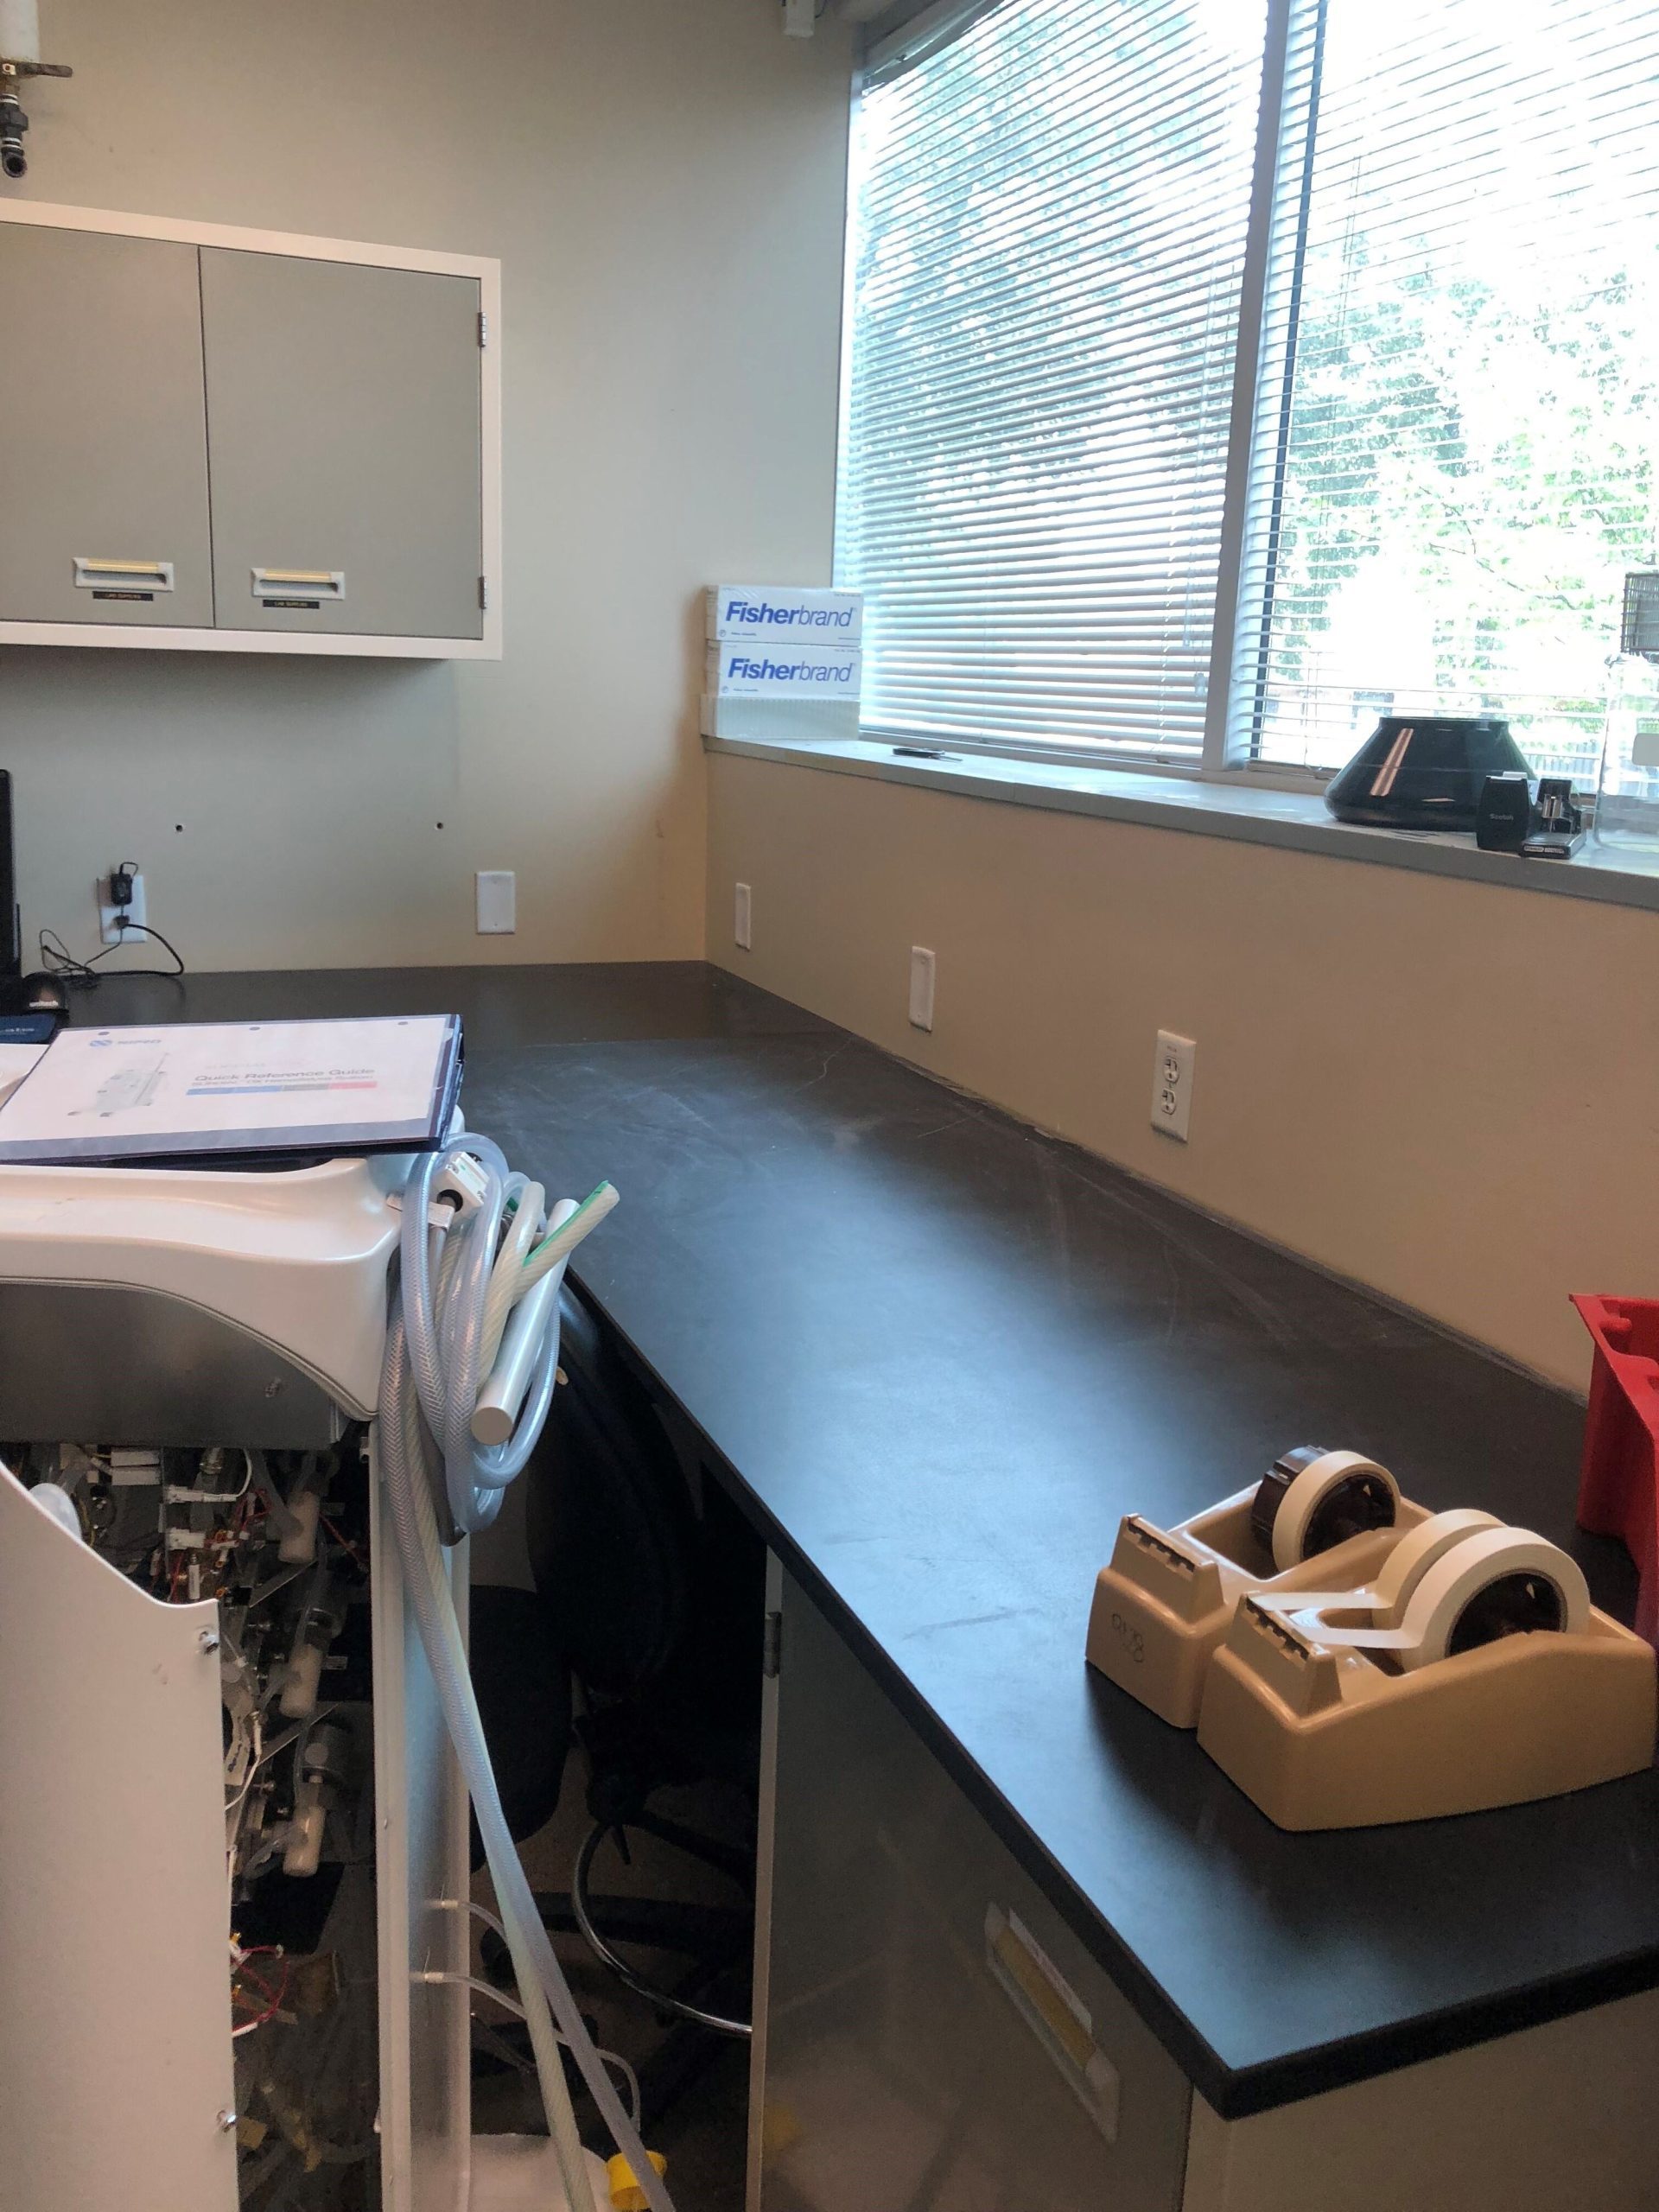
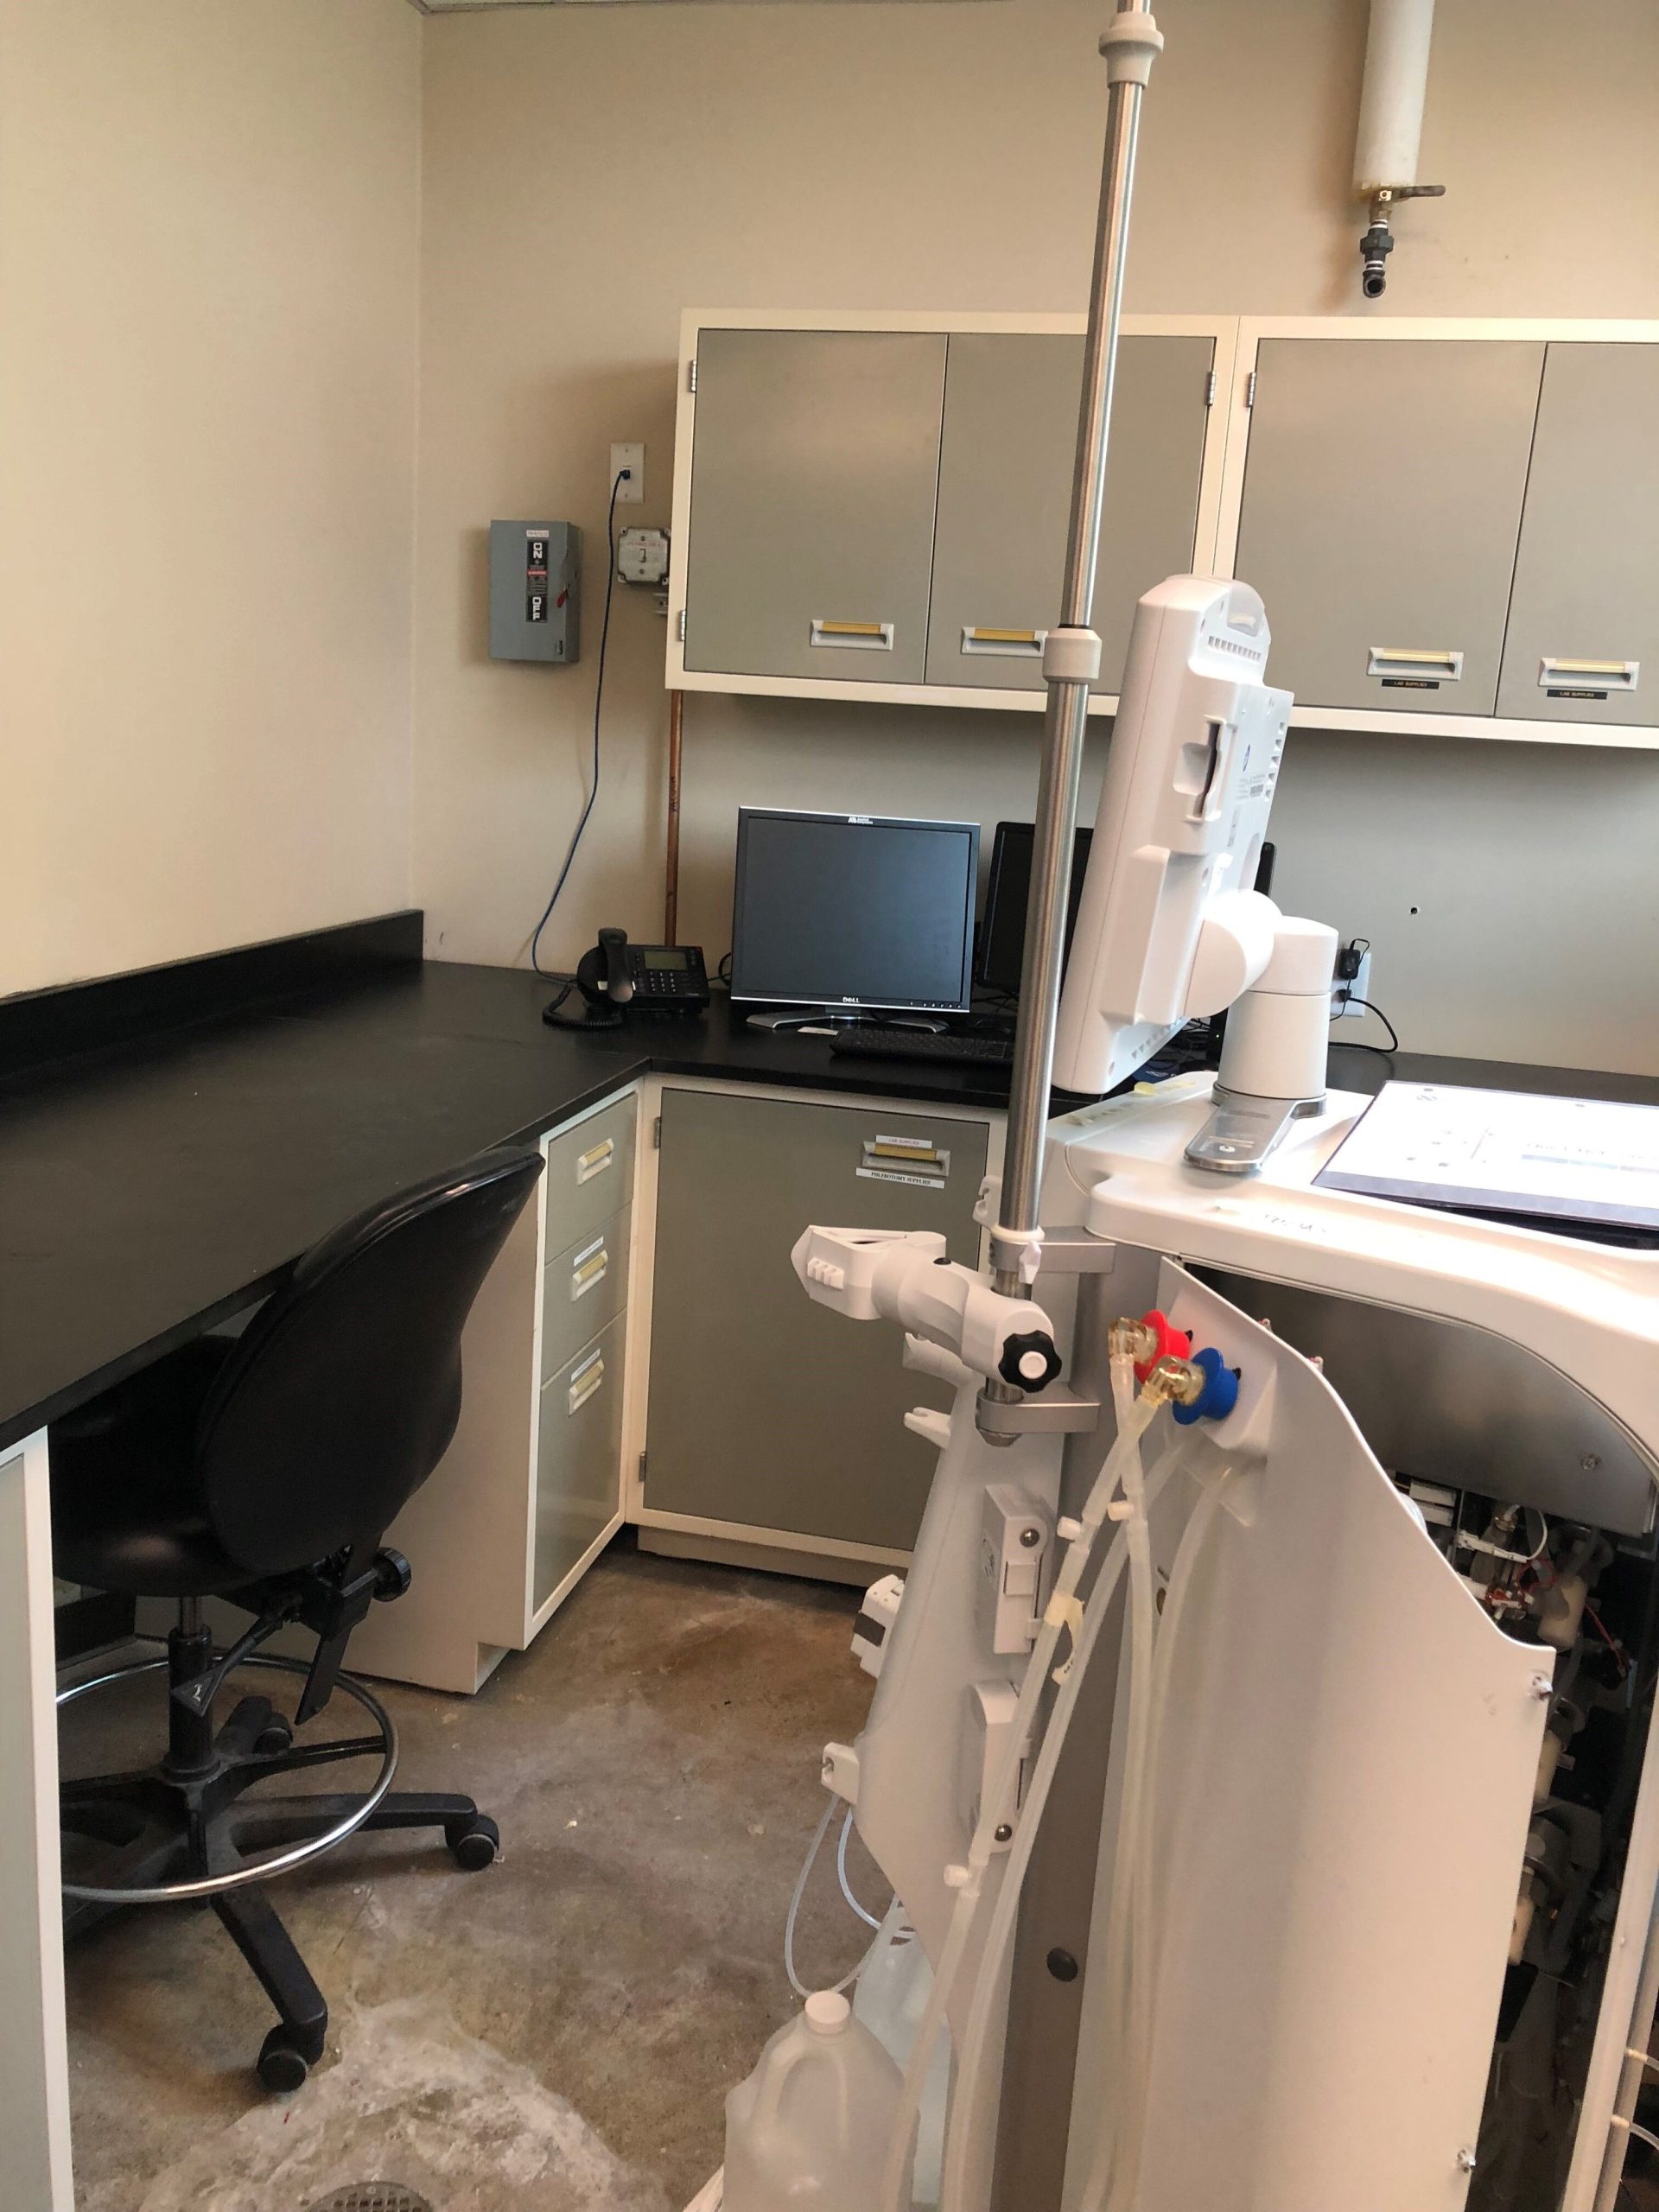
The project photographs on this page show real furniture arrangements from the site’s existing image library. They are useful examples of counters, tables and storage in constrained rooms. They do not establish a universal layout or prove a particular productivity improvement.
A clear starting brief helps separate furniture requirements from changes to the building. Both may be needed, but they should appear as distinct responsibilities in the project scope.
Coordinate fixed casework and independent benches
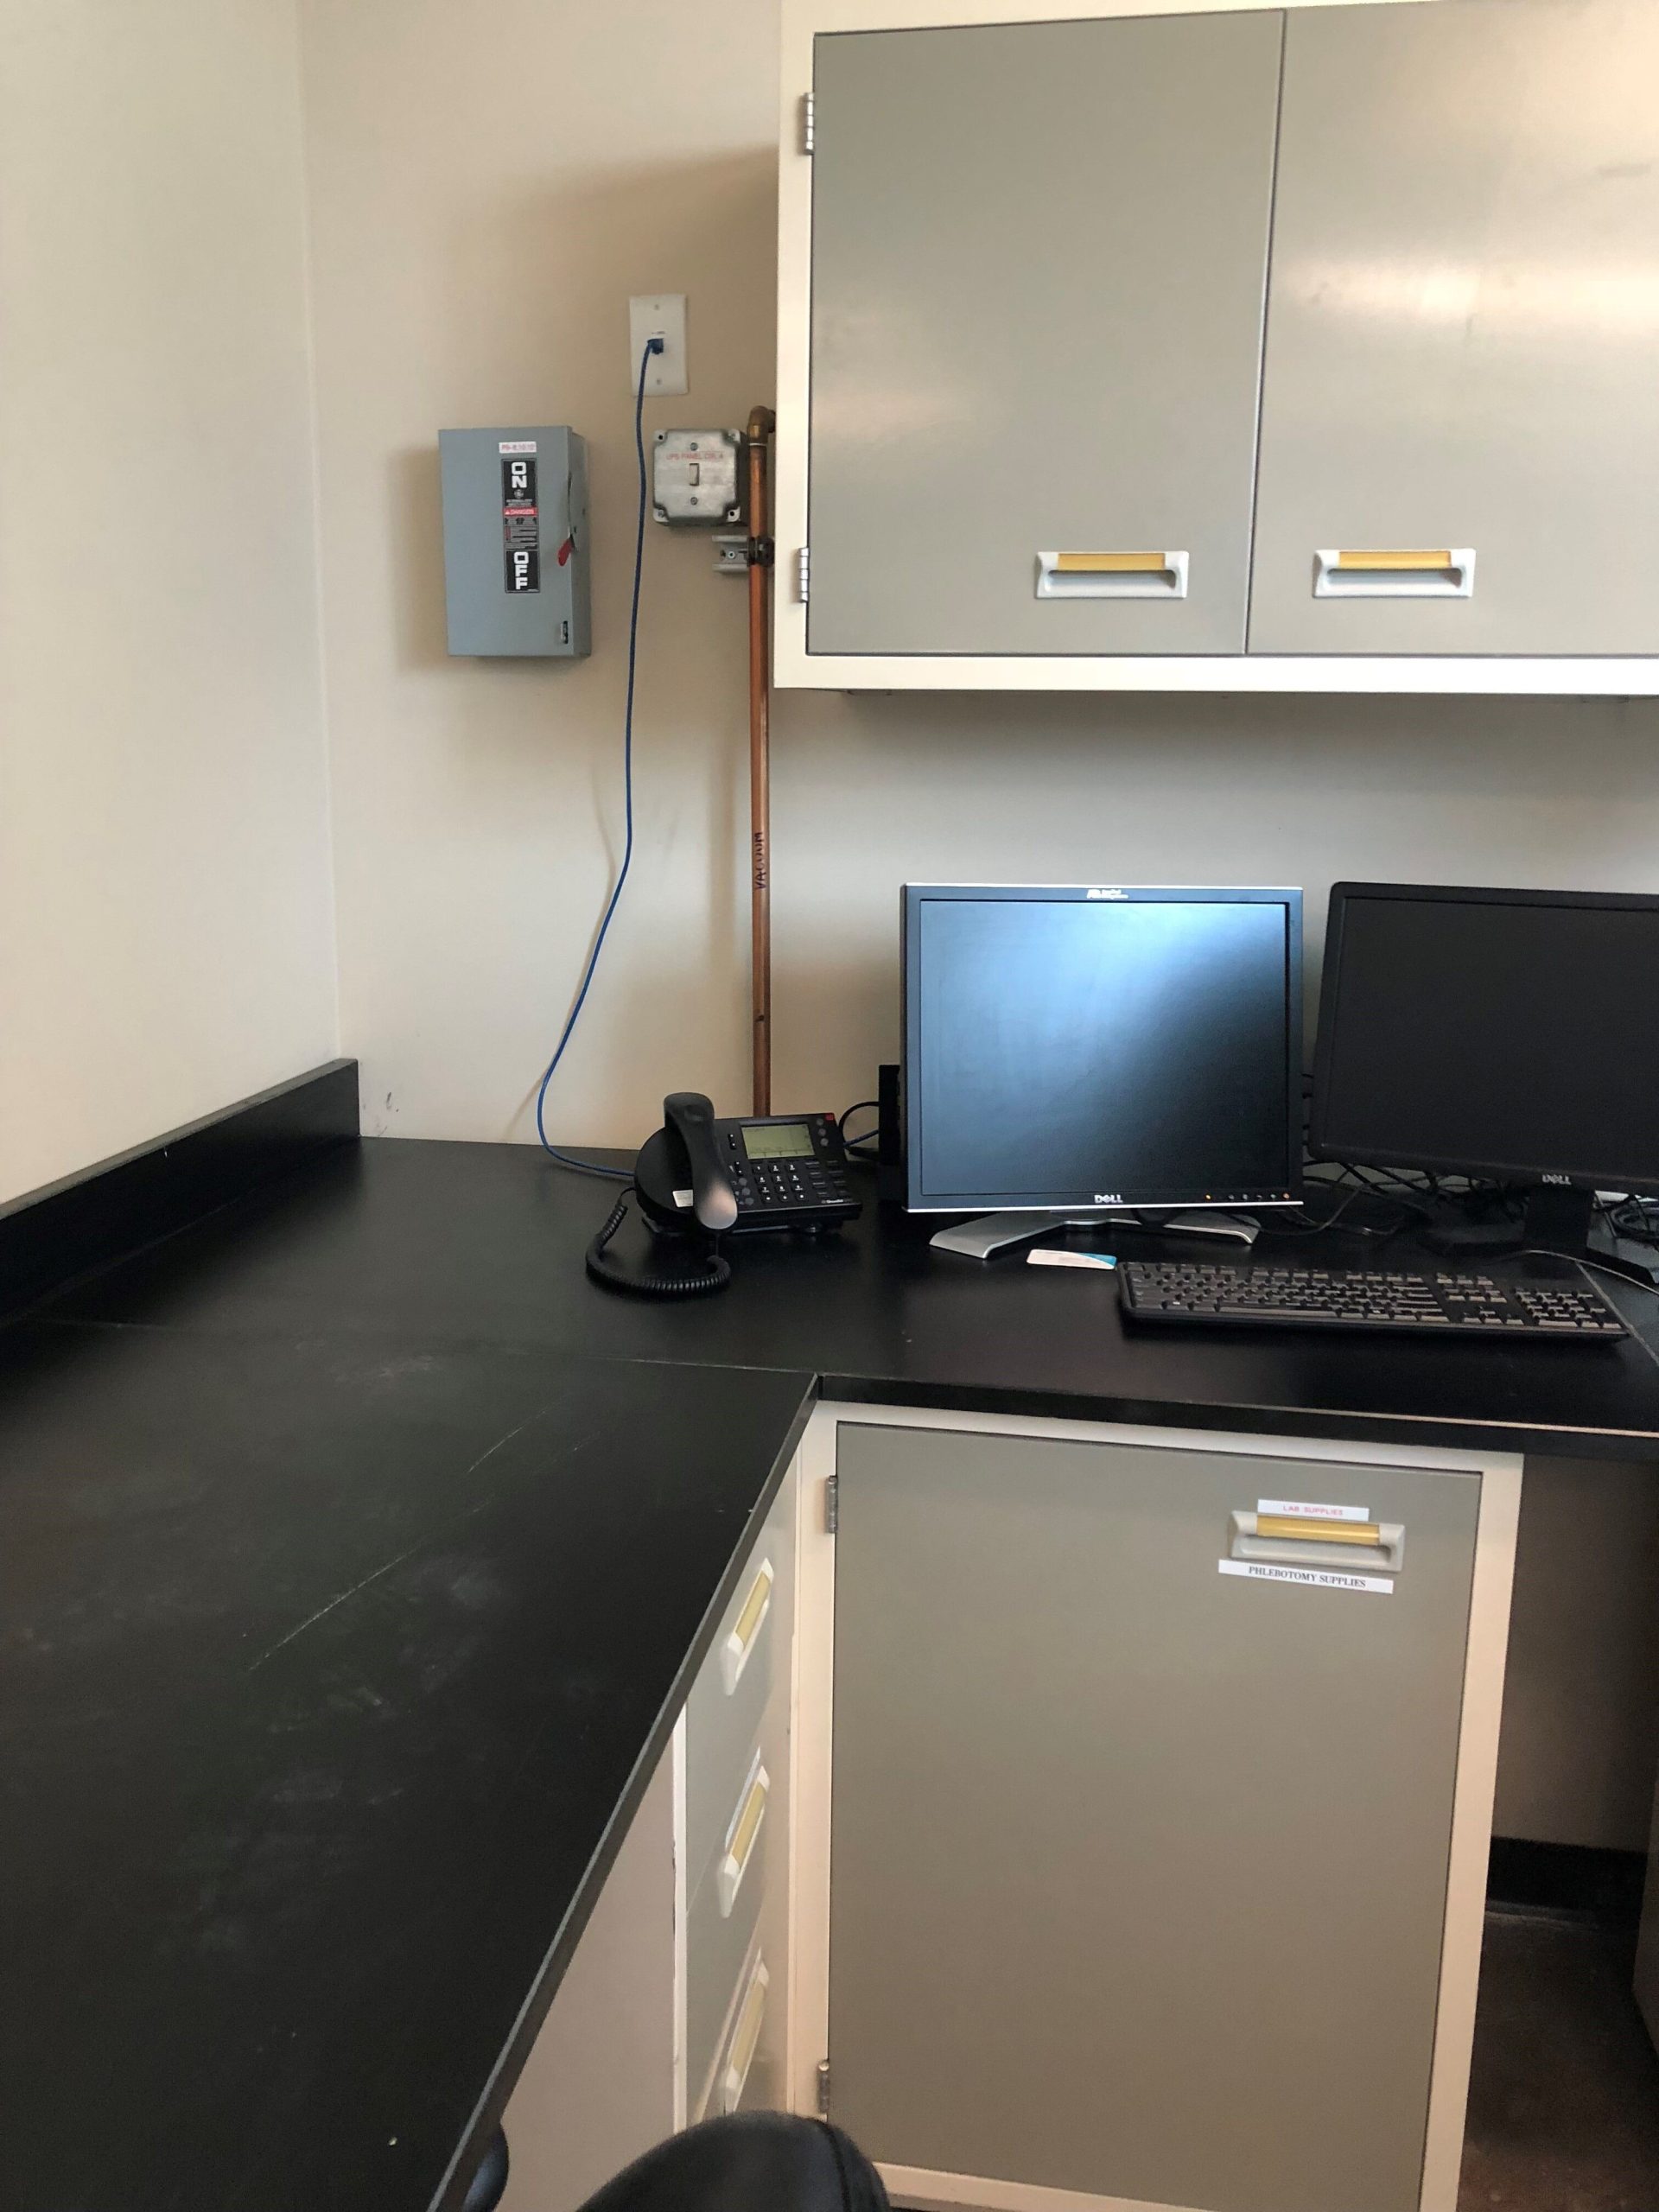
Fixed casework can organize a room perimeter, combine a continuous counter with storage and provide a defined location for recurring tasks. Independent benches can create a separate work area or accommodate equipment that benefits from a different position. Many projects need a considered combination of the two.
Start with the usable room dimensions rather than nominal cabinet widths. Check corners, columns, projecting equipment and door swings. Allow for fillers, end panels and other details in the proposed casework package so the drawing represents the installed arrangement.
Identify where people sit or stand for extended tasks. A continuous run of base cabinets may provide storage but leave no comfortable knee space for documentation or close work. Decide where an open station belongs before assigning every section of counter to a cabinet.
Consider how the room might change. An independent table may be easier to reposition, but connected equipment, services and clearance requirements can still restrict movement. Avoid describing any furniture arrangement as freely reconfigurable without reviewing those connections.
Compare the complete scope of fixed and freestanding options: worktop, frame or base, storage, accessories, delivery and installation. The lowest individual cabinet price may not describe the most suitable overall arrangement.
Use the layout review to resolve conflicts before ordering. It is much easier to adjust a proposed cabinet sequence than to discover that a door cannot open or an instrument cannot be serviced after installation.
Select work surfaces and adjustment for the task
Choose a work surface using the laboratory’s actual exposure and operating requirements. Provide the supplier with the relevant chemicals, cleaning agents, temperatures and equipment loads for review. A generic description such as laboratory grade does not establish compatibility with every process.
Ask for the selected material’s documentation and identify any limitations that matter to the intended use. Review edges, joints and penetrations as well as the broad top surface. The laboratory and facilities team should determine which performance requirements apply to the project.
Instrument support needs particular attention. Supply the equipment weight and the way that load reaches the bench. A concentrated load, an overhanging accessory or a vibration-sensitive instrument can require more specific review than a simple overall weight comparison.
Height adjustment may be useful where users or tasks change. Treston’s current product range includes electrically adjustable bench frames, while the site’s existing product photos show several laboratory workstation arrangements. Confirm the exact model, adjustment method and compatible accessories in the proposal.
Consider the working height of the task itself, including the instrument on top of the bench. Also review seating, reach and the location of frequently used controls. For a broader planning discussion, see ergonomics in laboratory design.
Adjustment must remain compatible with equipment connections and nearby furniture. Confirm the permitted arrangement and operating instructions instead of assuming any bench can move safely with every instrument installed.
Put storage where it supports the work

Prepare a storage inventory before deciding how many cabinets or shelves to buy. Separate frequently used items from reserve stock and identify the largest containers, trays or accessories. Usable internal dimensions matter more than the outside appearance of a cabinet.
Place routine supplies within a practical reach of their work area, while preserving the space needed for the task. Overhead storage can release counter space, but shelf depth and mounting position must be reviewed against visibility, access and the equipment below.
The shelf-equipped Treston workstation shown here illustrates a different arrangement from wall-mounted casework. Compare the actual workstation package, shelf capacity and accessory compatibility. A product image is not a list of everything included in a quote.
Keep storage decisions connected to the laboratory’s requirements. Furniture selected for general supplies should not automatically be treated as appropriate for chemicals, controlled materials or other items with special storage needs. The responsible facility team should define those requirements before products are selected.
- Record internal space needed for the largest items.
- Choose drawer, shelf or cabinet access deliberately.
- Allow room to open doors and remove trays.
- Identify any special storage requirements separately.
Build in a practical method for reviewing the arrangement after use begins. Changes in packaging, instruments or work volume may alter storage needs. Keeping the original inventory and furniture schedule makes those changes easier to assess without relying on memory.
Coordinate services and access with the facility team
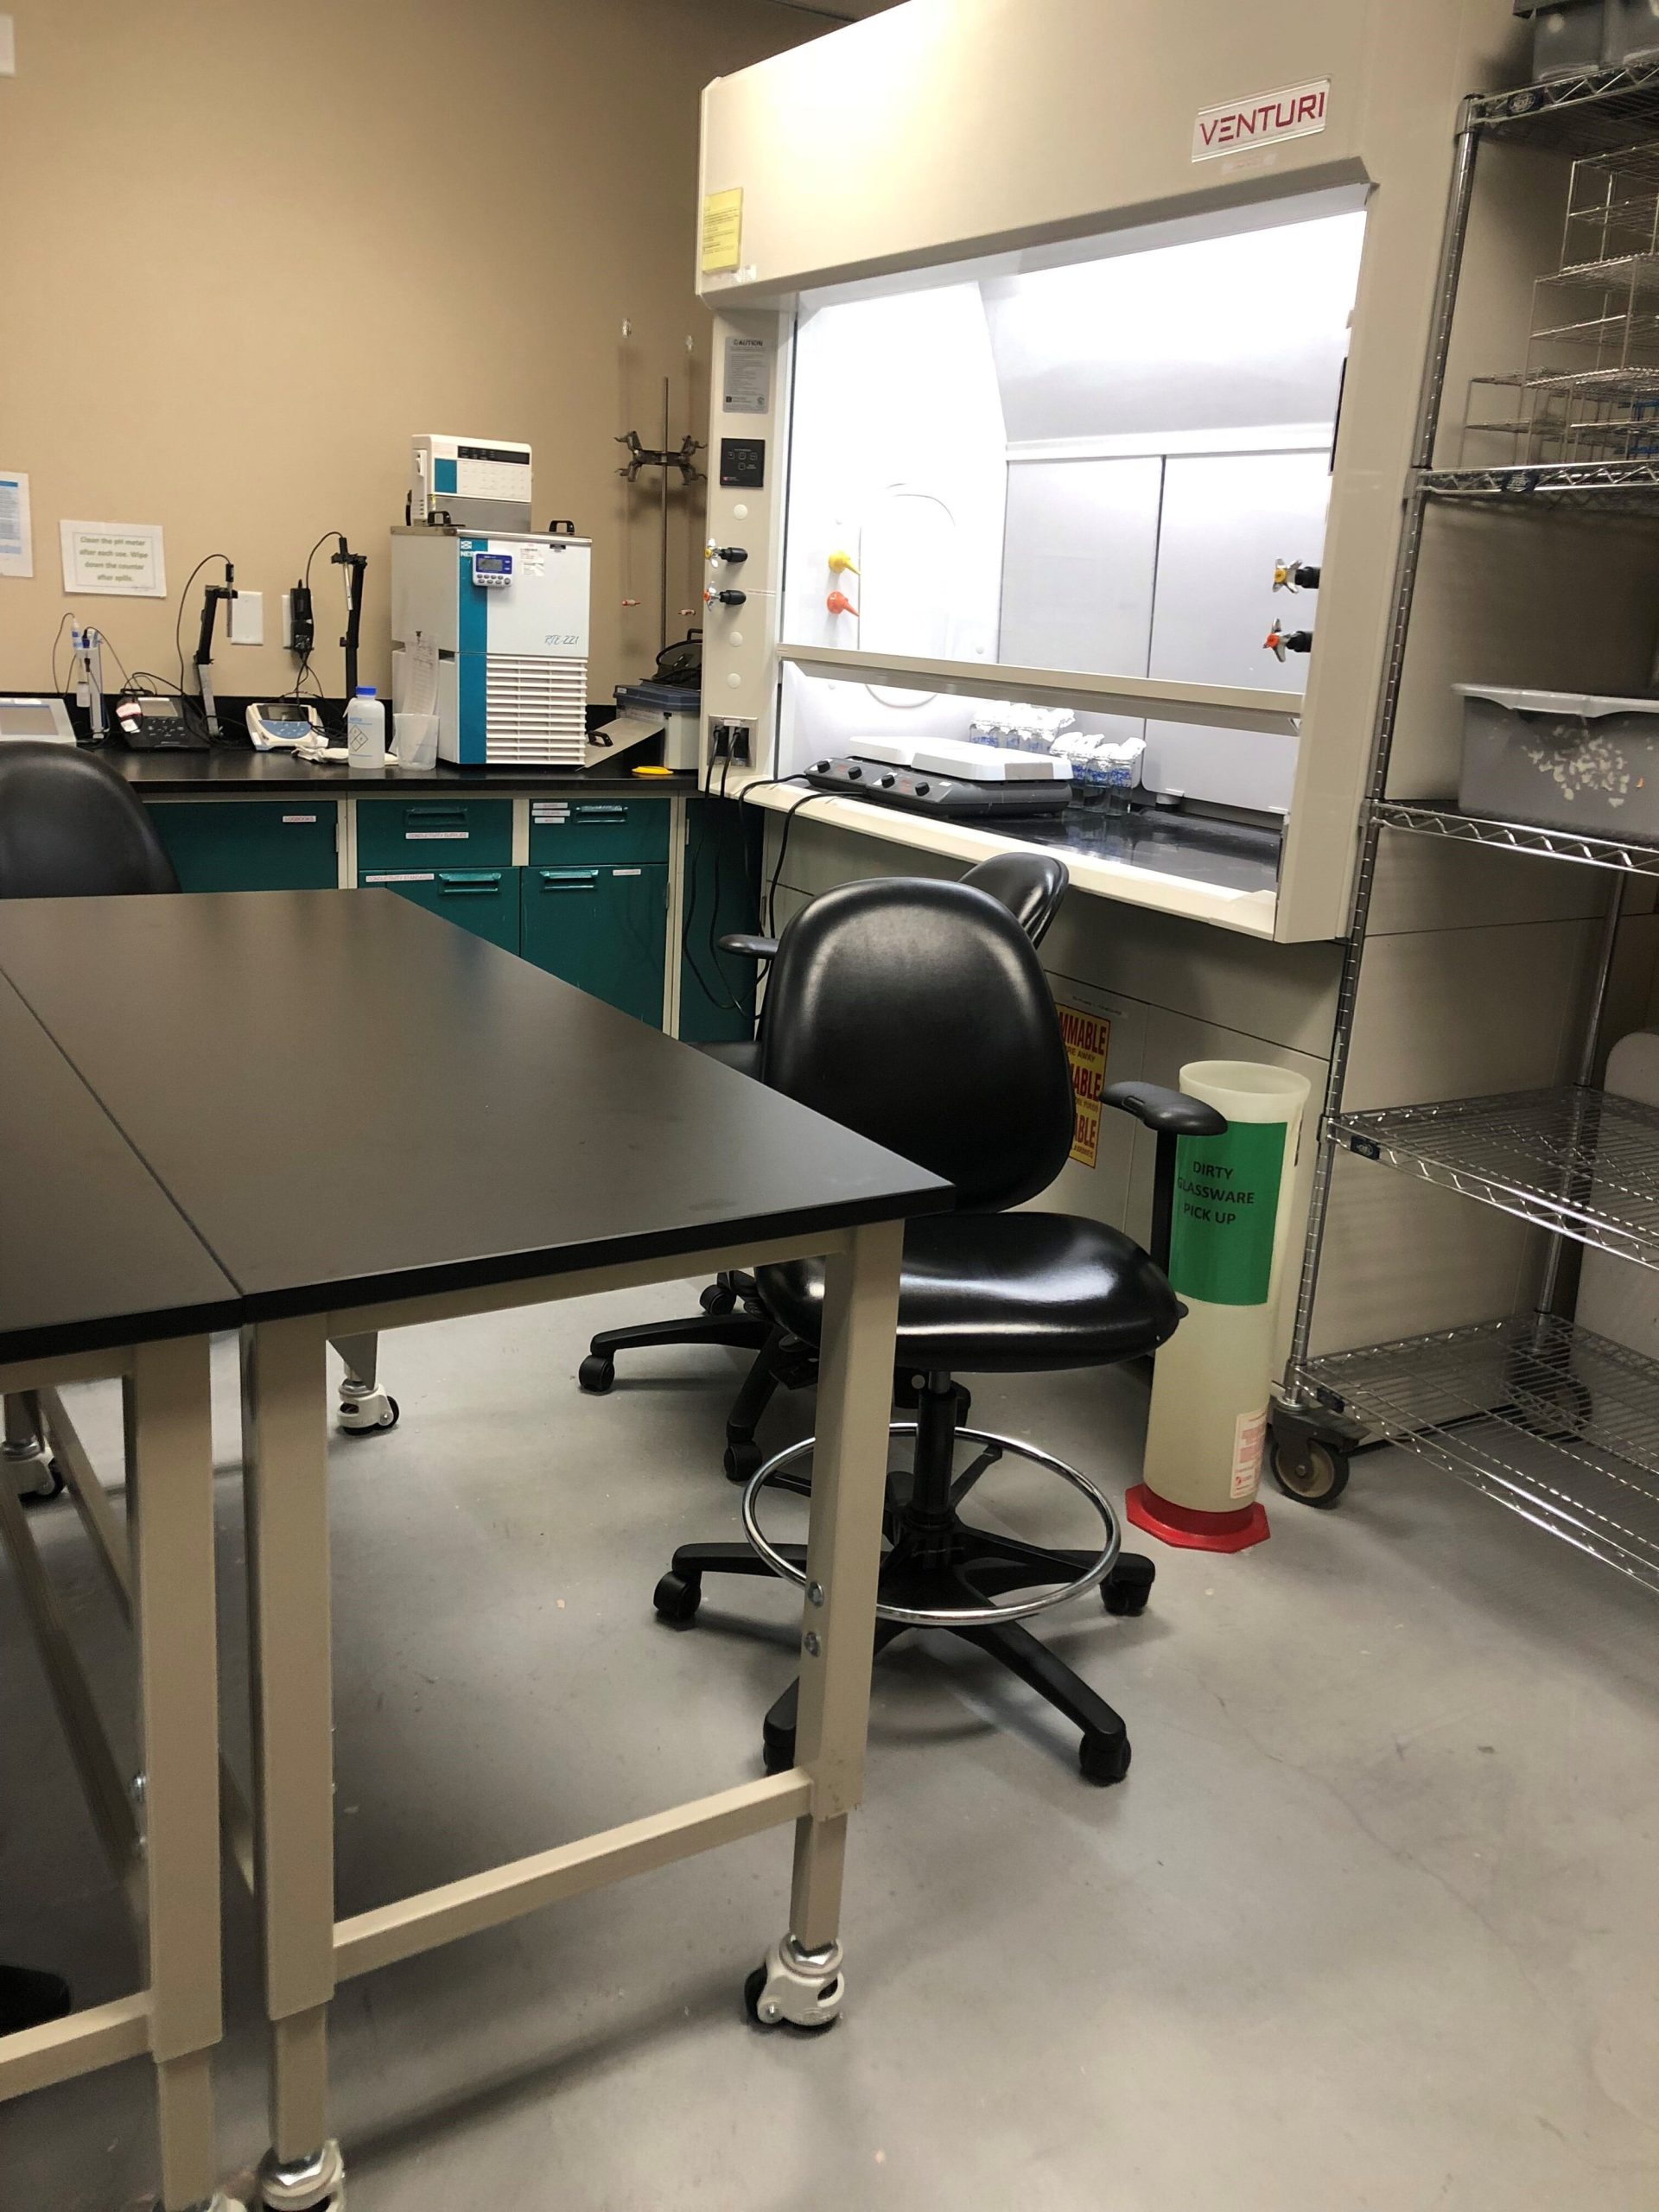
Laboratory furniture occupies space alongside power, data, plumbing, ventilation and other building services. Record existing connection points and identify which equipment needs each service. Furniture procurement should not assume that every required connection is already available in the right place.
Show access requirements on the proposed layout. Technicians may need to reach instrument panels, valves or components behind a work surface. A cabinet that fits physically can still make inspection or maintenance difficult if the complete working envelope is not considered.
Coordinate the furniture layout with the professionals responsible for ventilation and other specialist systems. A photograph showing a bench near an enclosure does not establish an appropriate clearance or confirm that the surrounding arrangement is suitable for another laboratory.
Where a bench adjusts in height or may be repositioned, review the connected equipment and services through the intended range of use. The project team should determine the approved connection arrangement; the furniture description alone does not resolve that issue.
Keep routes through the room and access to required controls clear in the design review. Include the space occupied by an open drawer, a pulled-out chair or a service technician. These temporary conditions can reveal conflicts that a drawing of closed cabinets misses.
Record who is responsible for each connection, installation activity and final check. Clear handoffs between the furniture supplier, installer and facility team help prevent an incomplete scope from being mistaken for a ready-to-use laboratory.
Plan delivery, installation and continuity of work
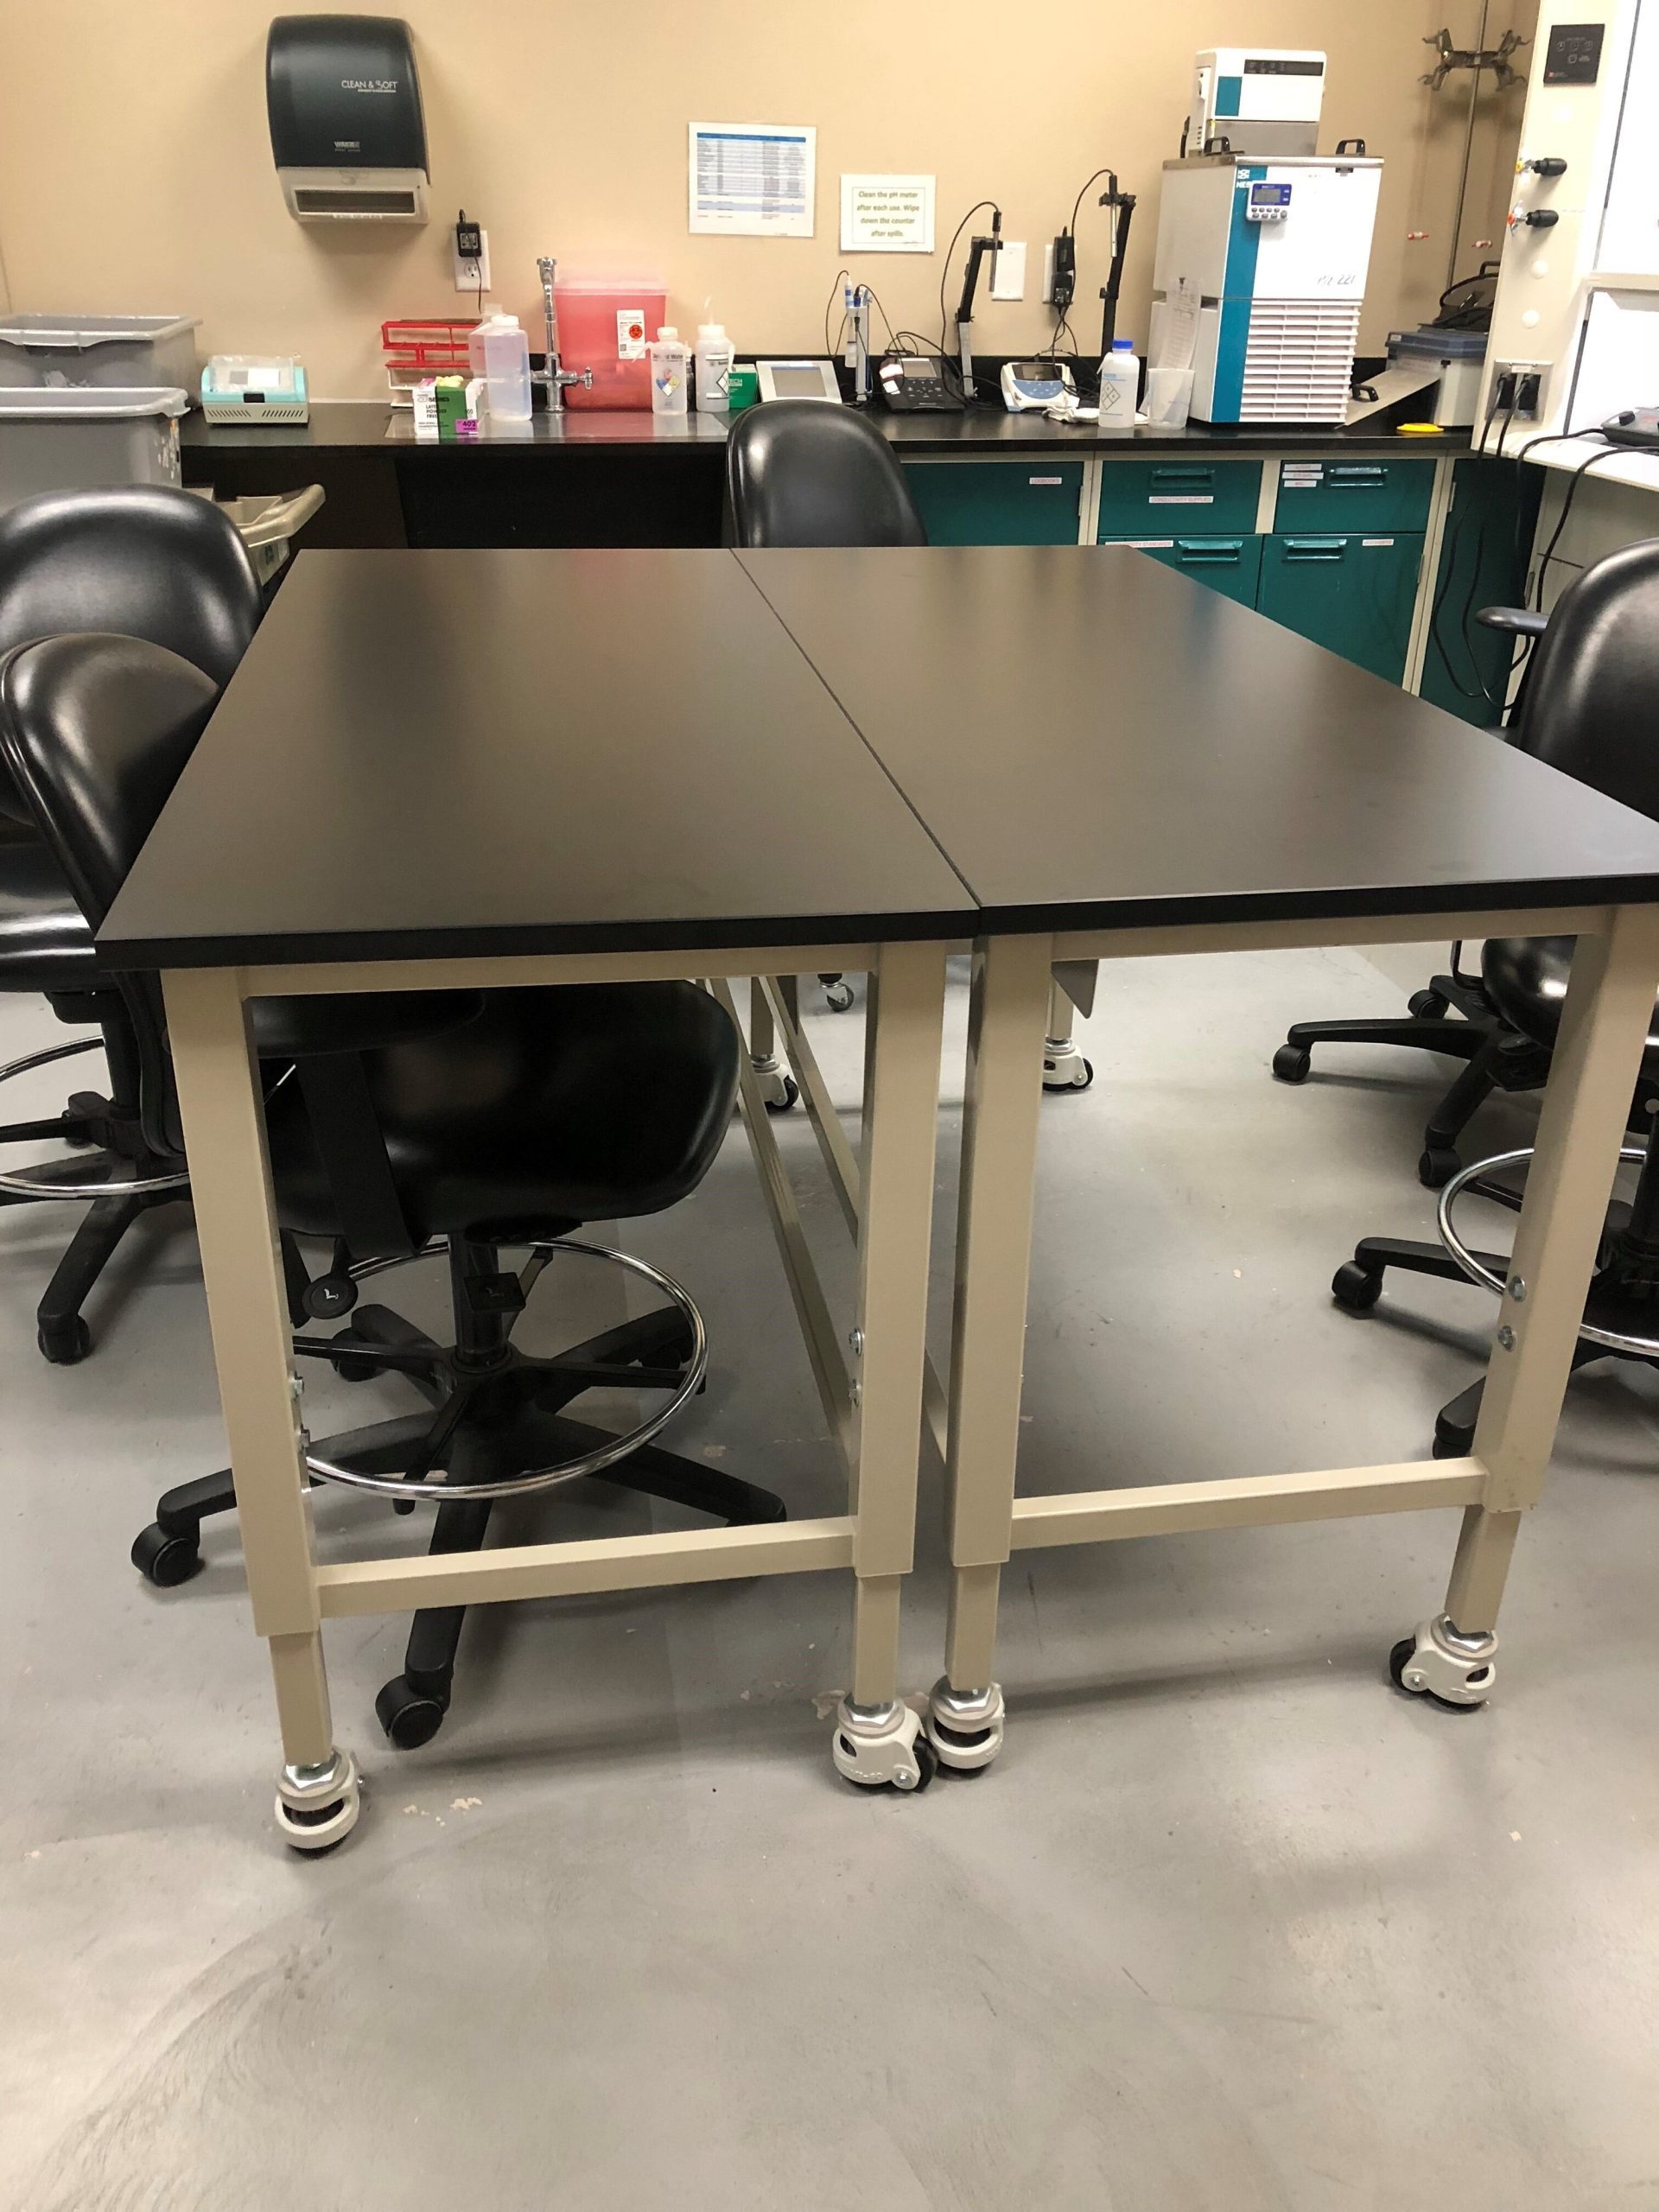
An occupied laboratory needs an installation plan that reflects ongoing work. Identify which rooms can be released, where existing furniture will go and how equipment will be protected or relocated. The facility should define the conditions for taking an area out of use and returning it to operation.
Check the delivery route before finalizing large tops or assembled units. Review doors, elevators, turns and the space available for unpacking. Confirm whether furniture arrives assembled, partially assembled or in components, and identify the installation work included in the proposal.
Use a room-by-room furniture schedule for a multi-room project. Assign each item to its destination and show the approved configuration. This helps receiving staff distinguish similar benches or cabinets that have different accessories or intended locations.
Plan an acceptance review with the appropriate participants. Compare delivered components with the approved order, check the installed arrangement and record any outstanding items. Equipment setup and the laboratory’s operational checks remain separate from furniture acceptance.
Retain product information, care instructions and the final layout for future maintenance. If a top, drawer or accessory needs replacement, the original model and configuration details are more useful than a general photograph.
Discuss future additions while the layout is being developed. Reserving an identified space or documenting compatible options can be helpful, but avoid purchasing speculative equipment solely to fill an empty area. Expansion decisions should follow a defined need and a review of the complete room.
Turn the requirements into a comparable proposal
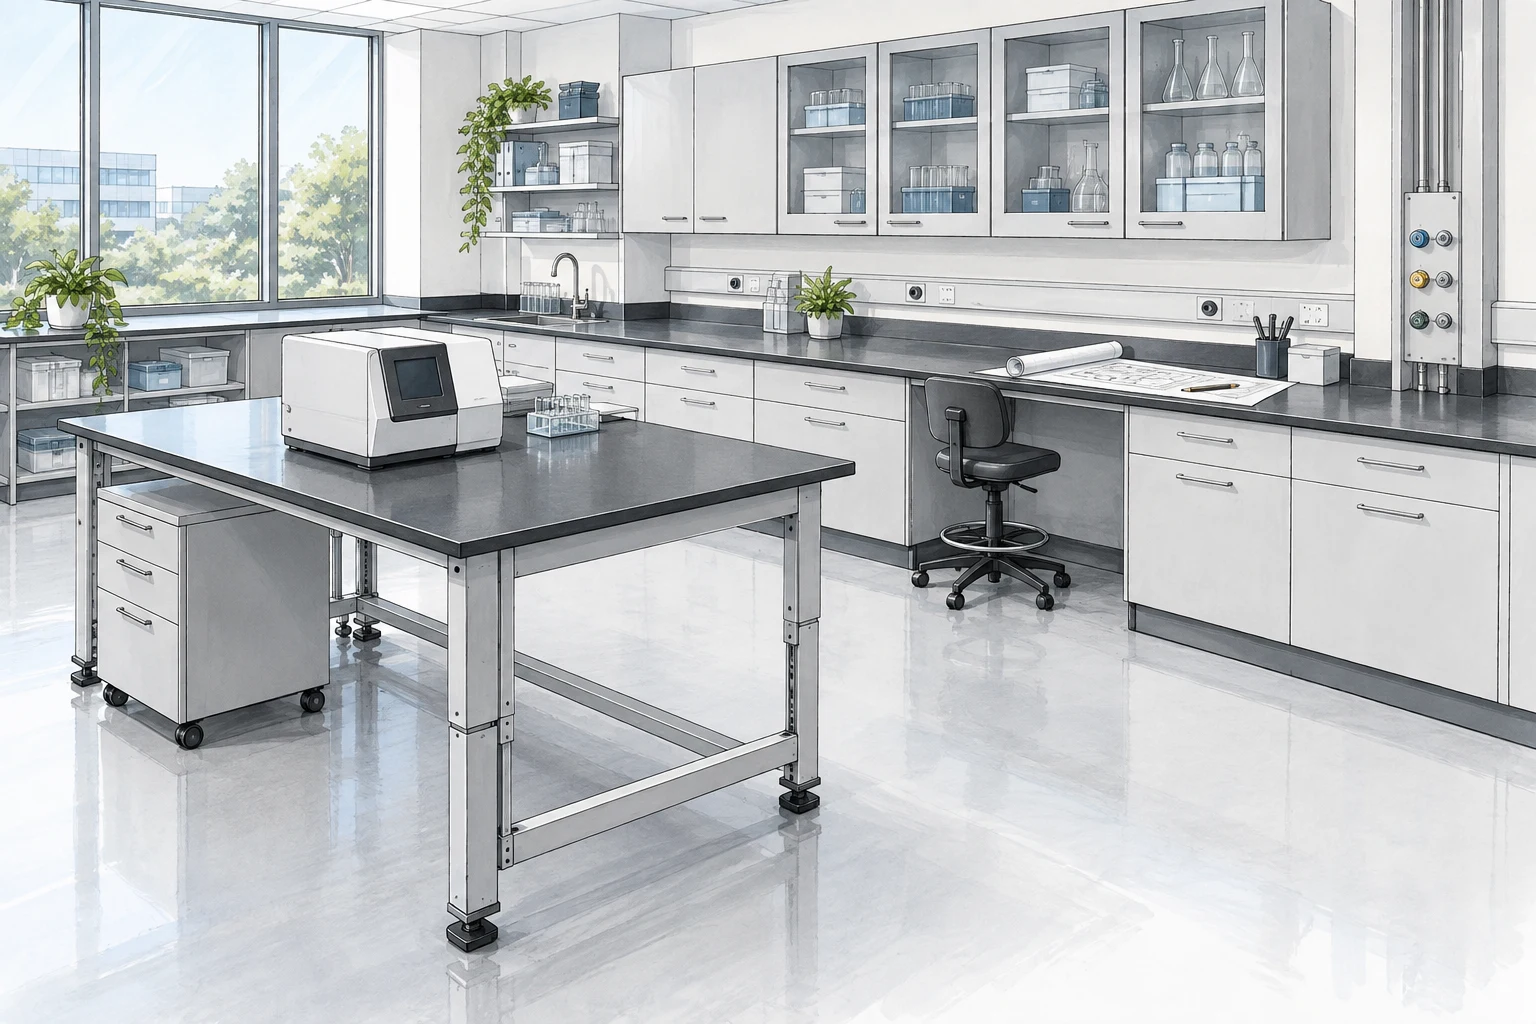
A useful request for a laboratory furniture quote combines a measured plan with an equipment and storage schedule. Include photographs of the existing space and identify fixed elements that cannot move. State the intended work rather than asking a supplier to infer it from a room name.
- Define the furniture. List benches, casework, tops, shelves and accessories by room.
- State review requirements. Identify surface performance, loads, services and access considerations.
- Clarify the scope. Separate delivery, assembly, installation and building work.
- Agree on acceptance. Identify who reviews the configuration and outstanding items.
Ask competing proposals to use the same assumptions. Differences in top material, storage accessories or installation scope can make prices difficult to compare. Request explicit exclusions and identify substitutions before approving the order.
The illustration beside this section is a planning concept, not a completed customer installation. It brings together a perimeter counter, open work position and independent bench to support a discussion of layout choices. Final dimensions and specifications require project-specific review.
Material Handling USA can help organize the furniture requirements and develop an itemized proposal. Share the room information early, including uncertainties that still need resolution, so the next step addresses the decisions that matter to your team.
Frequently asked questions
What information is needed to quote analytical laboratory furniture?
Provide a measured room plan, equipment models and dimensions, storage requirements, photographs and the intended delivery and installation scope. Identify relevant surface, load and service requirements for review.
Should a laboratory use fixed casework or independent benches?
It depends on the work, storage and equipment arrangement. Fixed casework can define a continuous counter and storage run; independent benches can support separate work areas. Review services, access and future changes before deciding.
Is every laboratory worktop suitable for every chemical or instrument?
No. Review the specific material documentation against the intended exposures, cleaning methods, temperatures and equipment loads. The responsible laboratory and facilities teams should define the required performance.
Can adjustable benches be used with laboratory instruments?
Potentially, after reviewing the exact bench, instrument load, operating height and connected services. Confirm compatibility and manufacturer instructions. Height adjustment alone does not establish suitability for a particular instrument.
Are the photographs examples of a guaranteed layout?
No. The existing project and product photographs show furniture arrangements for discussion. Room dimensions, equipment, services and facility requirements determine the layout for a new project. The AI illustration is clearly labeled as a planning concept.
Can furniture be installed while other laboratory rooms remain active?
A phased approach may be possible, but it needs facility coordination. Define access, equipment relocation, installation scope and the process for releasing each room back to use before scheduling the work.
Build a furniture plan around your laboratory
Share your room dimensions, equipment schedule and project priorities. We can help organize the furniture scope and develop a proposal for review with your laboratory and facilities teams.