
Material Handling USA · Project solutions
Kroger Manufacturing Quality Lab for Salad Dressing
A food quality-control laboratory needs a clear route from incoming sample to recorded result. For the Kroger Manufacturing salad-dressing lab brief, that means coordinating cleanable work surfaces, instrument space, wet work, storage and staff movement in a compact room. Material Handling USA helps turn these requirements into a furniture and layout package that can be reviewed, quoted and installed.
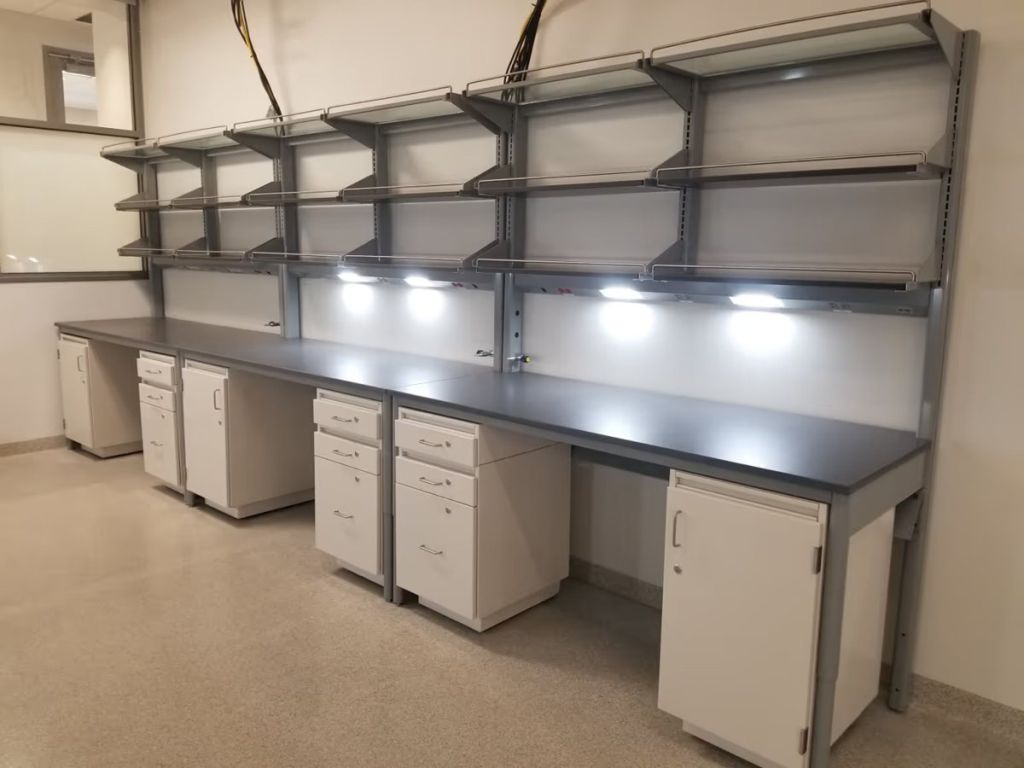
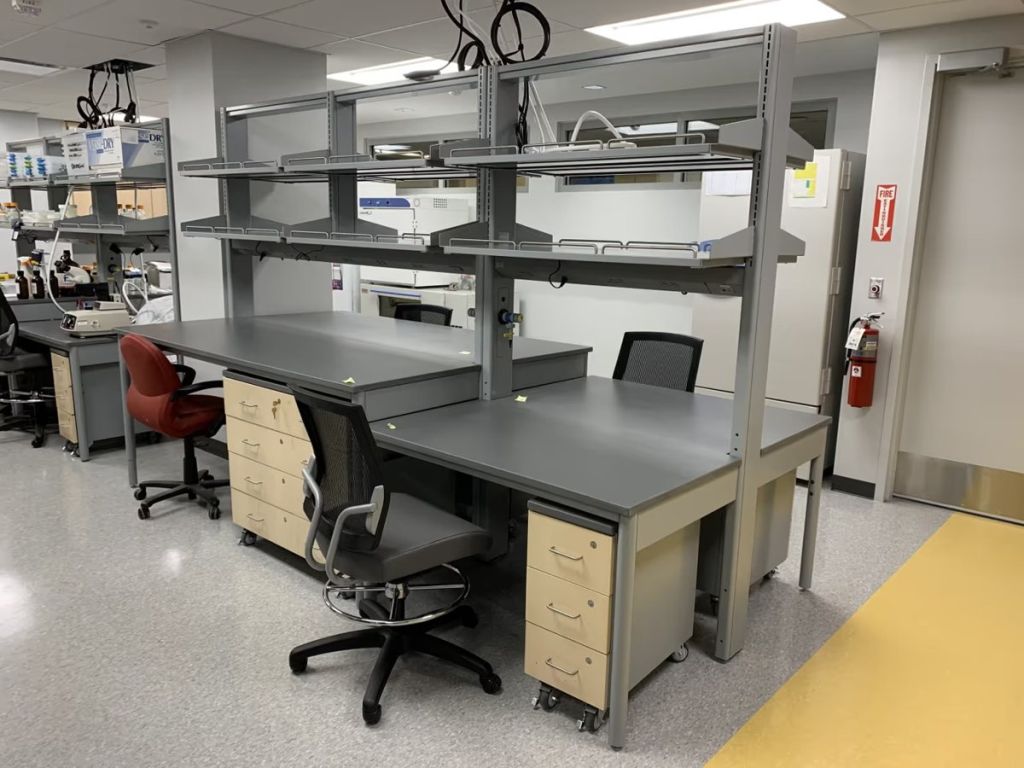
Project planning reference. The manufacturer photographs below illustrate furniture options; they do not depict the Kroger facility or establish its final equipment selections.
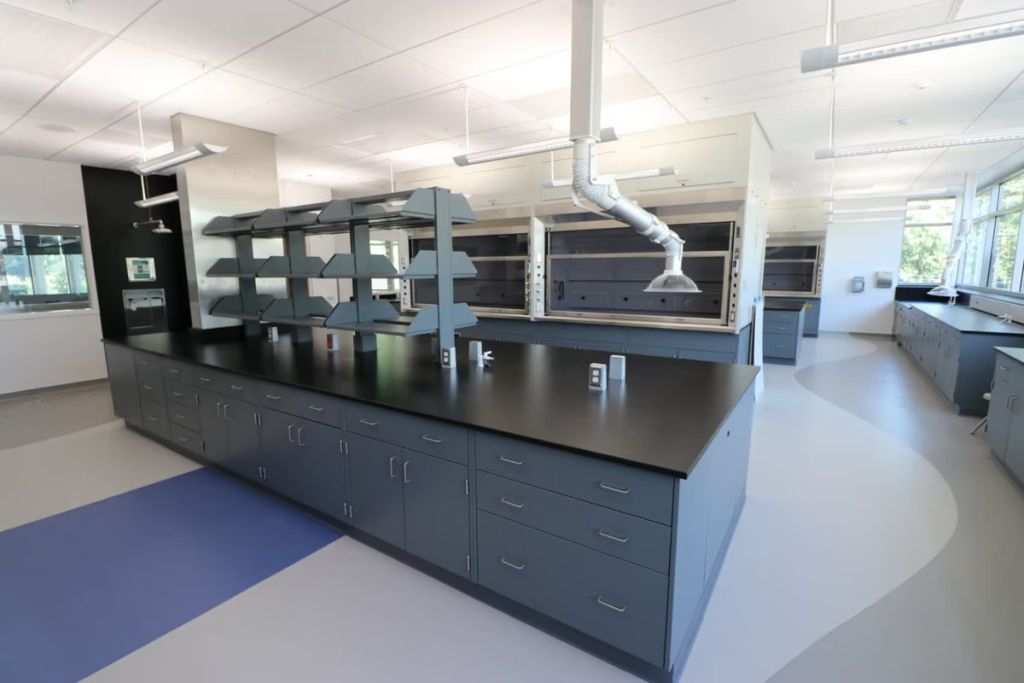
Start with the food QC workflow and room brief
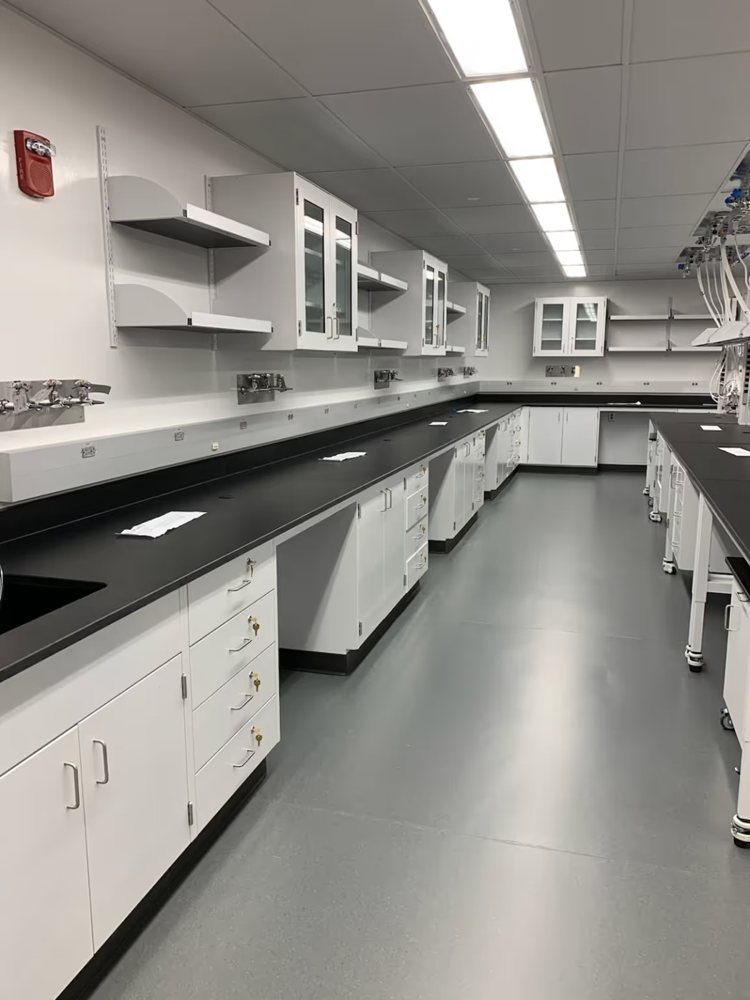
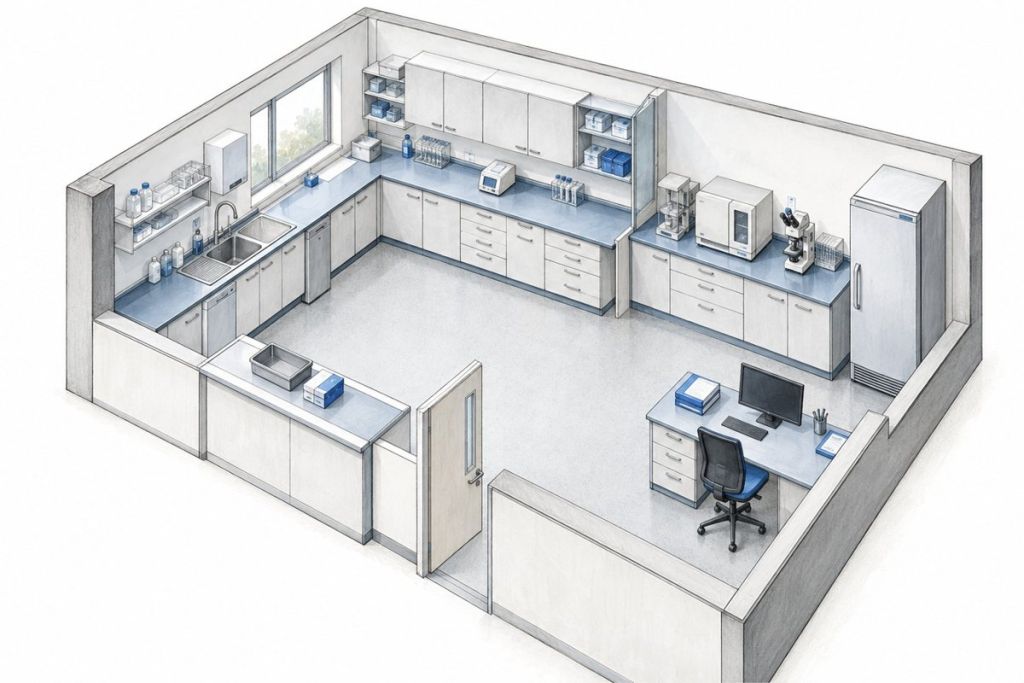
The original project brief describes an approximately 14-by-15-foot room, perimeter counter space, wet services and both seated and standing work. Those dimensions are a starting point for planning, rather than a substitute for a field survey. Confirm the actual clear room size, door swing, columns, wall construction and existing utilities before arranging cabinets. A continuous perimeter counter can provide useful work area, but every corner and equipment position must remain reachable.
Begin with the work the laboratory actually performs. Ask the quality team to list its approved tests, sample arrival rate, instruments, cleaning steps and documentation requirements. Depending on the operation, the equipment schedule may include a balance, pH meter, viscosity instrument or other analytical equipment. These are planning examples, not a claim about Kroger’s installed instruments or test methods.
Draw the sample route before choosing cabinets
- Receive: reserve a place for incoming samples, identification and temporary staging.
- Prepare: allow bench space for the approved preparation procedure and its equipment.
- Measure: give instruments their required operating and service clearances.
- Record: provide a dry place for a computer, records and result review.
- Clear: identify where used containers, waste and cleaning supplies belong.
Walk through a busy shift on the proposed plan. Two people should be able to work without repeatedly moving each other’s materials. Include deliveries and replenishment in that exercise: a room that functions during a demonstration may become crowded when a full shift’s samples arrive. Our lab assessment guide can help organize the initial discussion.
Compare painted steel and stainless steel casework
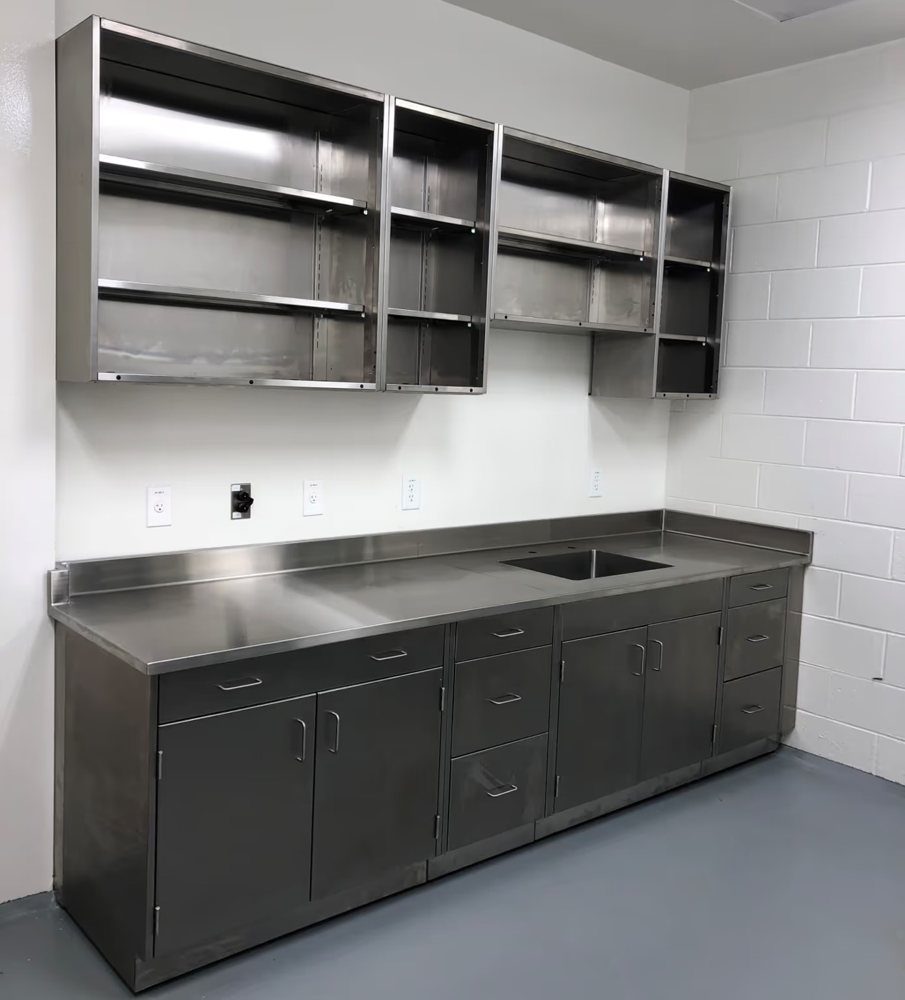
Casework selection starts with exposure, cleaning and access. ICI Scientific, an MH-USA laboratory furniture vendor, offers CornerStone painted-steel and stainless-steel systems. Its stainless range includes T304 and T316 material options with a No. 4 finish. The painted-steel range uses a powder-coated finish and offers modular cabinet arrangements. These are manufacturer options for evaluation; the material must be specified for the actual location and use.
Stainless steel can be a useful candidate around a wash area, while painted steel may suit a dry instrument or documentation bench. That does not make either material suitable for every chemical or cleaning product. Ask for compatibility information covering the precise exposure, concentration, contact time and cleaning routine. Review cabinet interiors, hardware and joints as well as the visible door fronts.
Build the cabinet schedule around stored items
- Use drawers where small tools and supplies need shallow, organized storage.
- Size cupboards around the actual containers and equipment they will hold.
- Keep access to service valves and maintenance connections practical.
- Provide knee space where a seated task is part of the workflow.
- Check door and drawer opening envelopes against opposing work areas.
ICI describes field-convertible cabinet features and full-extension drawer suspension within its CornerStone offerings. Confirm what is included in the quoted model, rather than applying a range-level feature to every cabinet. Similarly, a test standard or listing associated with a particular product is not certification of an entire laboratory. Request the documentation for the exact selected assembly and have the project team review it.
Select countertops by exposure, not by appearance
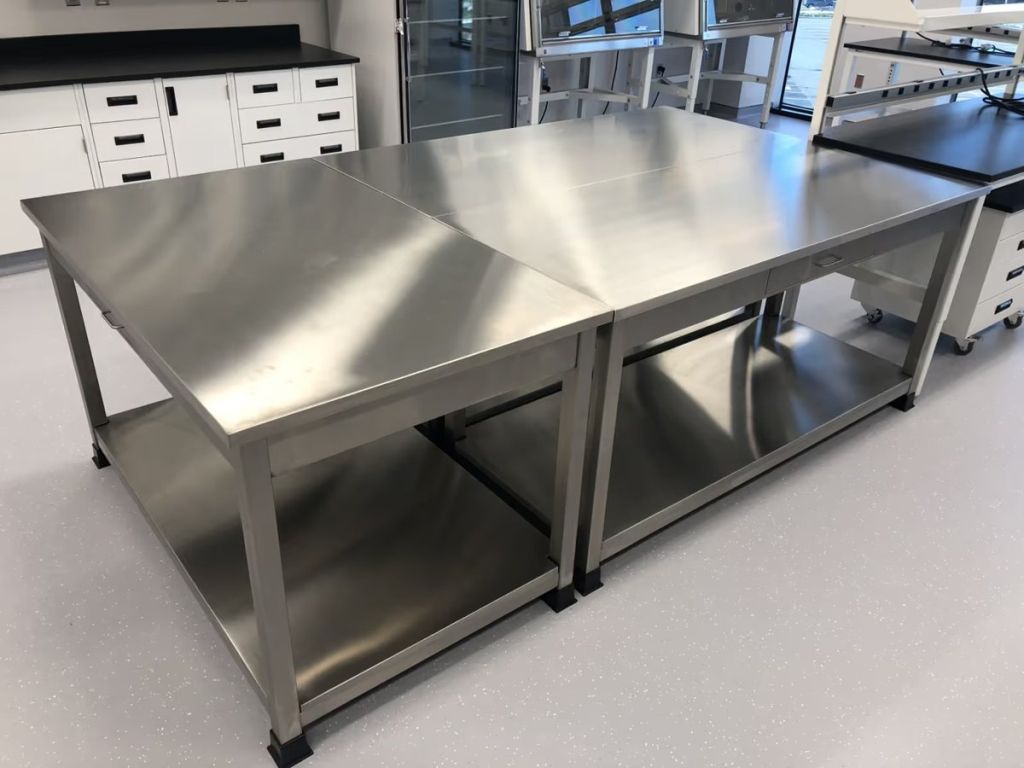
The brief identifies epoxy resin, phenolic resin and stainless steel as work-surface candidates. Treat them as alternatives to compare, not interchangeable guarantees of resistance. A countertop decision should include the chemicals used by the approved methods, cleaning agents, splash conditions, heat sources, equipment weight and the consequences of a spill. The cabinet system and support framing must also suit the selected surface.
| Surface candidate | Questions to settle before specifying |
|---|---|
| Epoxy resin | Which chemical exposures and temperatures are covered by the selected manufacturer’s test data? How will seams and sink cutouts be detailed? |
| Laboratory-grade phenolic | Which grade and thickness are proposed? Are its chemical, heat and edge-detail requirements compatible with the method and cleaning routine? |
| Stainless steel | Which alloy and finish are appropriate? How will joints, backsplashes, sinks and cleaning chemicals be addressed? |
Durcon distinguishes its epoxy system from several grades of solid phenolic compact. That distinction matters: the word phenolic alone is not a complete specification. Obtain the current technical information for the actual product being considered. If the lab uses silver nitrate or another reagent mentioned in the brief, request an explicit compatibility review instead of assuming that a general chemical-resistance claim answers the question.
Take a sample of the intended finish to the review meeting. Discuss visibility of residue, edges at the wall, cleaning access behind instruments and replacement access if a surface is damaged. A visually seamless layout can still contain inaccessible joints or awkward service gaps. The goal is a maintainable work area whose material decisions are documented. See our laboratory countertop comparison for the broader selection process.
Coordinate sinks, services and instrument positions
A double-bowl sink, hot and cold water and emergency flushing provisions appear in the existing brief. Translate those requirements into a coordinated service plan. Identify what each sink is intended to handle, where drainage will run, who supplies the fixtures and how maintenance personnel will reach the connections. The presence of a sink does not by itself establish that an emergency eyewash arrangement is suitable.
Where exposure to injurious corrosive materials is possible, OSHA’s emergency-flushing requirement must be addressed by the responsible safety and design professionals. The selection and location of equipment should follow the hazard assessment and applicable requirements. Keep access routes clear; do not place storage or a movable cart where it could obstruct emergency equipment.
Give every instrument a complete space allowance
Record the footprint, weight, power, data, cooling, ventilation and service clearances from the instrument supplier. Include space for opening lids, changing consumables and removing the equipment later. A machine that fits on a countertop can still be impossible to service once wall cabinets and adjacent instruments are installed.
ICI Envision benches illustrate another approach to coordinating furniture with services. The range includes configurations with service distribution, overhead shelving and options on glides or leveling casters. Such features can support future changes, but utility connections and movement restrictions still require review. Choose a bench because its configuration supports the equipment and process, not simply because it is described as flexible.
Keep the dry documentation position away from routine splashing. Review cable routes before installation so cords do not have to cross a sink or primary walking path. Assign responsibility for electrical, plumbing and ventilation work in the quote; furniture supply and building-services installation are separate scopes that need to meet at clearly defined connection points.
Plan storage without crowding the testing bench

Useful laboratory storage keeps the immediate work surface available. List what belongs at each station, what can be kept in shared reserve storage and what requires a purpose-selected storage cabinet. Distinguish clean consumables, samples awaiting work, retained materials, tools, documents and cleaning supplies. Their storage rules may differ even when their containers look similar.
Do not treat an ordinary lockable cabinet as a hazardous-material cabinet. Locks control access; they do not establish chemical compatibility, fire performance or suitability for a specific substance. Have the safety team identify the storage conditions required for the actual inventory and specify the corresponding equipment. Review incompatible materials and waste arrangements as part of the operating procedure.
Use vertical space selectively
Wall cabinets and bench shelves can release worktop space, but the reach distance, visibility and weight of stored items matter. Check that doors do not conflict with lights, instruments or users. Review the support and attachment requirements before installing shelving on an existing wall. Keep regularly used items within a practical working zone rather than filling the highest possible shelf.
The facility’s support stores deserve a separate plan. Borroughs Flexi-Bins may be worth evaluating for dry maintenance parts outside the analytical workspace. For larger reserve stores, Pipp mobile storage systems offer a different space-planning approach. Neither is presented here as a substitute for purpose-selected chemical storage or as equipment confirmed in the Kroger lab.
Define a replenishment quantity and a location for each routine supply. That simple exercise helps prevent extra cartons from accumulating under benches or in circulation space. A furniture plan becomes more useful when it includes how supplies arrive, where excess quantities remain and who keeps the station organized.
Make cleaning, access and future changes practical
A compact room needs a realistic cleaning and maintenance plan. Before approving a layout, trace how a staff member will clean behind equipment, inside corners, around a sink and below the work surface. Check transitions between cabinetry, flooring and wall finishes. Identify which equipment can move for access and which pieces have fixed services that limit movement.
The original brief includes angled counter corners. Review these on the actual plan rather than assuming that every angled corner improves usability. A corner can add surface area while making the rear edge harder to reach. Compare the proposed shape with the equipment footprint, cleaning tools and staff working position. Mocking up the critical corner with tape or cardboard can expose problems before fabrication.
Review seated and standing tasks separately
Position the work, display and supplies around the task. For seated documentation or instrument use, allow appropriate knee space and chair movement. For standing preparation, consider reach and the duration of the activity. If an adjustable bench is proposed, confirm how services, overhead storage and adjacent furniture behave through its intended adjustment range.
Plan for a plausible next instrument without promising unlimited flexibility. An accessible utility route, a replaceable worktop section or a movable underbench cabinet can make a later change easier. Document which elements are fixed, which can be relocated and which require a specialist. The selected manufacturer’s instructions remain the reference for adjustments and maintenance.
Ask the team to review three scenarios: an ordinary shift, a cleaning period and an equipment replacement. A layout that supports all three is more valuable than one optimized only for a photograph. Include the people who use the room and those who maintain its services; each group can identify a different access problem.
Turn the brief into a coordinated lab furniture quote
A meaningful quote starts with a defined equipment and furniture scope. Send the measured floor plan, photographs of existing conditions, the instrument list, work-surface exposures and the preferred installation window. Identify whether the project is a new room, a renovation or a phased replacement in an operating facility. Mark items that are to be reused so the design does not assume they can be freely moved.
1. Confirm the brief
Agree on workflow, users, room constraints and the tasks that must remain available during the project.
2. Review the layout
Coordinate cabinet sizes, bench positions, sink details, clearances and utility connection points.
3. Approve the package
Review product selections, technical documentation, finishes, scope boundaries and installation responsibilities.
Separate furniture, worktops, freight, installation and building work in the commercial review. Ask about field measurements, delivery access, removal of existing furniture and protection of the operating plant. Confirm lead times against the approved configuration instead of relying on an old in-stock statement. Any substitution should receive the same technical review as the original selection.
At handover, retain the approved drawings, product information, maintenance guidance and a list of any outstanding items. Verify cabinet operation, worktop condition and the agreed furniture scope. The facility’s quality and safety teams remain responsible for approving laboratory procedures and bringing the room into operation. Material Handling USA can help develop the furniture package and coordinate the questions that need answers before an order is placed.
Food QC labs are one of many lab types we furnish. See our laboratory furniture overview for benches, casework, countertops, sinks and storage specified for your lab.
Frequently asked questions
Do the photographs show Kroger's salad-dressing laboratory?
No. These are real photographs from ICI Scientific's website showing manufacturer casework and bench examples. They illustrate options for a project review and are not presented as photographs of the Kroger facility.
What should be confirmed for the 14-by-15-foot lab brief?
Confirm field dimensions, doors, utilities, the approved testing workflow, equipment clearances and the number of people working in the room. The brief's approximate dimensions are a starting point; final cabinet and countertop sizes require a coordinated plan.
Which countertop is best for a food quality-control lab?
The correct choice depends on the actual reagents, cleaning chemicals, heat, moisture and equipment loads. Compare current technical data for the specific epoxy, laboratory-grade phenolic or stainless steel product rather than choosing from a generic material name.
Can a sink-mounted eyewash be assumed to satisfy the safety requirements?
No. The responsible safety and design professionals should evaluate hazards, the selected equipment and its location against the applicable requirements. A sink or ordinary faucet does not by itself establish a suitable emergency-flushing provision.
Can existing instruments and cabinets be retained?
Potentially. Record their dimensions, condition, service requirements and maintenance clearances, then review them against the new workflow. Reuse should be confirmed in the layout and scope rather than assumed from photographs alone.
What information is needed to start a food lab furniture quote?
Provide a measured plan, room photographs, instrument schedule, chemical and cleaning exposures, desired storage, utility information and project timing. Identify building work and installation responsibilities so the quote describes a complete, reviewable furniture package.