
Laboratory Pipettes: Types, Uses and Pipetting Workstation Planning
How to choose the right pipette for each volume and liquid, keep it accurate with calibration and good technique, and lay out benches, storage and safety cabinets so pipetting work is fast, comfortable and repeatable.
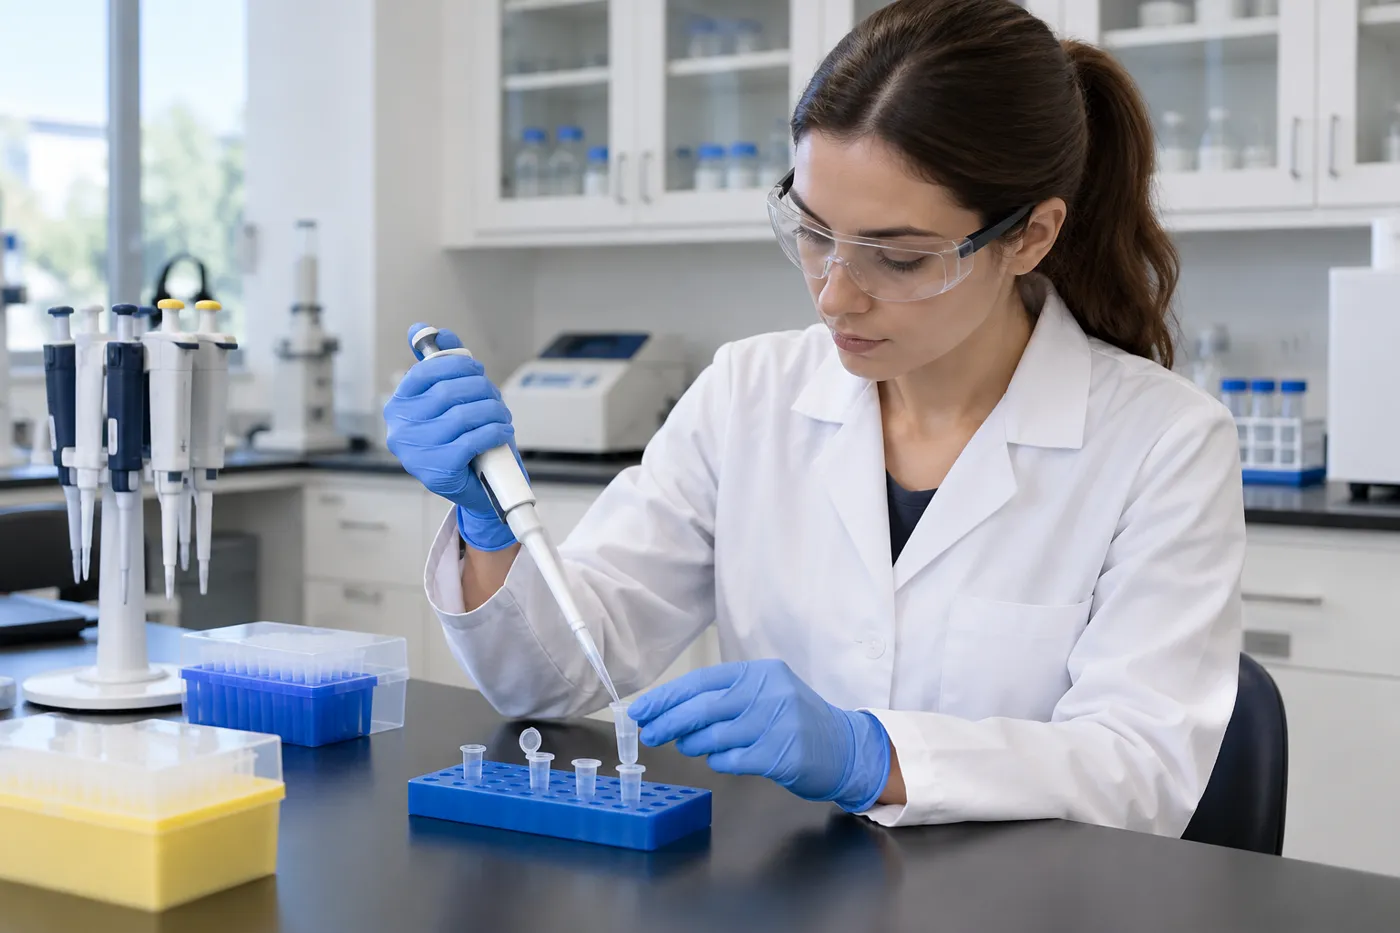
8 types
Pipettes compared
ISO 8655
Piston pipette standard
0.1 µL+
Volumes covered
Free
Bench layout help
What Pipettes Do and Why the Bench Around Them Matters
A pipette measures and transfers a defined volume of liquid. In clinical, research, QC and teaching labs it is the most-used hand tool on the bench, so the choice of pipette — and the way it is stored, calibrated and used — shows up directly in the quality of results.
Most guides stop at the tool. Pipetting accuracy also depends on the workstation: bench height, reach to tips and tubes, a stable surface away from drafts, and enough clean, separated space for sterile or PCR work. MH-USA plans those benches, storage and safety cabinets as part of our laboratory design and installation work.
Types of Laboratory Pipettes
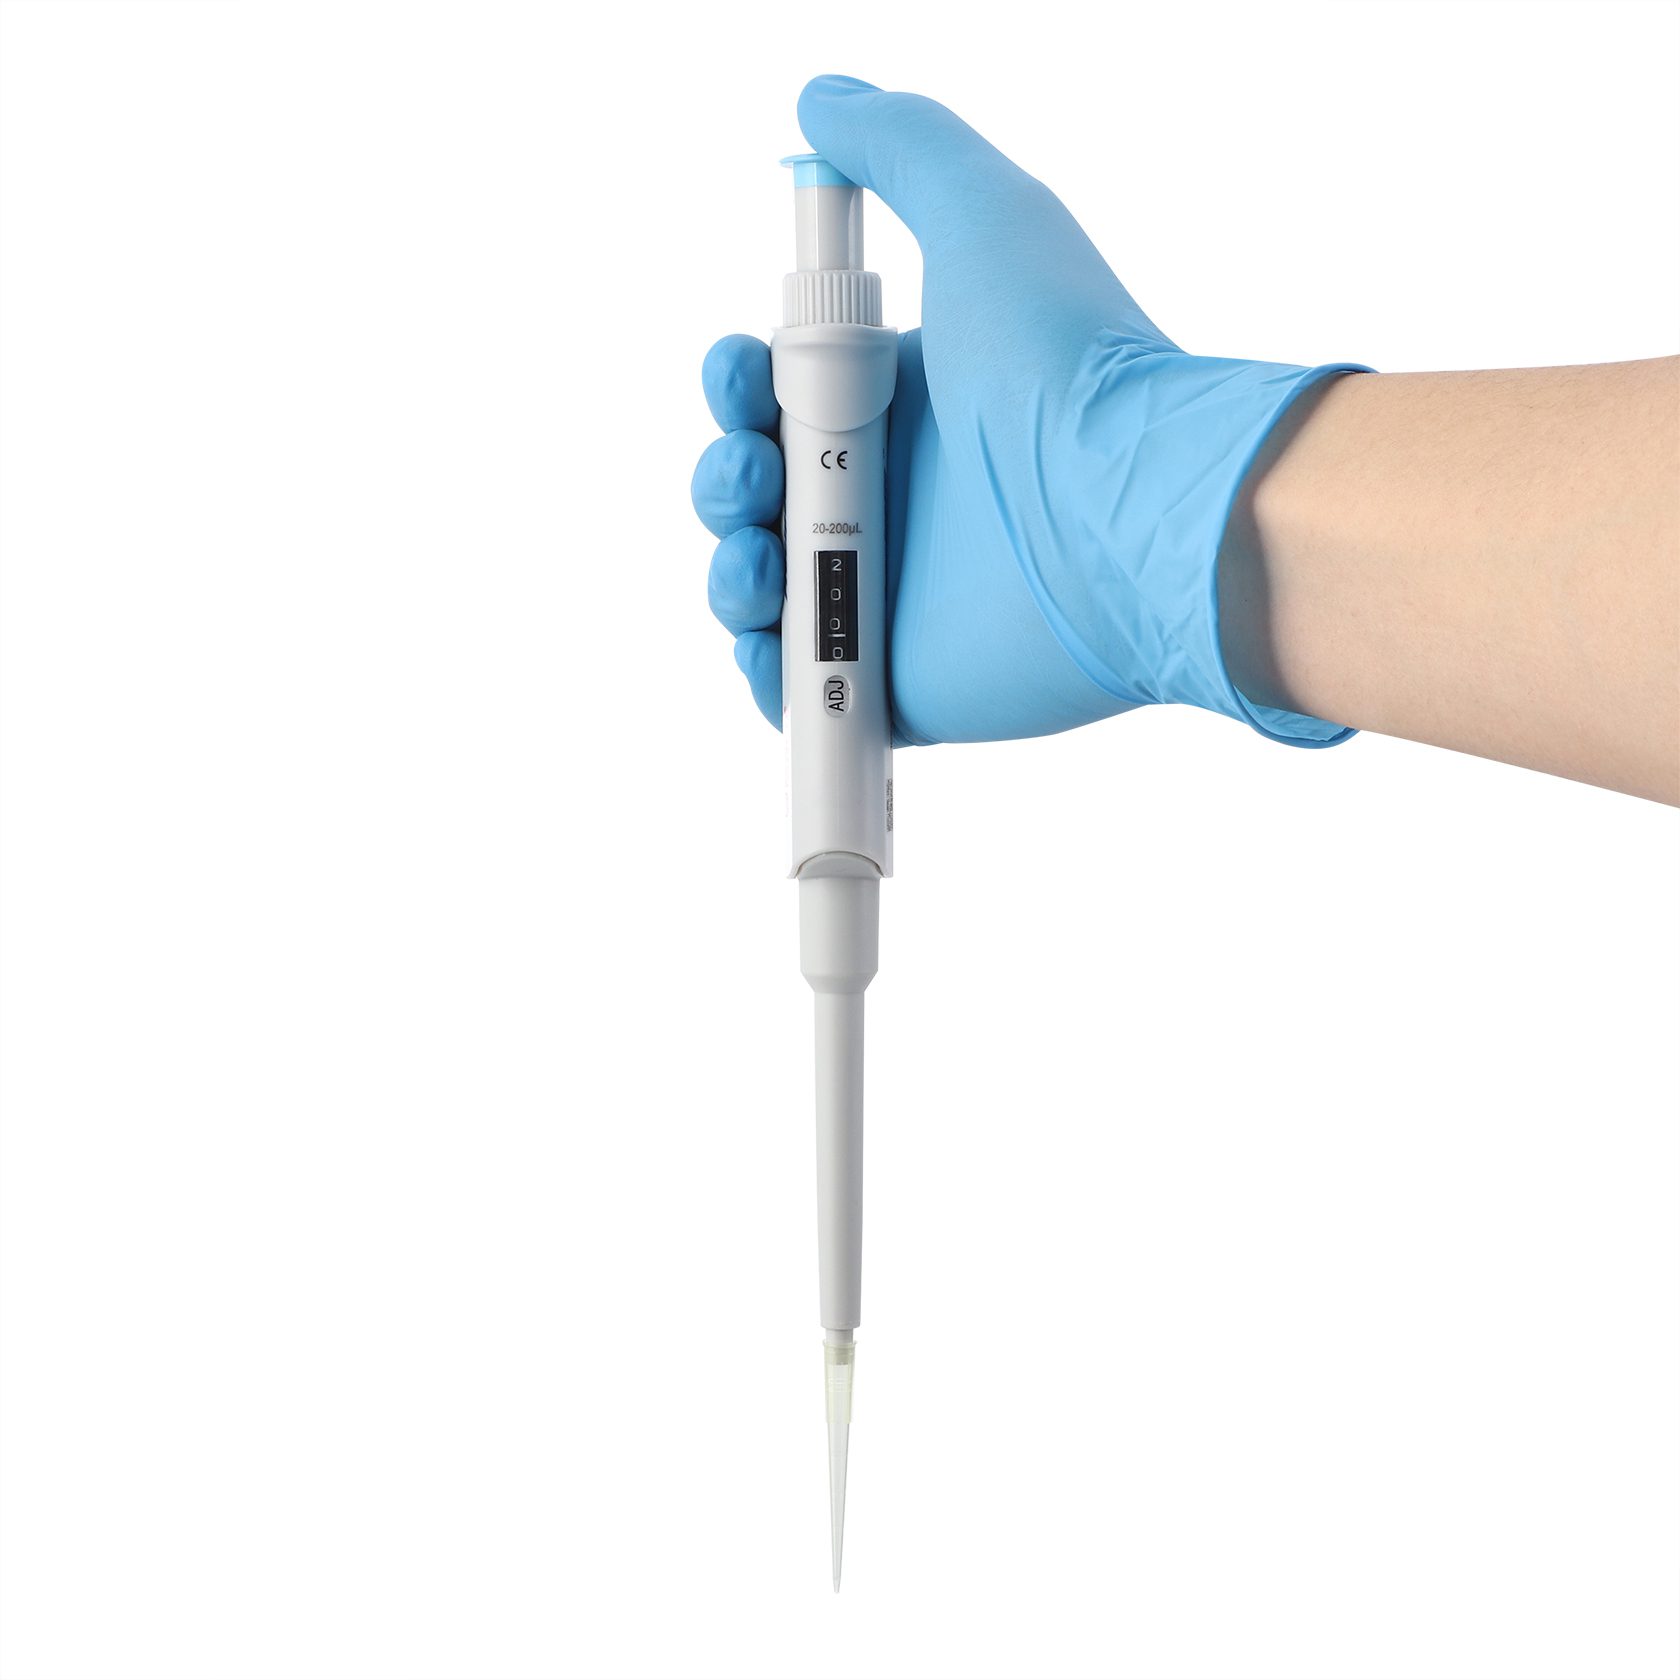
Pipettes fall into two families: piston-operated pipettes (micropipettes) that use disposable tips for microliter-to-milliliter volumes, and glass or plastic graduated pipettes used with a bulb or pipette controller for larger volumes. Each type below has a job it does best.
Filter tips are not a pipette type — but they matter
Aerosol-barrier (filter) tips protect the pipette shaft from contamination and are standard for PCR, radioactive and infectious work. Plan tip storage for both filtered and standard tips at each station.
Pipette Comparison: Volume, Accuracy and Best Use
Typical ranges are shown; confirm the exact volume range and specification of the model you buy.
| Pipette type | Typical volume range | Best for | Watch for |
|---|---|---|---|
| Air-displacement (single-channel) | 0.1 µL – 10 mL | Aqueous buffers, reagents, samples | Errors with viscous or volatile liquids |
| Positive-displacement | 1 µL – 10 mL | Viscous, volatile, dense, foaming liquids | Higher cost per capillary tip |
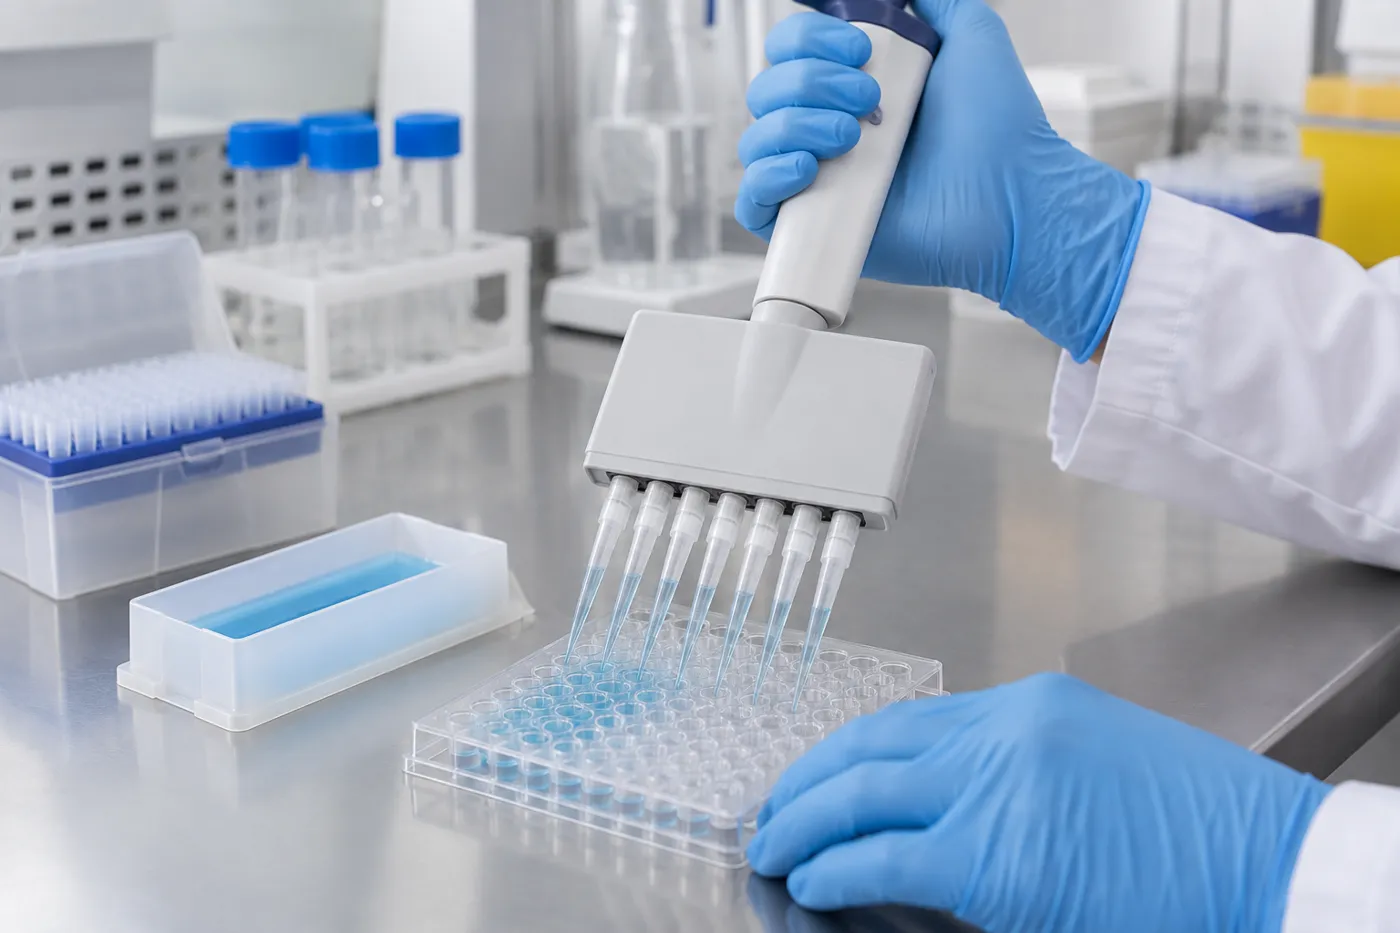
| Multichannel | 0.5 µL – 1.2 mL per channel | Microplates, PCR setup, ELISA | Even tip sealing across channels |
| Electronic | 0.2 µL – 10 mL | Repetitive dispensing, serial dilution | Battery charging and docking space |
| Serological | 1 – 50 mL | Cell culture media, bulk transfers | Needs a pipette controller |
| Volumetric (glass) | Fixed, e.g. 1 – 100 mL | Standards, titrations | One volume per pipette; cleaning |
| Graduated / Mohr (glass) | 0.1 – 25 mL | Variable analytical measurements | Reading the meniscus correctly |
| Transfer (plastic) | Approximate, ~1 – 5 mL | Non-critical transfers | Not for quantitative work |
How to Choose the Right Pipette
Start with the liquid and the volume, then the throughput. A pipette performs best in the upper part of its range, so pick the smallest model that covers the volume you dispense most often rather than one large pipette for everything.
High-volume plate work justifies multichannel or electronic pipettes; analytical standards still call for glass volumetric pipettes; difficult liquids call for positive displacement. Most labs end up with a matched set of three to five adjustable pipettes per user plus shared specialty tools.
Pipette selection checklist
- Volume you dispense most often — and whether it sits in the top half of the pipette’s range.
- Liquid type: aqueous, viscous, volatile, dense, foaming or infectious.
- Throughput: single tubes, racks or 96/384-well plates.
- Accuracy required by your method or accreditation body.
- Manual vs electronic, considering daily repetitions and staff ergonomics.
- Tip fit and supply: universal or brand-specific tips, filter tips, low-retention tips.
- Autoclavable parts and chemical resistance for decontamination.
- Calibration support and service turnaround.
Manual or electronic?
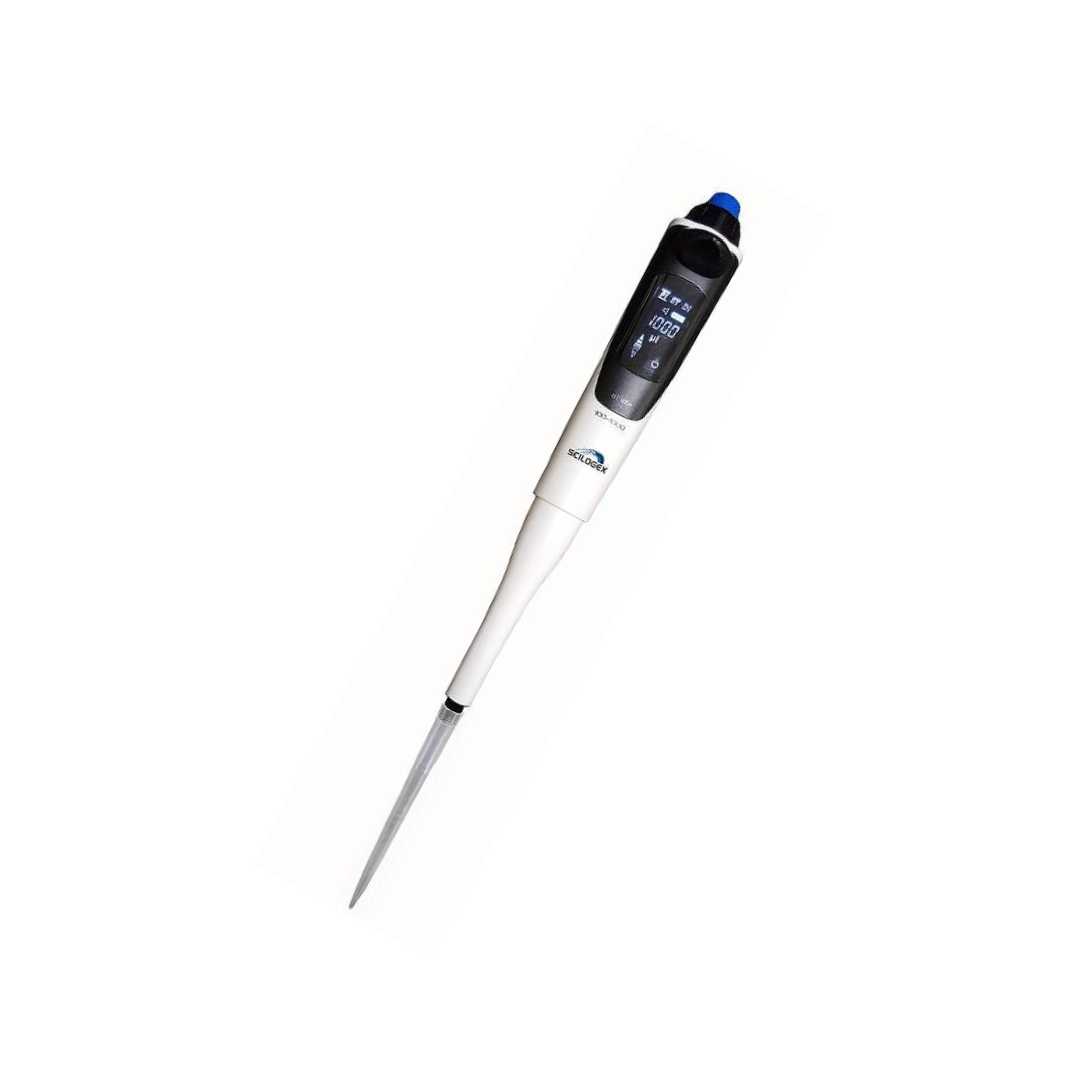
Manual pipettes are simple, affordable and need no charging. Electronic pipettes repeat the same aspiration and dispense speed every time, store programs for multi-dispensing and serial dilution, and reduce thumb force — a real benefit for staff who pipette for hours. If you choose electronic models, plan a charging stand and an outlet at each workstation rather than a shared charger across the room.
Pipetting Technique That Protects Accuracy
Most pipetting error comes from technique, not the tool. A few habits make the biggest difference:
- Pre-wet the tip two or three times before aspirating, especially with volatile liquids.
- Hold the pipette near vertical while aspirating and immerse the tip only a few millimetres.
- Use a smooth, consistent plunger rhythm and pause briefly after aspiration.
- Use reverse pipetting for viscous or foaming liquids.
- Let pipettes and liquids reach room temperature before critical work.

| Technique | When to use it | How it works |
|---|---|---|
| Forward pipetting | Aqueous solutions, buffers, most reagents | Press to the first stop, aspirate, dispense to the second stop to blow out |
| Reverse pipetting | Viscous, foaming or very small volumes | Press to the second stop, aspirate, dispense to the first stop only |
| Repetitive pipetting | Dispensing the same volume many times | Aspirate once, dispense aliquots to the first stop |
| Pre-wetting | Volatile liquids and critical volumes | Aspirate and dispense two or three times before the measured stroke |
Sterile and PCR work belongs in the right enclosure
Cell culture and infectious samples are pipetted inside a biological safety cabinet; PCR setup is often done in a PCR workstation or dedicated clean area. Labs USA compares the two in PCR hood vs biosafety cabinet.
Pipette Calibration and Maintenance

Piston pipettes are specified and tested to ISO 8655. Most labs verify them with a gravimetric check: dispense water onto an analytical balance, convert mass to volume, and compare accuracy and precision with the limits for that volume.
Many labs calibrate every 6 to 12 months and run quick in-house checks more often; regulated and high-use labs may calibrate quarterly. Your method, accrediting body and pipette usage set the interval. A gravimetric check needs a quiet, draft-free spot with a stable balance table — something to plan into the room.
| Interval | Typical pipette care |
|---|---|
| Each day / each use | Inspect for cracks and leaks; check the tip seals; wipe the shaft; store upright |
| Weekly | Clean and decontaminate the exterior; quick leak or volume check on critical pipettes |
| Monthly / quarterly | Gravimetric performance check for high-use pipettes; replace worn seals and O-rings |
| Every 6–12 months | Full calibration to ISO 8655 or your quality system; record results and labels |
| After damage or repair | Remove from use, recalibrate and document before returning to service |
Planning a Pipetting Workstation: Bench, Storage and Layout
This is where MH-USA comes in. Pipetting is repetitive fine-motor work, often for hours, so the bench and storage around it drive both comfort and error rates. These are the points we work through when designing benches for pipetting-heavy labs.
Bench height and seating
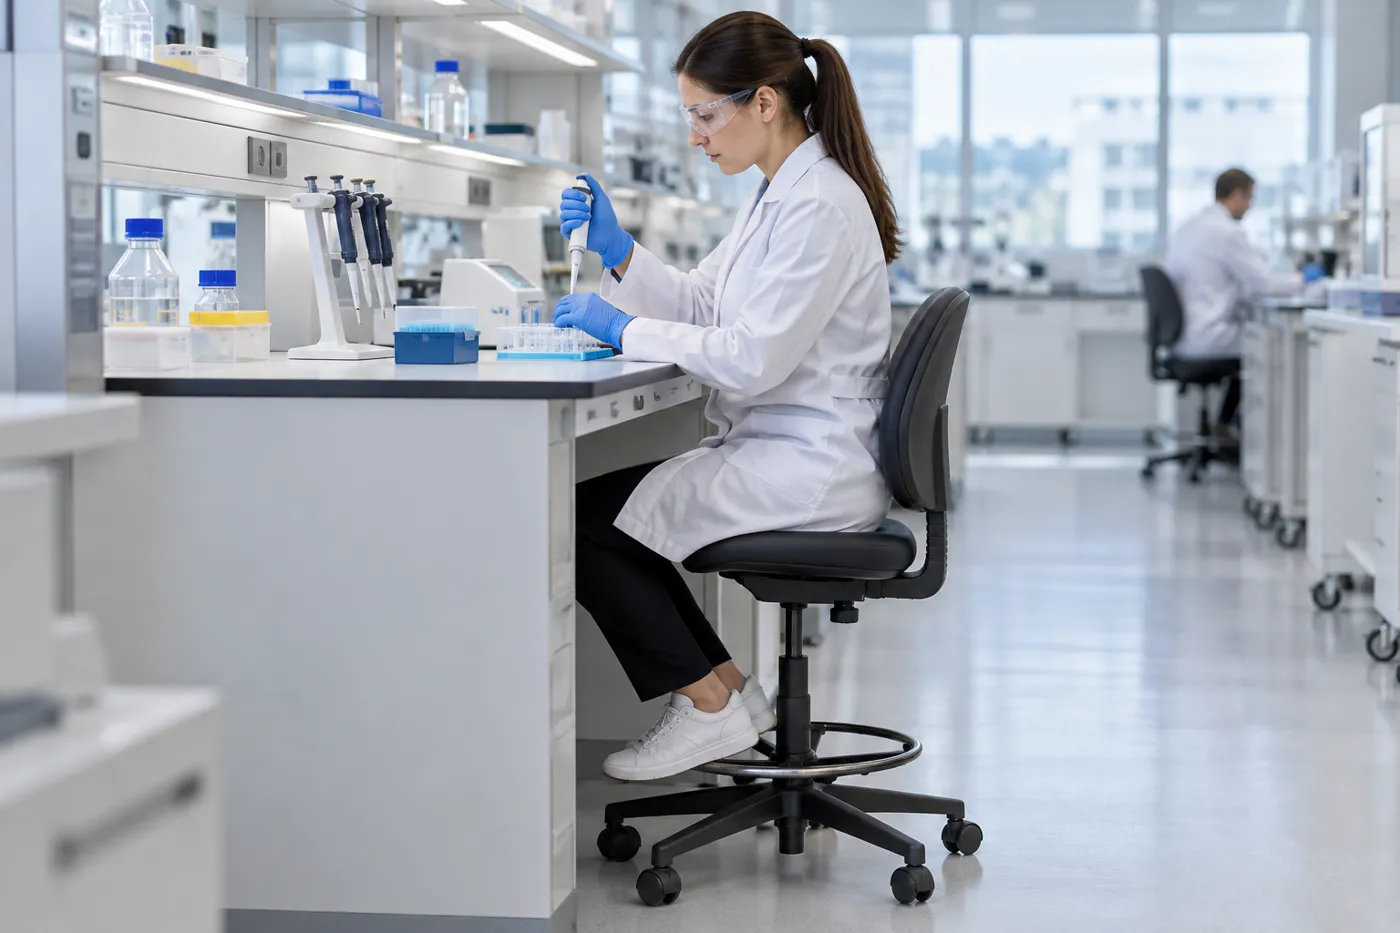
Seated pipetting is usually done at a sitting-height bench of about 29–30 in., standing work at about 36 in. Adjustable-height benches let each user set the surface so the elbow stays close to the body and the wrist stays straight. Pair them with lab chairs that have adjustable height and a footrest.
See lab benches and workstations and our guide to ergonomics in lab design.
Storage within reach
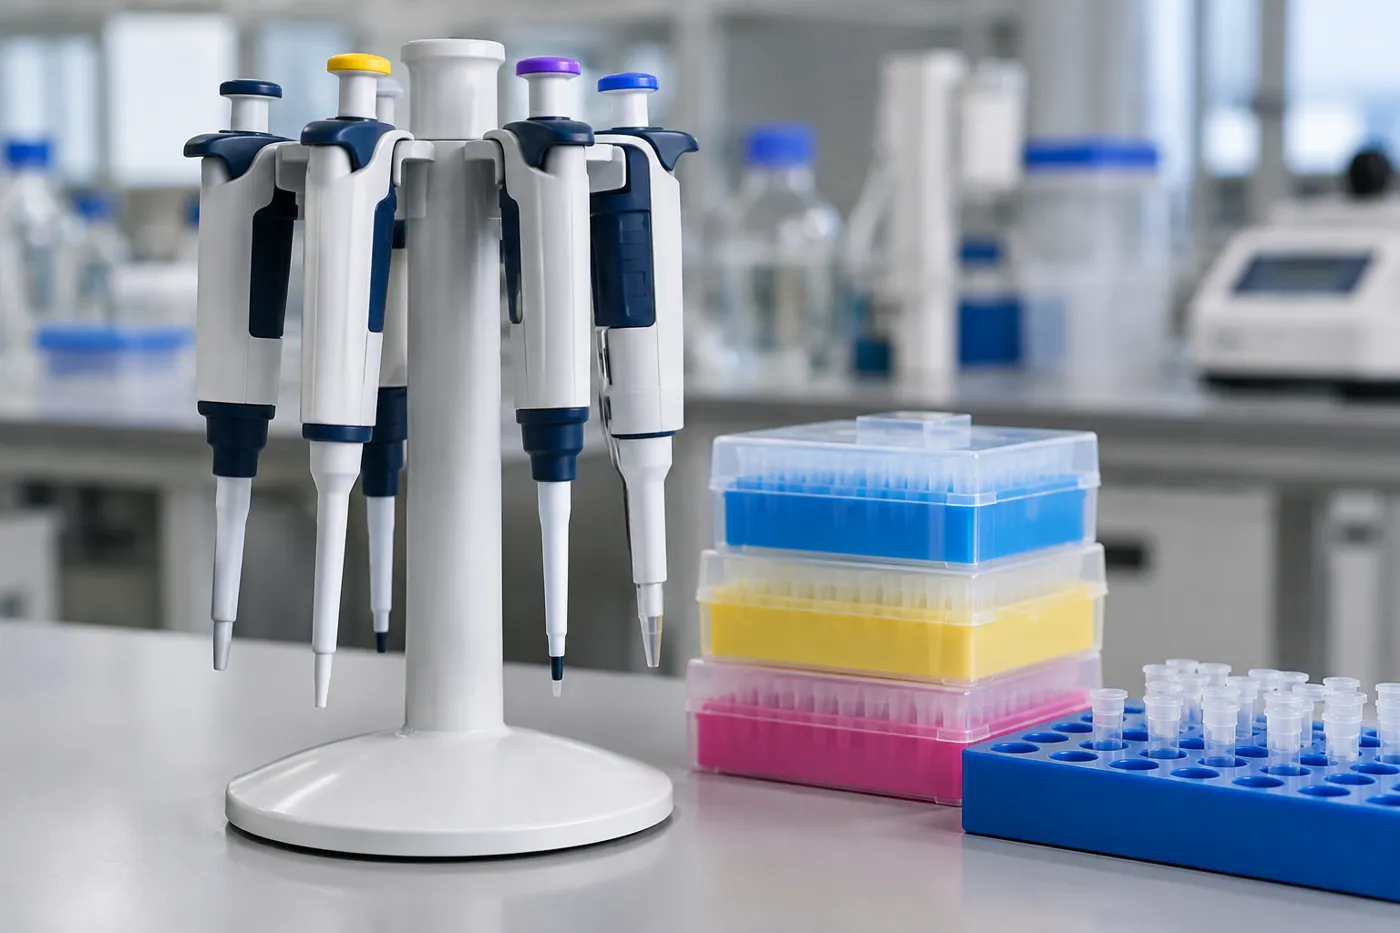
Keep pipettes upright in a stand or carousel so liquid can’t run into the shaft, and keep tips, tubes and plates inside the easy reach zone in front of the user. Plan shelf space for tip boxes and refills, a drawer for filter tips and spare parts, and a waste container for used tips on the dominant-hand side.
Reagent shelving above the bench and a mobile cart for bulk tip cases keep the work surface clear.
Pipetting workstation layout checklist
- Adjustable-height or correct-height bench for seated or standing work.
- Stable, chemical-resistant work surface away from doors, hood faces and supply diffusers.
- Pipette stand or carousel at each station; tips, tubes and plates in the easy reach zone.
- Tip waste and biohazard containers on the dominant-hand side.
- Outlets for electronic pipette chargers and benchtop centrifuges or vortex mixers.
- Separate pre-PCR and post-PCR areas, with dedicated pipettes for each.
- Biosafety cabinets in low-traffic positions with clearance for the user’s chair.
- A quiet balance table for gravimetric pipette checks.
- Task lighting without glare on tube racks and plates.
Pipetting Needs by Type of Lab
How MH-USA Helps You Build Better Pipetting Benches
MH-USA designs, supplies and installs laboratory furniture, casework, shelving and safety equipment. For pipetting-heavy labs that means benches at the right height, storage that keeps tips and pipettes in reach, and a layout that separates sterile, PCR and general work. For lab equipment and consumables, our laboratory division Labs USA can help.
Workflow review
Tell us the assays, users and throughput; we map where pipetting happens.
Bench layout
We draw benches, storage, safety cabinets and equipment on your floor plan.
Specify & quote
Furniture, casework, shelving and carts quoted with lead times.
Install
We deliver, install and coordinate with your trades.
Setting up a new lab or reworking pipetting stations?
Send your floor plan and workflow. We’ll return a bench layout and a quote.
Request a Quote Try the Lab Layout Configurator Call (800) 326-4403
Related Laboratory Planning Guides
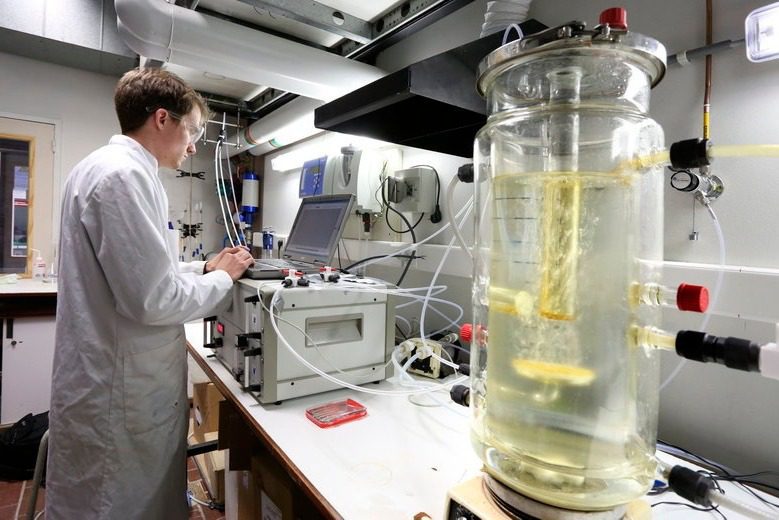 Comprehensive Laboratory DesignDesign services for the whole lab: casework, hoods, utilities, equipment and safety.
 Laboratory Equipment ChecklistWhat a new lab needs, with the space and utilities for each item.
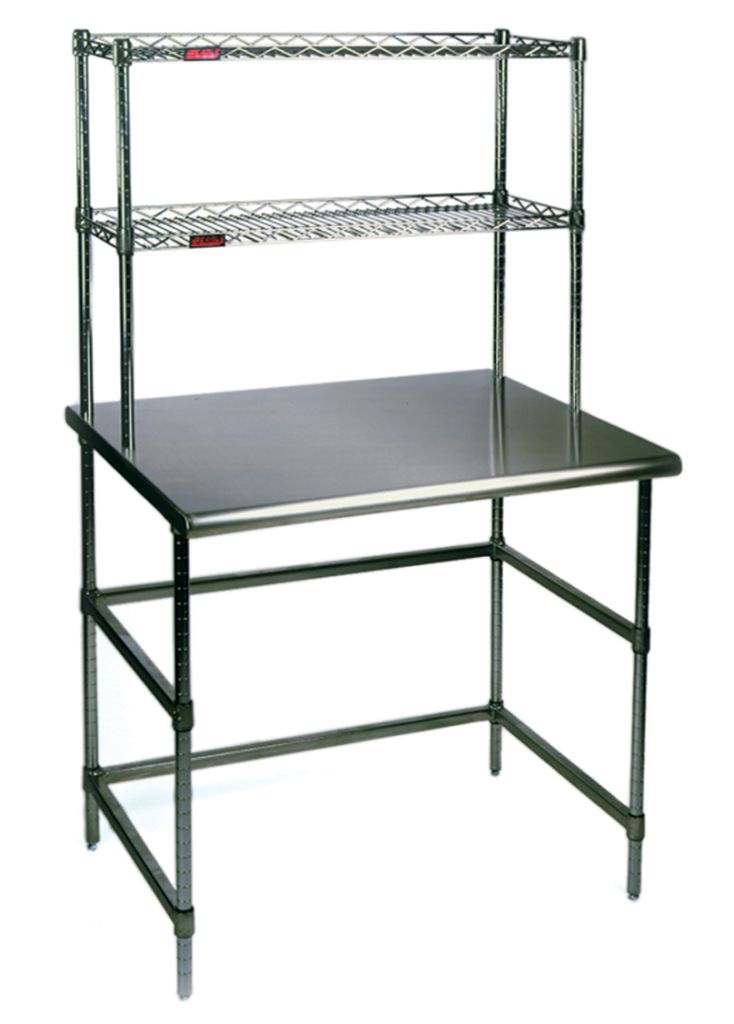 Lab Benches and WorkstationsFixed, mobile and adjustable-height benches for every lab task.
Pipette FAQs
What are the main types of pipettes?
What is the difference between a volumetric pipette and a micropipette?
How often should pipettes be calibrated?
When should I use a positive-displacement pipette?
How should pipettes be stored?
What bench height is best for pipetting?
What should I inspect before using a pipette?
Does MH-USA design and install pipetting workstations?
Plan Pipetting Benches That Work as Hard as Your Team
Send your floor plan and workflow. We’ll design the benches, storage and layout, quote it and install it.