
Home / Laboratories / Wine Chemistry Laboratory
Upgrading a Wine Chemistry Laboratory
A practical planning guide for safer sample flow, better analytical work, right-sized furniture, utilities and storage—from harvest intake through release decisions.
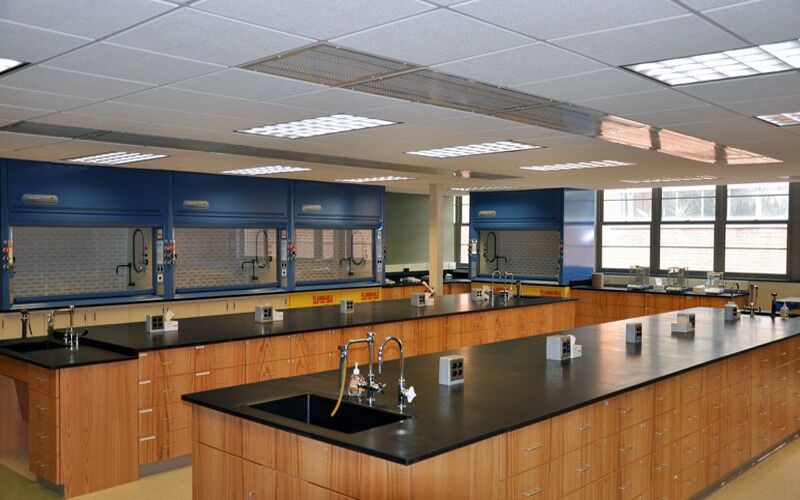
One-way
Sample flow
Separated
Wet and instrument zones
Point-of-use
Utilities and storage
Documented
Methods and change control
Start the Upgrade With the Wine Test Menu—not a Furniture Catalog
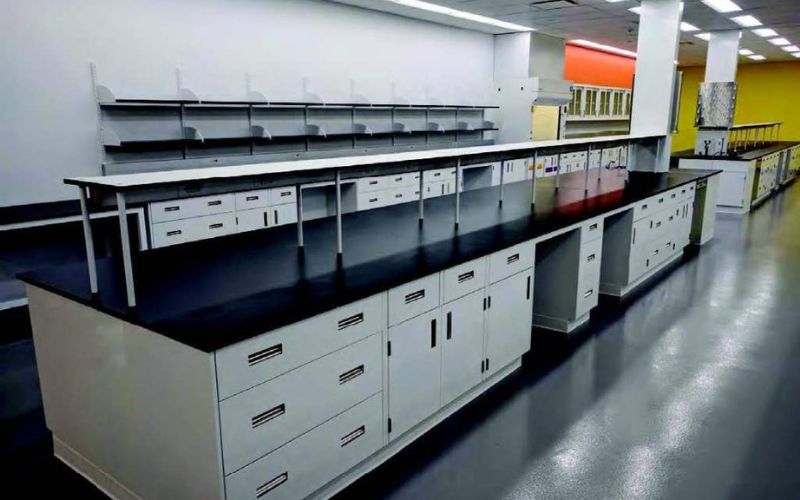
A wine chemistry laboratory supports decisions throughout production: grape and must evaluation, fermentation monitoring, cellar adjustments, stability work, blending, bottling and investigation of out-of-specification results. The most useful upgrade begins by listing those decisions, the methods behind them and how quickly each result is needed.
The test menu determines the room. Routine pH, acidity, density or soluble-solids work has a different footprint from chromatography, trace-metals analysis or other specialized methods. TTB’s current beverage alcohol methods show that official work can involve technologies ranging from volumetric and gravimetric procedures to GC, UHPLC and ICP-MS. The OIV compendium likewise spans physical analysis, sugars, alcoholic strength, acids, pH and many other wine and must methods.
That range is why a generic list of benches is not a design program. For every method, record the instrument, sample-preparation steps, reagents, waste, water, gases, power, data connection, ventilation, operator space and environmental sensitivities. Then decide whether the result belongs in-house or with an outside laboratory.
Build a method-to-space matrix
- Decision: What production, quality or release choice uses this result?
- Method: What current written procedure governs the analysis?
- Frequency: How many samples arrive during normal operations and harvest peaks?
- Preparation: What weighing, dilution, heating, filtration or glassware steps come first?
- Services: What water, drainage, electrical, gas, exhaust, network and waste connections are required?
- Quality controls: Where will standards, blanks, duplicates, controls and retained samples live?
- Turnaround: Which results must stay close to production, and which can be outsourced?
A regulatory threshold can change the reporting workflow
TTB states that wines sold in the United States containing 10 ppm or more sulfur dioxide must carry a “Contains Sulfites” statement, and describes laboratory-report requirements for certain less-than-10-ppm labeling situations. The room layout cannot validate a result; the current method, quality system, qualified staff and applicable submission process do that.
Plan a Clear Sample Path Through the Laboratory
A strong wine lab layout makes the normal sequence obvious: receive and identify the sample, prepare it, perform the method, review the result, retain or dispose of the material, and clean the work area. Crossing that route with glassware washback, reagent restocking or visitor traffic creates avoidable congestion and mix-up risk.
 Receiving & Sample TriageKeep intake out of the analytical lane. Provide a landing space for bottles, labels, chain-of-custody records and temporary racks so incoming samples do not crowd calibrated instruments.
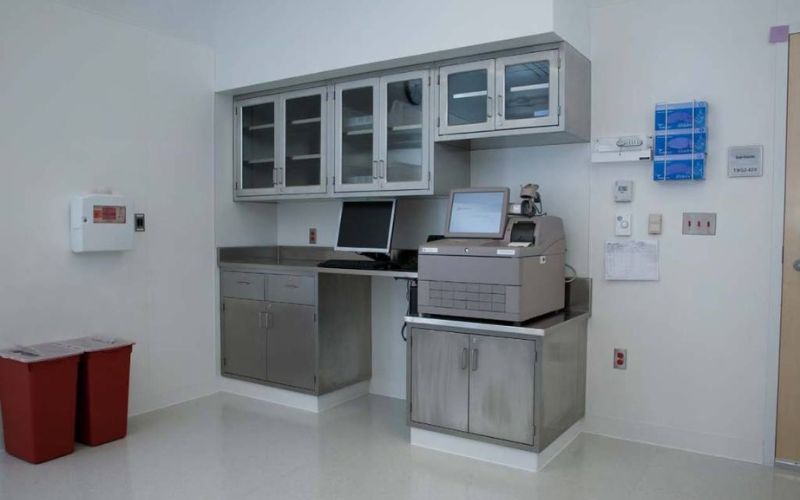 Instrument & Data ZoneProtect stable work. Give balances, spectrophotometers and other instruments the utilities, ventilation, service clearance and computer space called for by their manuals.
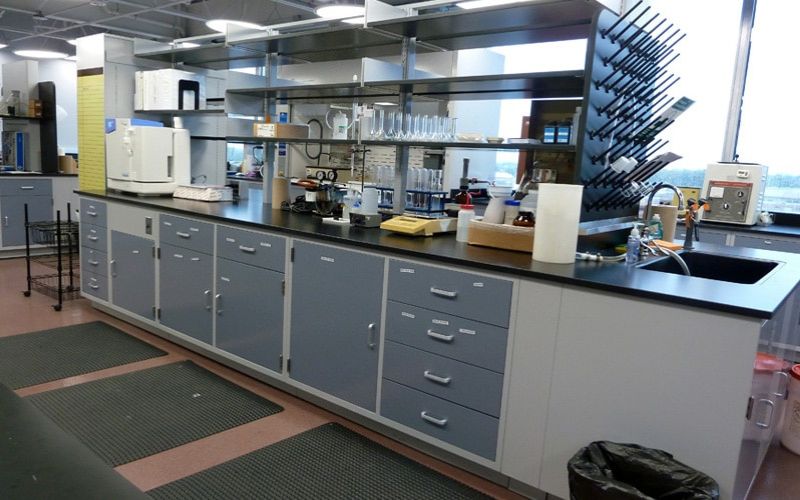 Wet Chemistry ZoneGroup water-dependent work. Locate sinks, glassware handling, titration supplies and compatible wet-process surfaces together while keeping splashes away from electronics.
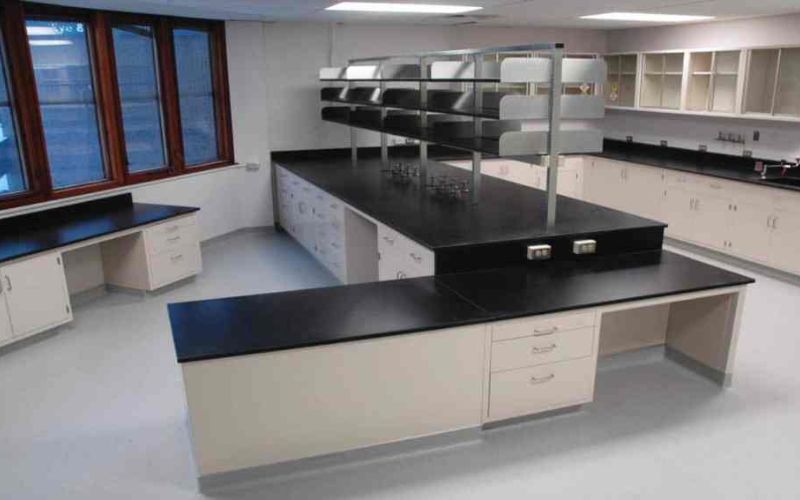 Preparation & Batch WorkUse flexible island benches. A clear central zone supports sample splitting, racks and seasonal throughput without turning permanent instrument counters into overflow space.
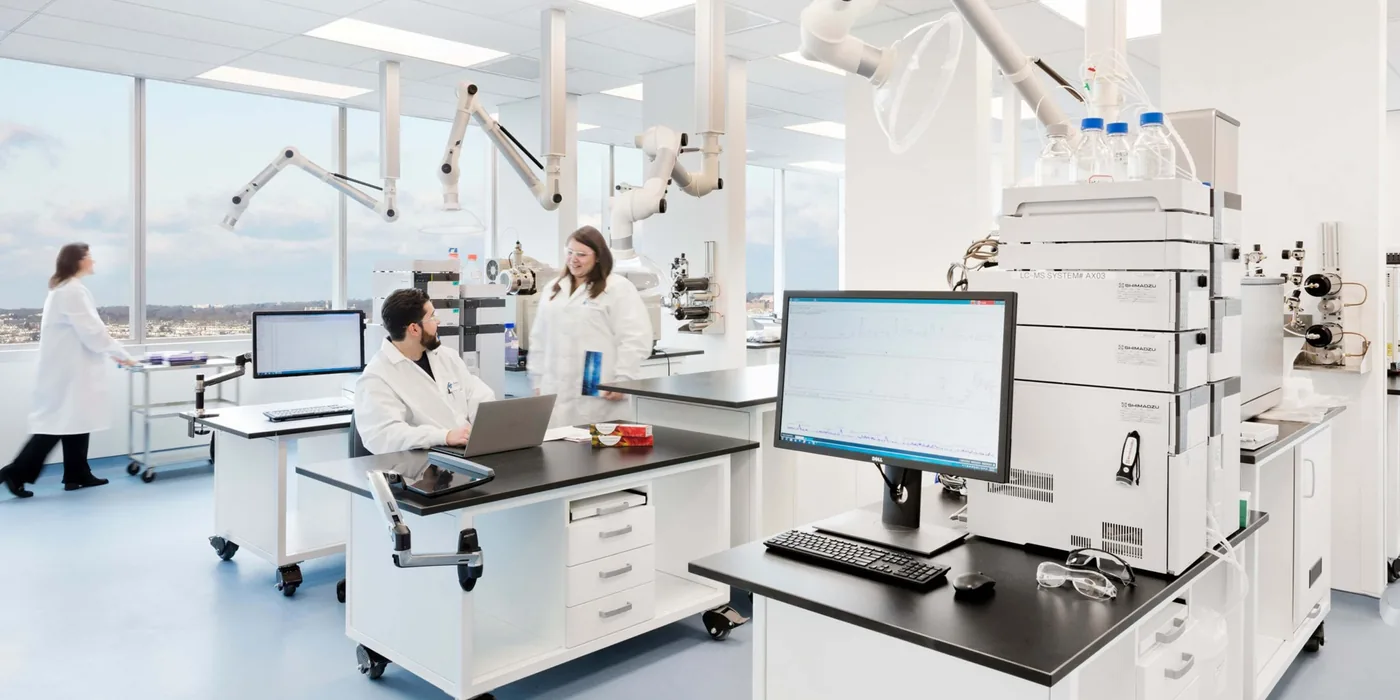 Reagent & Supply StorageSeparate by compatibility and use. Tall general storage, below-counter cabinets and purpose-designed hazardous-material cabinets perform different jobs; one cabinet type should not be used for everything.
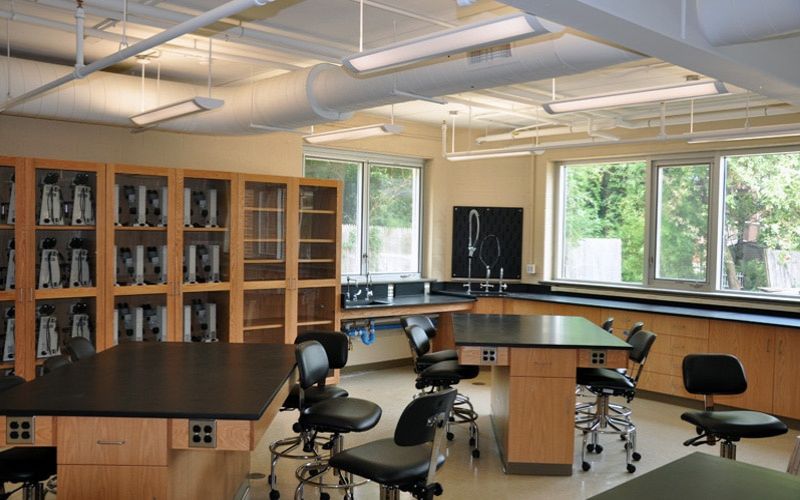 Review, Training & Write-UpMove clean tasks away from chemistry. A dedicated review area protects records and computers, gives technicians a place to check SOPs, and reduces traffic through active procedures.
Design for harvest peaks without oversizing every bench
Wine sample volume is rarely flat through the year. Instead of covering the room with permanent casework, identify which tasks expand during crush and which instruments remain fixed. Mobile or reconfigurable preparation tables, movable racks and open staging positions can absorb temporary volume while keeping service-intensive instrument benches stable.
Keep the aisles and emergency routes clear at peak volume. Temporary sample racks need assigned parking positions; otherwise, the floor, sink edge and instrument counter become unofficial storage. A drawing should show people, carts, open cabinet doors, pulled-out stools and service access—not just countertop rectangles.
Lay out your current room before selecting casework
Use the Lab Layout Designer to place benches, equipment and support rooms, then send the plan to our team for a furniture, utility and workflow review.
Open the Lab Layout Designer Design a Lab Bench Call (800) 326-4403
Choose Work Surfaces and Casework by Task
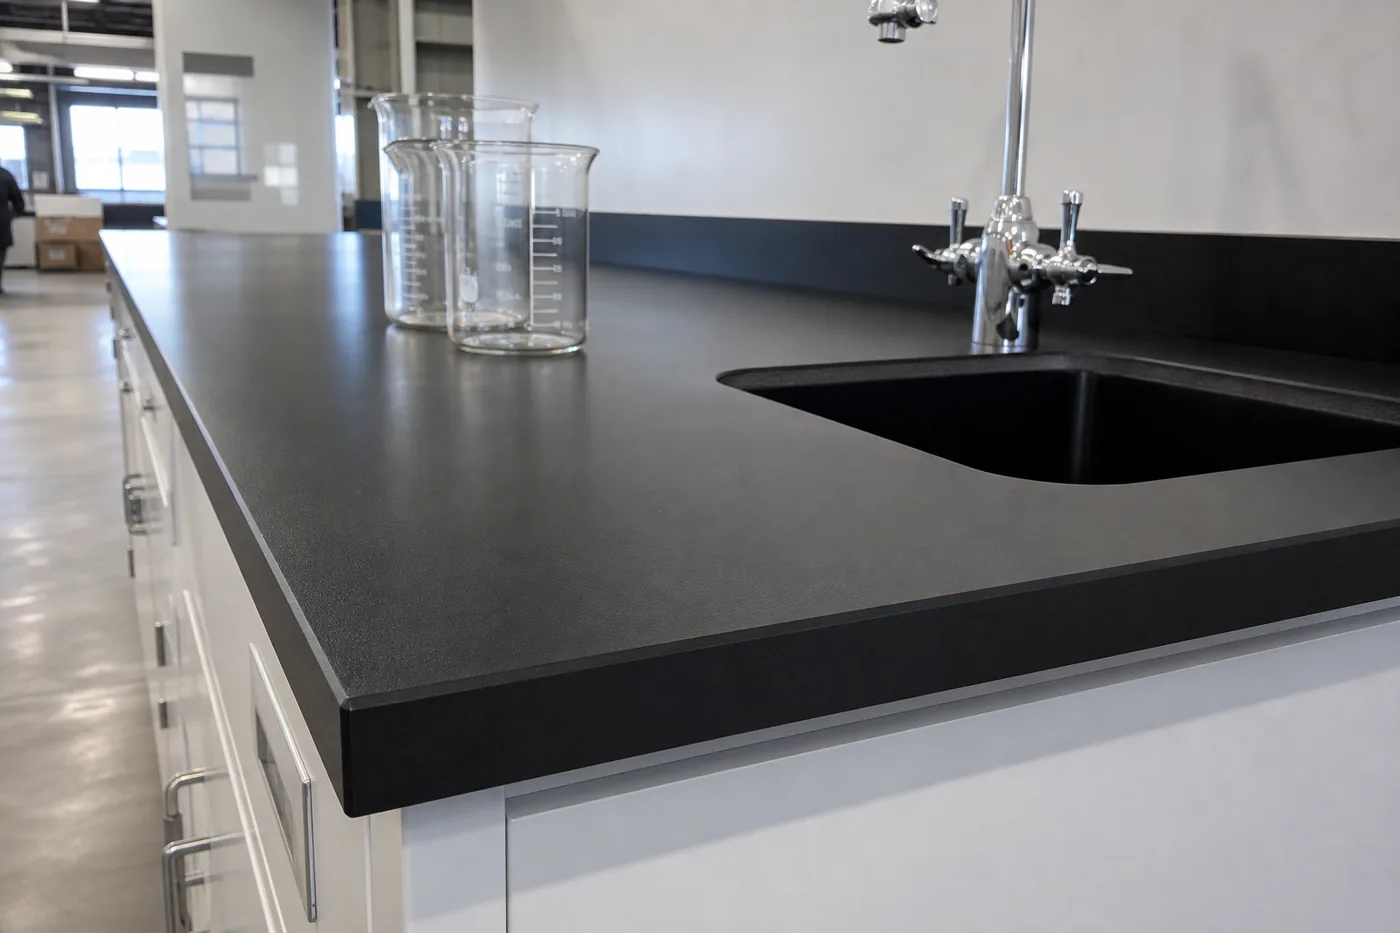
The existing page treated phenolic resin as a universal answer and repeated an unsupported heat figure. The better approach is a station-by-station compatibility review. List every reagent and cleaner, expected contact time, heat source, impact load, sink cutout and edge condition. Ask the manufacturer for current technical data, then document the selected material in the project specification.
It is also reasonable to use more than one material. A wet chemistry run may justify a robust resin surface, while a dry computer station does not. Stainless steel may suit a wash or sanitation-focused zone, while a balance or instrument location may be driven more by rigidity, vibration and service access than by splash resistance.
| Surface | Good starting point | Why teams consider it | Verify before specifying |
|---|---|---|---|
| Phenolic resin | Routine wet chemistry and general analytical benches when the compatibility review supports it | Moisture resistance, relatively light panels, clean appearance | Confirm reagent, cleaner, heat and seam compatibility; do not treat a generic rating as universal |
| Epoxy resin | Chemistry benches exposed to demanding reagents, sinks or repeated wet work | Broadly specified for durable, nonporous laboratory work surfaces | Heavy; field modifications and support details require planning |
| Stainless steel | Wash areas, sanitation-focused work and selected instrument/support zones | Cleanable, durable and compatible with fabricated sinks and splashes | Can scratch or dent; verify compatibility with chlorides and cleaners |
| Chemical-resistant laminate | Dry, light-duty write-up, computer and selected instrument areas | Cost-effective and available in many finishes | Not a substitute for a chemistry-grade surface at wet or aggressive-reagent stations |
Casework details that matter in daily wine testing

Cabinet material is only one decision. Drawer depth should match the racks, pipettes, glassware and consumables it will hold. Doors and drawers must open without blocking an aisle or an adjacent operator. Removable backs or service chases should preserve access to plumbing and electrical work. Wall cabinets need a reachable mounting height and should not force technicians to work directly beneath stored bottles.
Use tall cabinets for general supplies that genuinely belong there—not as a catch-all for incompatible chemicals. Flammables, corrosives and other hazardous materials require storage selected for the inventory and the Chemical Hygiene Plan. Keep frequently used, low-risk consumables at point of use, and move bulk backstock out of the analytical room when practical.
Wine labs also handle many small, easily confused items. Full-extension drawers, adjustable dividers, clear location labels and dedicated spaces for clean versus used glassware reduce searching and make restocking visible before harvest volume arrives.
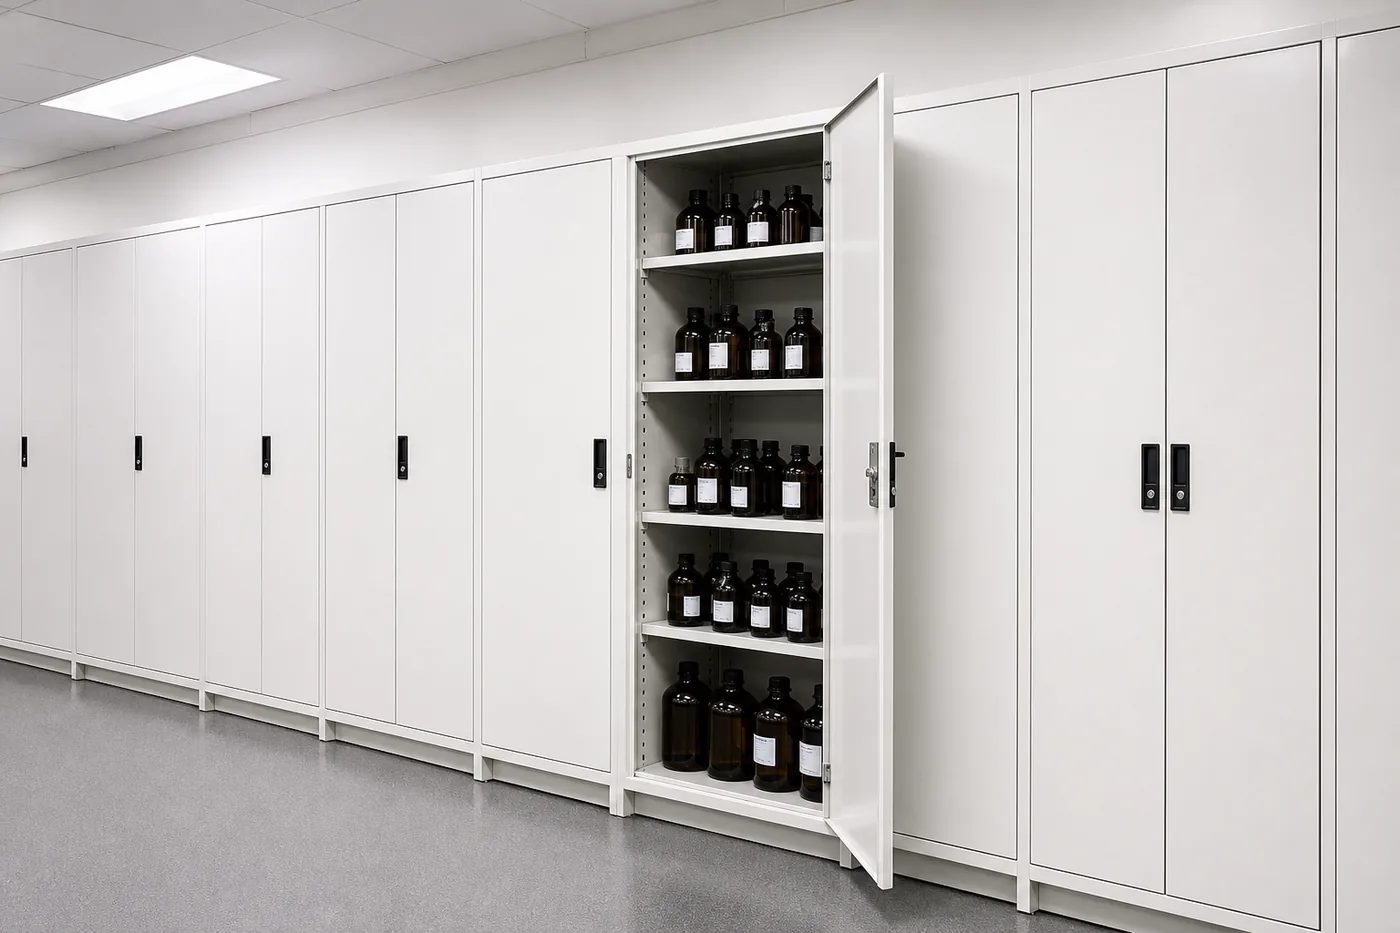 General & Retained-Sample StorageSize shelves to the actual bottles and bins. Give retained samples a defined location, date rule and disposal workflow rather than mixing them with active reagents.
 Flexible Preparation TablesMobile or adjustable tables can support seasonal prep, but casters, utilities, equipment stability and the final parked position all need to be resolved.
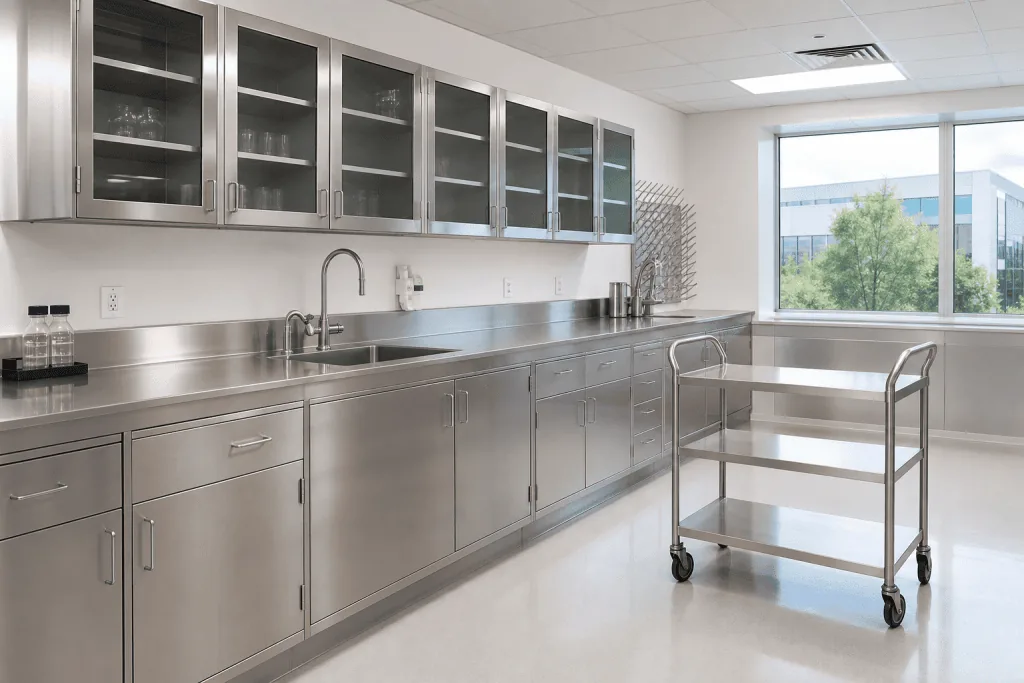 Integrated Wet BenchesCoordinate sink material, basin size, faucet reach, drying space, traps, neutralization needs and splash protection with the procedures performed there.
Coordinate Ventilation, Chemical Hygiene and Emergency Equipment
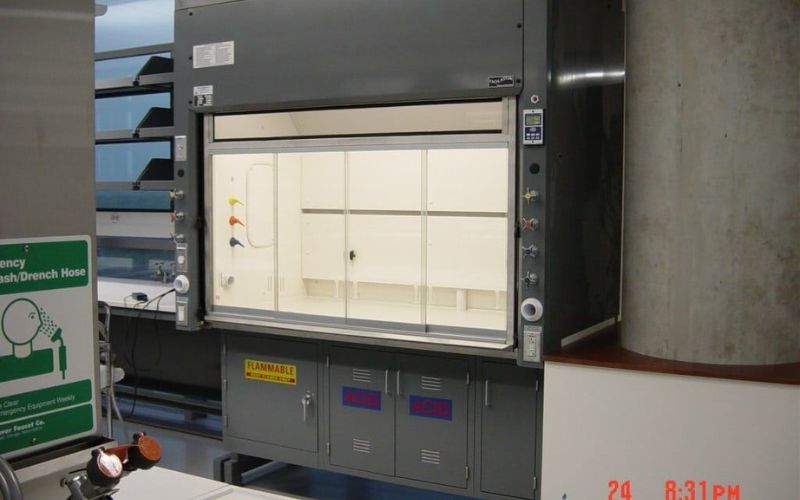
Wine is a food and beverage product, but wine chemistry can still involve hazardous reagents, volatile materials, heated procedures and corrosives. Where OSHA’s laboratory standard applies, 29 CFR 1910.1450 requires a written Chemical Hygiene Plan that addresses procedures, equipment, personal protective equipment and work practices. The plan—not a furniture brochure—should guide hazard controls.
A chemical fume hood is a containment device for work with hazardous airborne contaminants. A snorkel or local capture arm can be useful for a localized source when a qualified assessment supports it, but it is not automatically interchangeable with a hood. Canopy exhaust, room ventilation and recirculating devices also serve different purposes. Select the control from the procedure and exposure assessment, then coordinate supply air, exhaust, discharge, controls and commissioning.
Do not place a hood where doors, supply diffusers or heavy cross-traffic can disrupt its operation. Preserve sash and service access, and do not use the hood as permanent chemical storage. The owner’s EHS team and qualified ventilation professionals should establish use, testing and maintenance requirements.
Emergency planning must be visible in the floor plan
OSHA 1910.151(c) requires suitable quick drenching or flushing facilities within the work area where eyes or body may be exposed to injurious corrosive materials. The hazard assessment and applicable standards determine the exact equipment and placement. In design review, show the travel path with doors, carts and stools in their real operating positions; a fixture symbol is not enough if the route can be blocked.
- Chemical inventory and compatibility-based storage plan
- Current Safety Data Sheets and a written Chemical Hygiene Plan where applicable
- Ventilation basis for each hood, arm or other control—plus commissioning and maintenance access
- Emergency eyewash/drenching evaluation, unobstructed routes and inspection responsibilities
- Defined hazardous-waste accumulation, labeling and removal workflow
- Fire protection, egress and accessibility review by the responsible professionals and AHJ
- Spill-response materials selected for the actual chemicals, with staff training
Upgrading a hood, sink or reagent-storage wall?
Send the current plan, equipment list and chemical inventory. We can coordinate the casework and work surfaces with your EHS team, mechanical engineer, trades and authority having jurisdiction.
Request a Laboratory Quote Open the Layout Designer Call (800) 326-4403
Make Sample Quality and Repeatable Work Easier
Automation is not automatically an upgrade. A small wine lab often gains more from disciplined sample identification, consistent timing, stable instruments and organized standards than from a complex handler built for a different sample format. Automate a defined bottleneck only after the manual process is controlled and the method allows it.

Separate preparation from sensitive measurement
Grinding, vigorous mixing, washdown, foot traffic and carts can disturb balances and sensitive instruments. Give measurement stations stable support and the environmental conditions required by the manufacturer. Put heat-producing equipment where its load can be managed, preserve ventilation openings, and leave enough room for service panels to open.
Utilities should terminate where the equipment needs them without creating hoses or cords across the operator path. Review dedicated circuits, backup power needs, network connections, purified water, drains, gases and waste before casework fabrication; relocating them after installation is expensive and disruptive.
Turn SOPs into physical organization
A written procedure is easier to follow when the room mirrors it. Use fixed locations for standards and controls, consistent rack orientation, distinct clean and used-glassware areas, and labels that match the method. Provide a protected place to review calculations and enter results without carrying paper or laptops through wet chemistry.
- Identity: unique sample ID, source, lot/tank and collection time stay with every aliquot
- Method status: staff can see the current approved procedure and revision
- Calibration: standards, checks and maintenance materials have assigned storage
- Exceptions: repeats, dilutions, deviations and out-of-specification work have a defined hold area
- Records: raw data, calculations and result approval are protected from splash and mix-ups
- Retention: retained samples have a location, condition, owner and disposal date
- Housekeeping: end-of-run cleaning returns each station to a known-ready state
Use the current method revision
TTB notes that methods are updated as technology evolves or matrices change, and directs users to its Methods and Procedures page for current versions. Treat a lab renovation as a controlled change: review method impacts, qualify moved equipment, update SOPs and train staff before releasing routine results.
A Practical Wine Laboratory Renovation Sequence
Audit the Current Lab
Document tests, seasonal volume, bottlenecks, incidents, equipment, utilities, storage and building constraints.
Build the Program
Translate each method into zones, adjacency, services, environmental needs and casework requirements.
Coordinate the Design
Review layout, ventilation, emergency equipment, accessibility, trades, permits and shutdown phasing.
Install & Return to Service
Protect active operations, complete trade connections, commission systems, qualify equipment and update SOPs.

What to capture during the field survey
Start with a dimensioned plan, but do not stop there. Photograph every wall, utility drop, floor penetration, hood connection and access route. Record ceiling height, door and elevator constraints, panel clearances, shutoff locations and which systems cannot be interrupted during production.
Create an equipment schedule with dimensions, weight, heat output, voltage, plug, gas, water, drain, exhaust, network and service-clearance requirements from current manuals. Mark what stays, moves, is replaced or is planned for the next phase. This schedule is the bridge between the scientific program and the architect, engineer, casework supplier and trades.
Finally, define return-to-service acceptance before demolition begins. Furniture can be visually complete while ventilation, utilities, software or instrument qualification remains open. Assign an owner to every check and decide what evidence is required before routine samples resume.
Plan the transition, not just the finished room
If the winery must keep testing during construction, identify a temporary lab and validate that it can support the required methods. Protect samples and standards from dust, temperature excursions and unauthorized access. Schedule utility outages around production decisions, and separate contractor traffic from active analytical work. When phasing adds more risk than it removes, a planned shutdown may be the better operational choice.
Bring us the test menu and the room—not just a cabinet count
We can help translate methods, equipment and seasonal workflow into a coordinated laboratory layout, bench configuration, storage plan and installation scope.
Request a Laboratory Quote Start a Lab Layout Call (800) 326-4403
Standards and Method Resources Used for This Guide
These sources establish method and safety context; the project team must confirm the current edition, applicability and local requirements for the actual facility.
Wine Chemistry Laboratory Upgrade FAQs
What should a winery test in-house?
Is phenolic resin always the best countertop for a wine laboratory?
Does every wine chemistry procedure require a fume hood?
How much bench space should be reserved for future instruments?
Can a laboratory remain operational during renovation?
What information is needed to design a wine chemistry lab?
Related Products & Resources
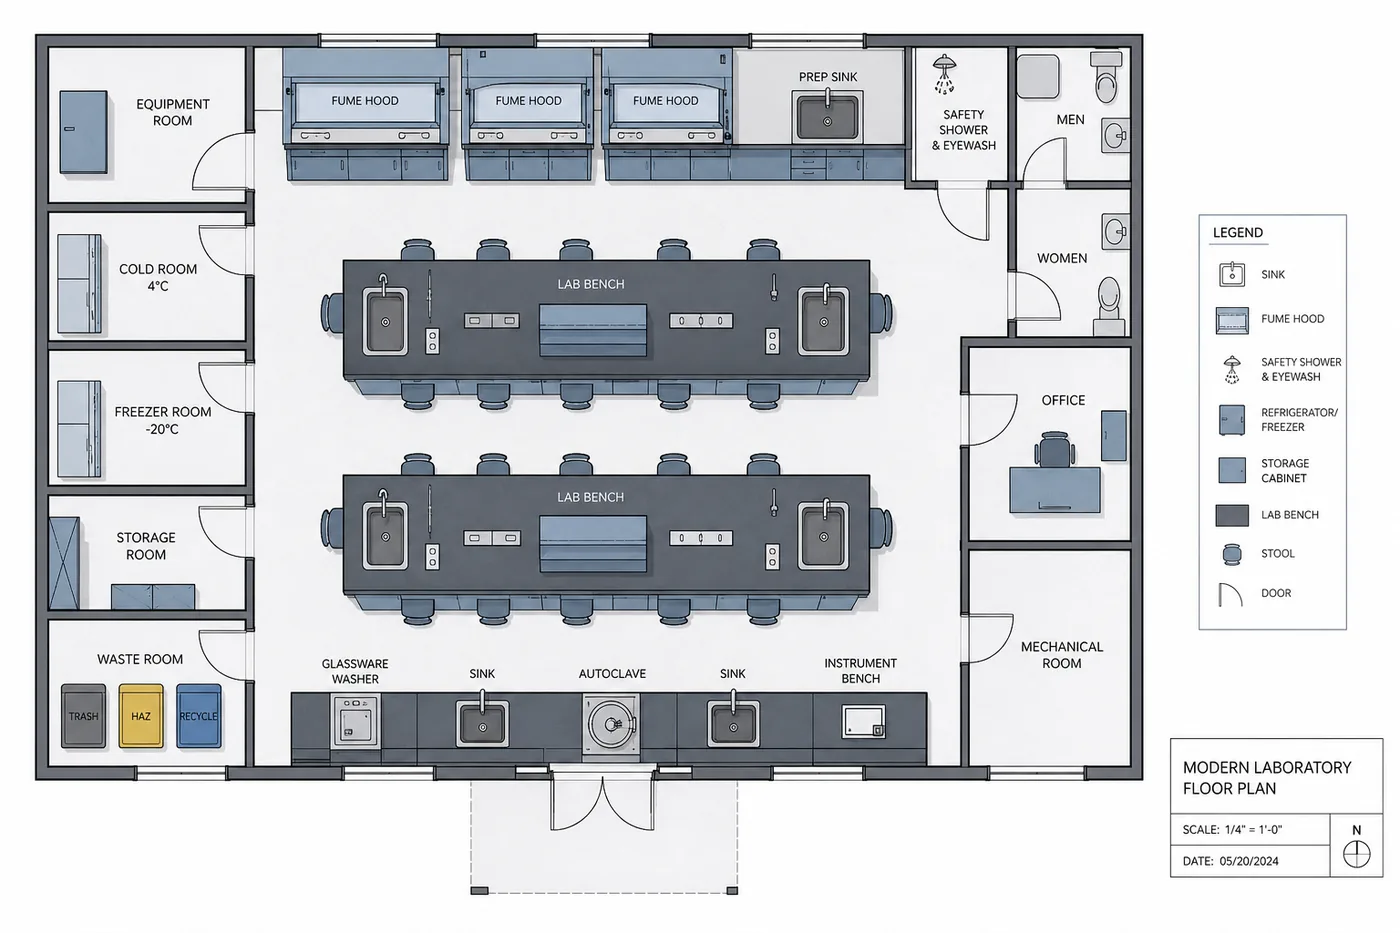 Lab Layout DesignerBuild a room plan with benches, equipment and support spaces, then send it to our laboratory team.
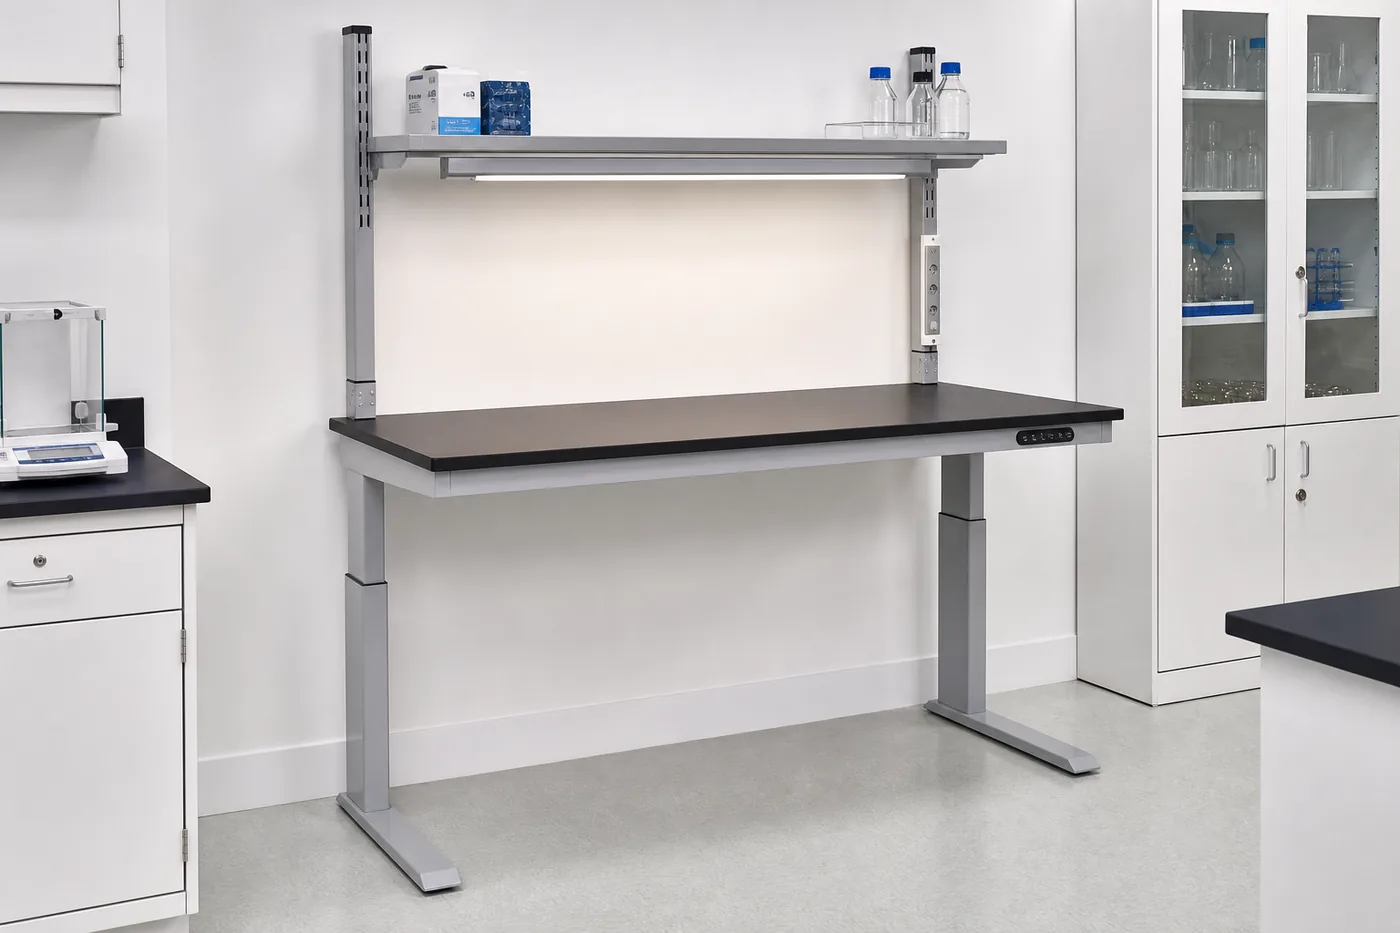 Lab Bench DesignerConfigure a laboratory bench and define the work surface, frame and storage needed at the station.
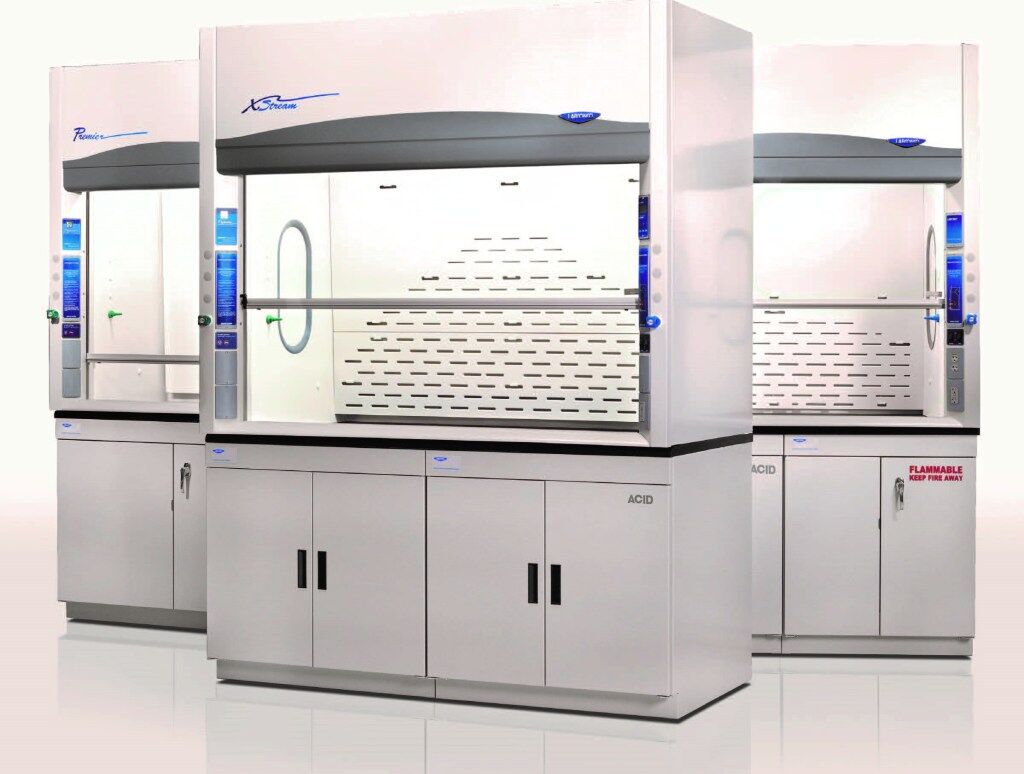 Laboratory Fume HoodsReview chemical fume hood planning, placement and integration with casework and building exhaust.
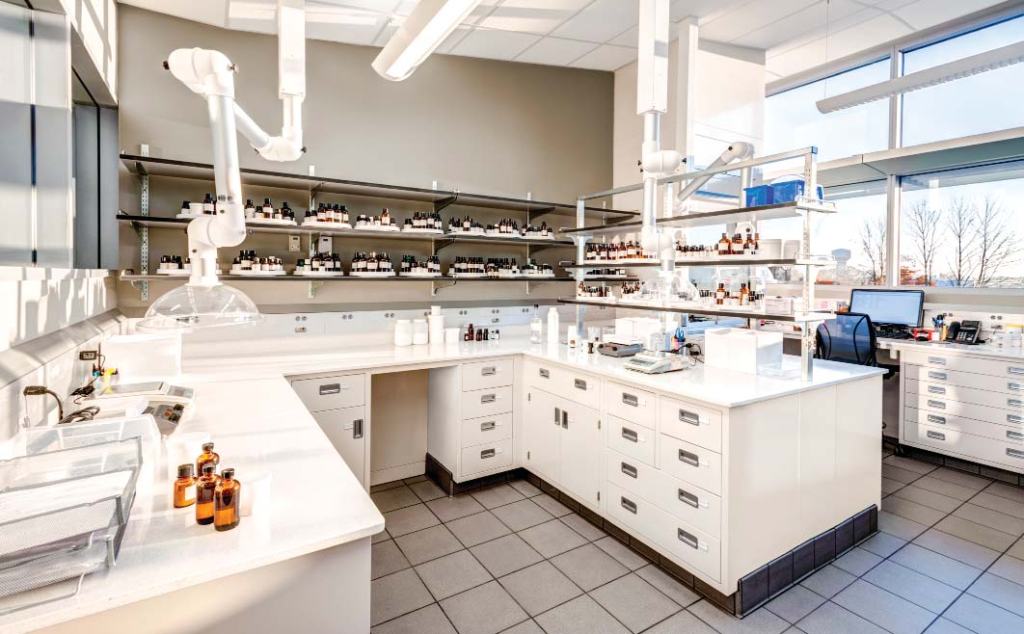 Distillery Lab RenovationSee the related distillery process-laboratory renovation scope and project considerations.
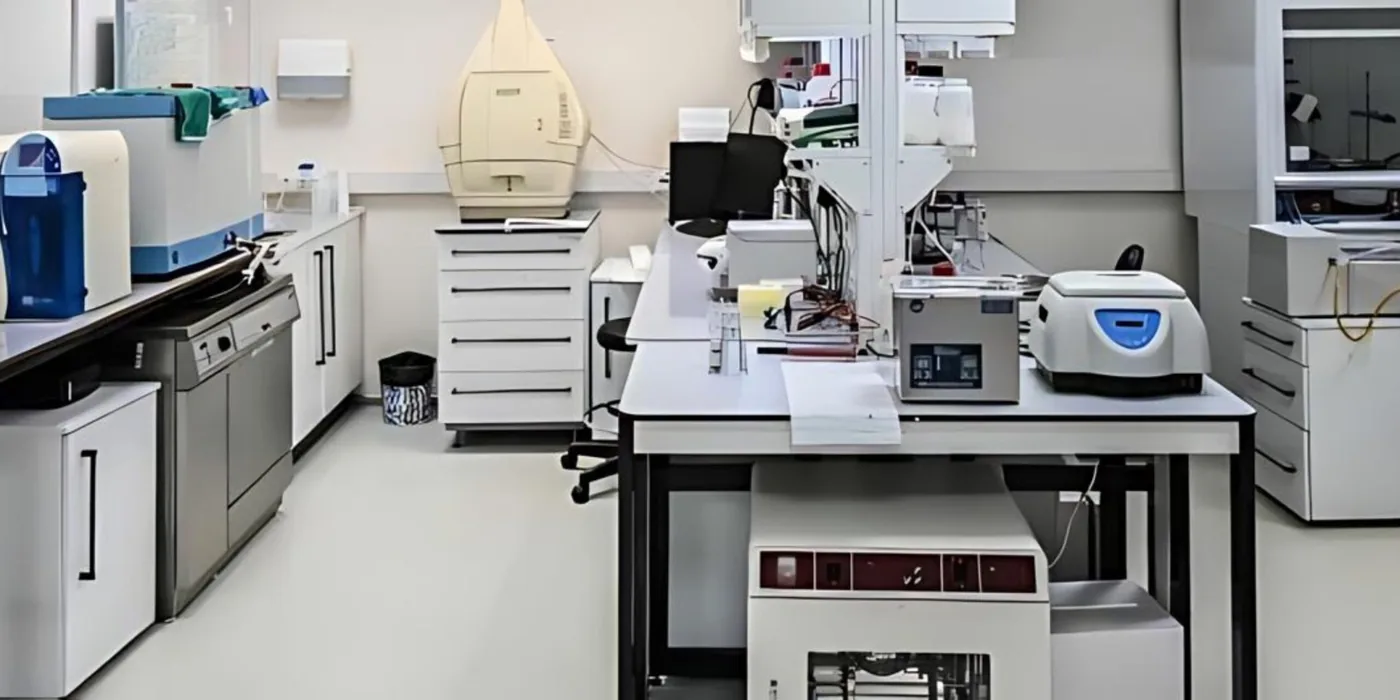 Laboratory Countertop MaterialsCompare common work-surface families and the task-specific questions to resolve before selection.
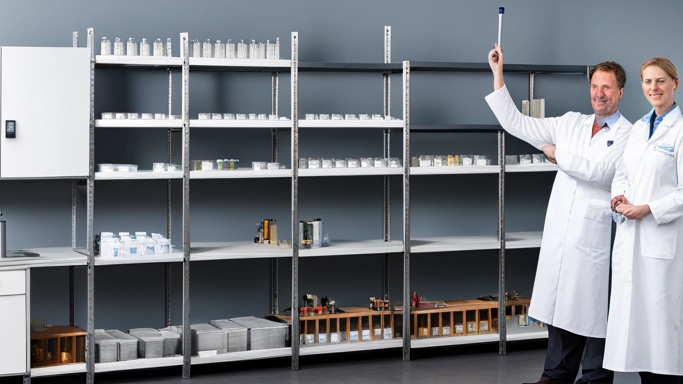 Laboratory Shelving & StoragePlan accessible shelving and storage for glassware, consumables, samples and general supplies.
Plan a Wine Lab Around the Work It Must Perform
Send us the room plan, test menu, equipment schedule and photos. We will help develop a practical layout, bench and casework package, storage plan and installation scope—and coordinate it with your design, EHS and facilities teams.