
Home | Laboratory Design | Case Study: Weber State University
Case Study: Weber State University Medical Laboratory
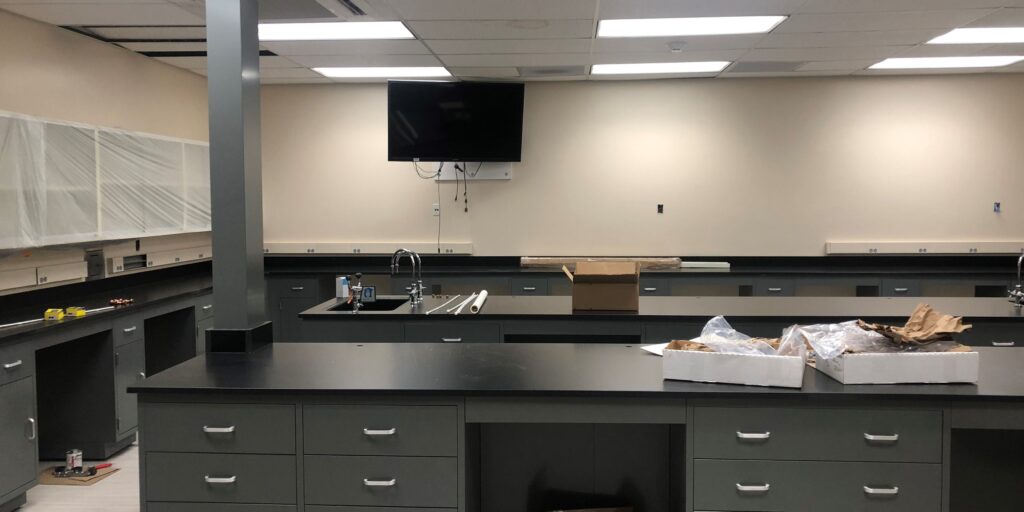
One summer break to design, build and install a complete blood-work and chemistry teaching lab — casework, phenolic work surfaces, fume hoods, lab coat storage and safety cabinets — finished on time and on budget for the fall semester.
2 Months
Design, build and install window
1 Summer
Zero disruption to scheduled classes
On Budget
Fixed scope agreed before fabrication
Fall Ready
Handed over for the new semester
A Teaching Lab Built in a Summer Break
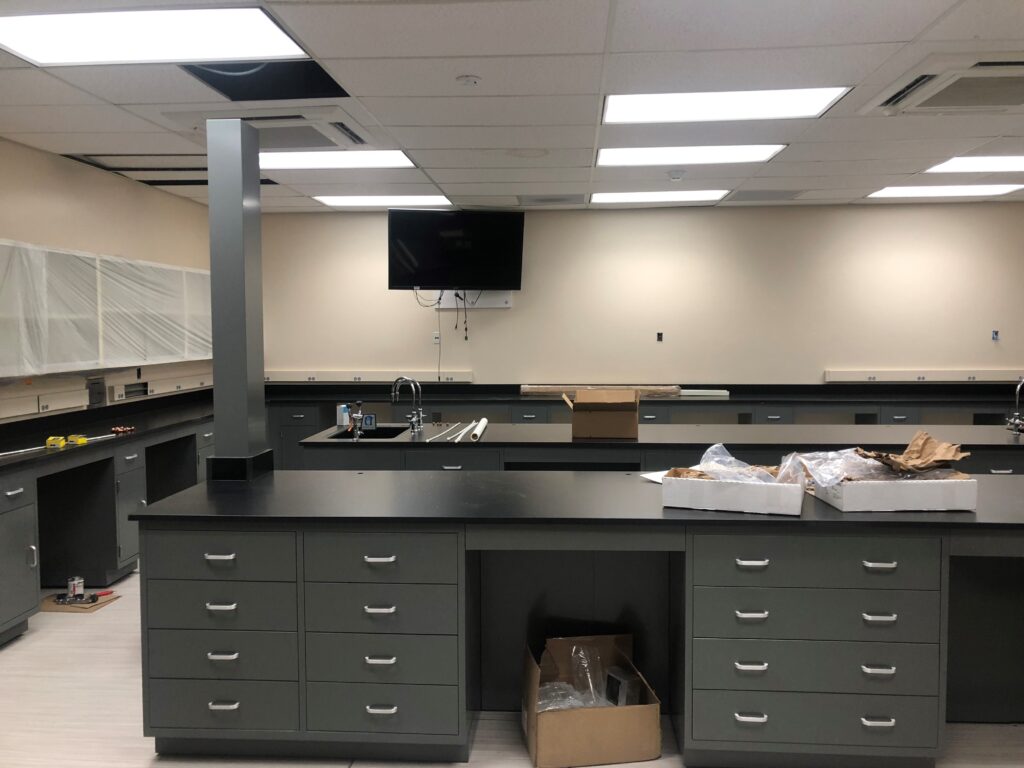
Weber State University needed a working clinical teaching lab — not a storage room with tables in it. The space had to support blood-work and chemistry instruction for students in the university’s Department of Medical Laboratory Sciences, house benchtop analyzers of very different sizes, keep solvents and acids stored correctly, and be finished before students walked in for the fall semester.
The window was the summer break: roughly two months from first walkthrough to a lab ready for class. Material Handling USA handled the layout, the casework and work surface package, the fume hoods, the lab coat and tall storage cabinets, the acid and flammable safety cabinets, and the installation sequencing.
Weber State’s Medical Laboratory Sciences program publishes its certification results, and they are the reason a teaching lab like this one has to behave like a real clinical lab: as of spring 2025 the department reported an 87% pass rate on the MLS ASCP Board of Certification exam and 94% on the MLT exam (weber.edu). Students practice on the same instrument types, the same bench geometry and the same safety equipment they will use in a hospital lab.
Project at a glance
University teaching laboratory for blood work and clinical chemistry, Ogden, Utah. Scope: layout and design, metal base and wall casework, phenolic work surfaces with lab sinks and fixtures, tall storage and lab coat cabinets, chemical fume hoods, and acid and flammable safety cabinets. Schedule: one summer break. Outcome: delivered on time and within the approved budget.
The Challenge: Four Constraints at Once
Campus lab projects fail for predictable reasons. On this one, four constraints had to be solved together rather than in sequence — which is what made the design phase, not the install, the critical path.
What We Installed
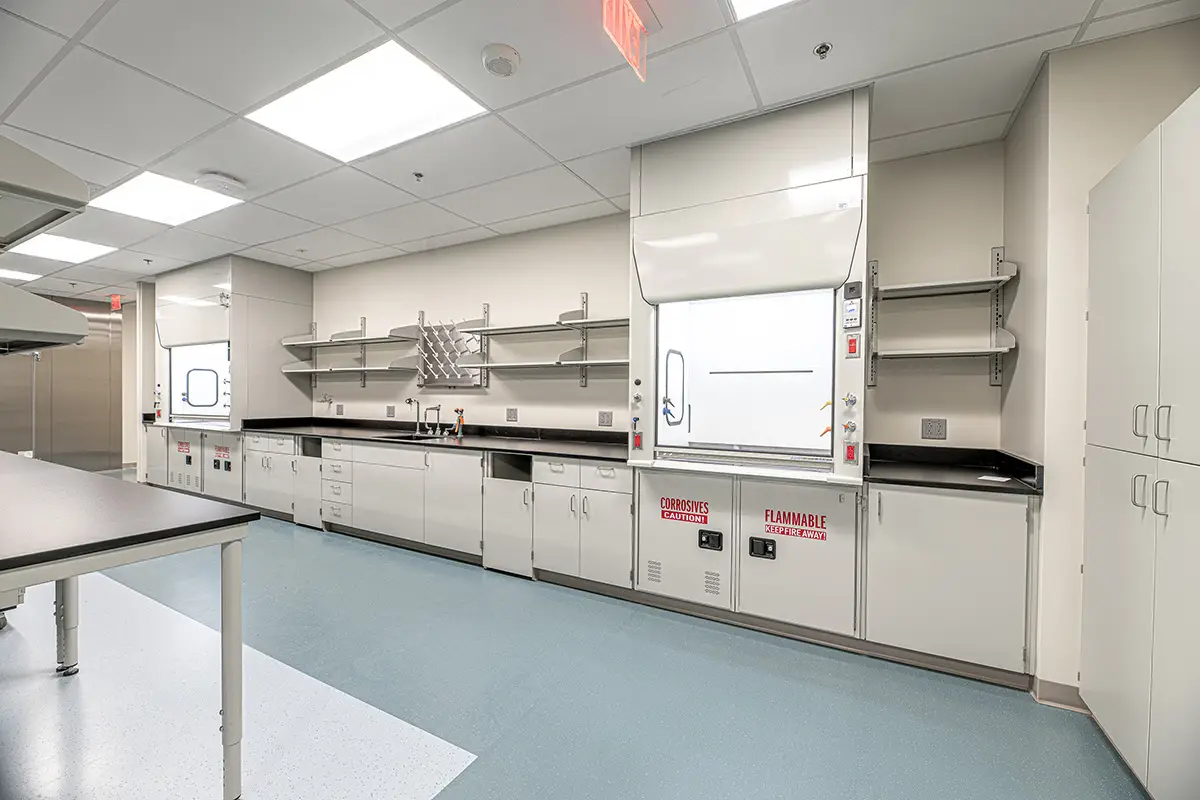
Every element below is visible in the project photographs on this page. The package was specified as one coordinated system so the work surfaces, cabinets, fixtures and safety storage all landed on the same schedule.
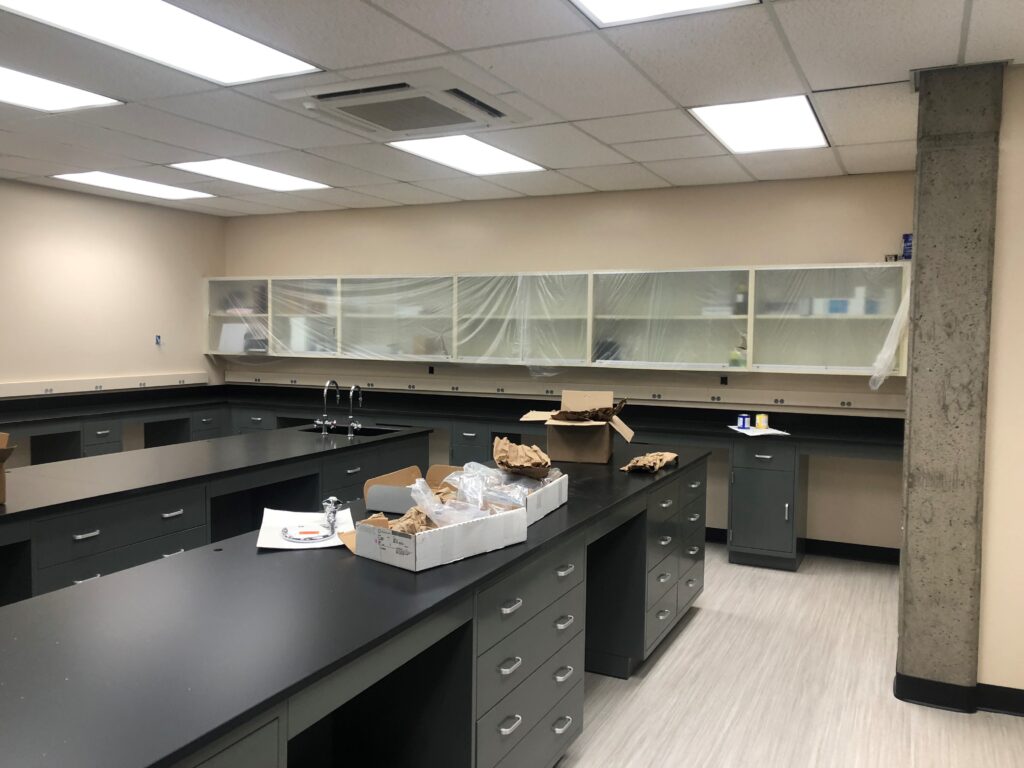 Metal Base Casework & Drawer BanksCabinet and drawer combinations sized to the instruments they serve, with full drawer banks for accessories, consumables and glassware at each work position.
 Work Surfaces, Sinks & FixturesContinuous chemical-resistant work surfaces with molded drop-in lab sinks and gooseneck lab faucets set into the bench runs where students actually need water.
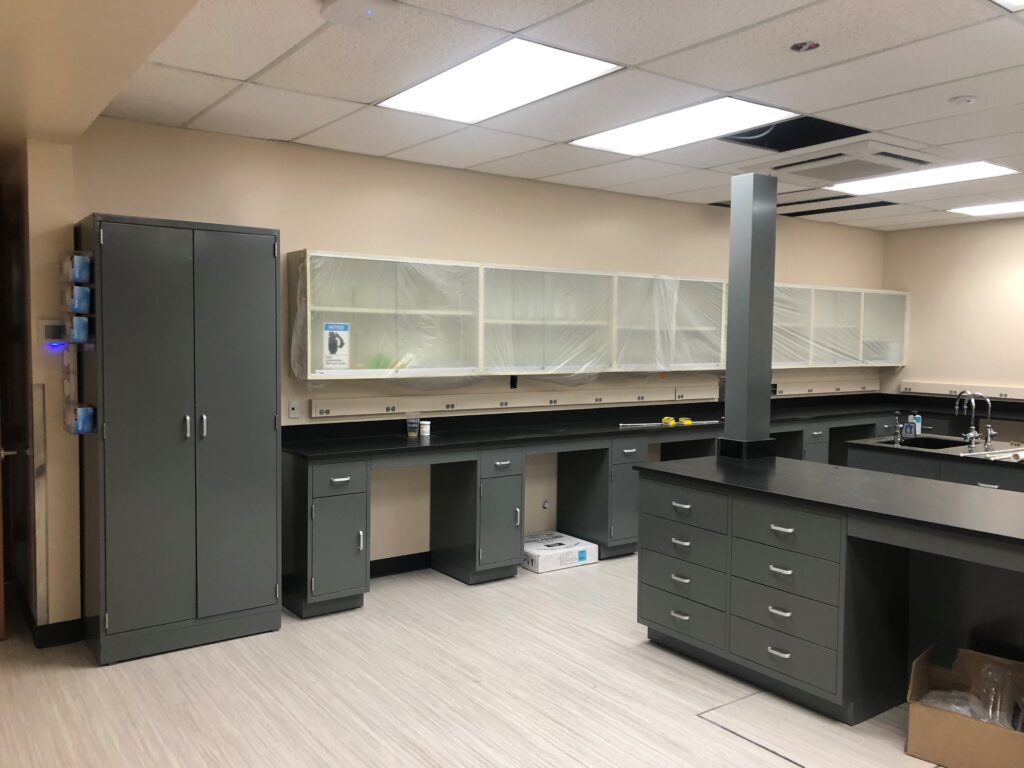 Upper Glass-Front Wall CabinetsWall-hung cabinets above the perimeter benches so reagents and supplies stay visible and within reach without consuming bench area.
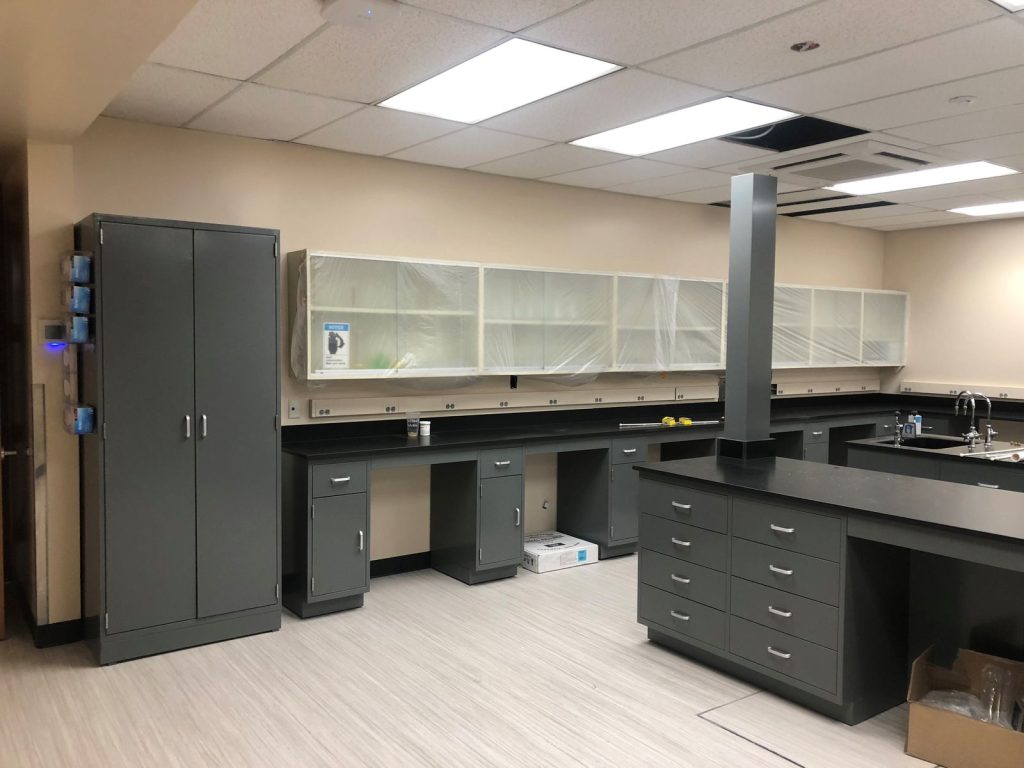 Tall Storage & Lab Coat CabinetsFull-height metal cabinets for bulk supplies plus dedicated lab coat storage, so PPE lives at the room boundary instead of on the back of a chair.
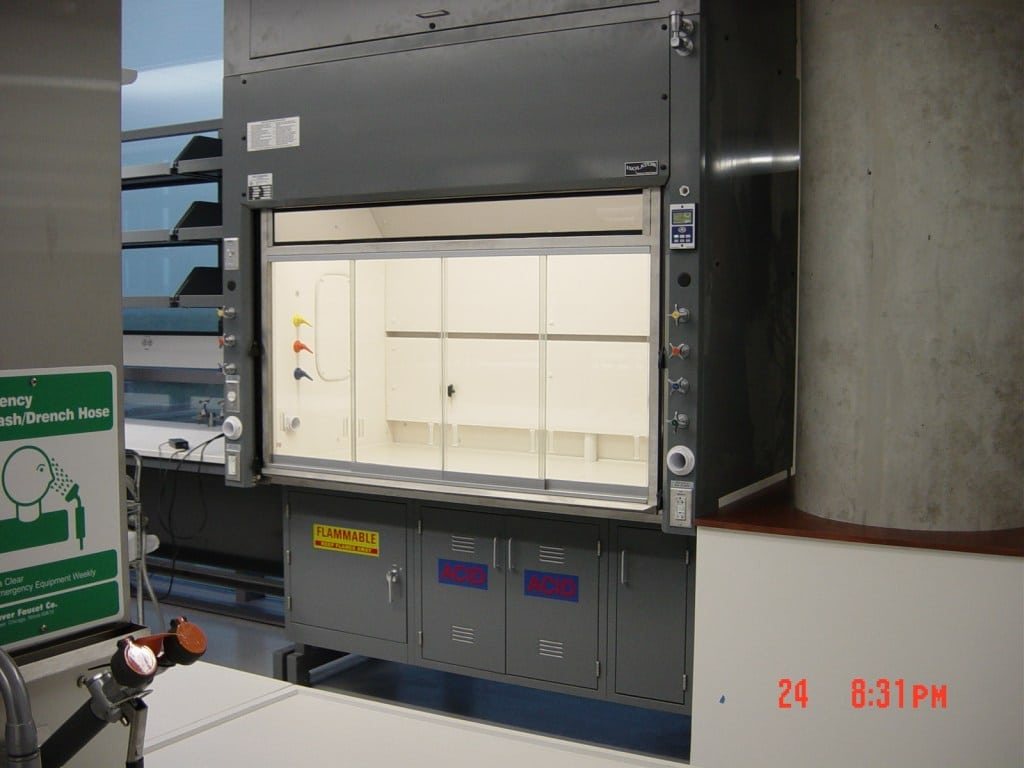 Chemical Fume HoodsBench-mounted hoods with sashes and service fixtures for procedures that generate vapors, tied into the building exhaust rather than recirculating into the room.
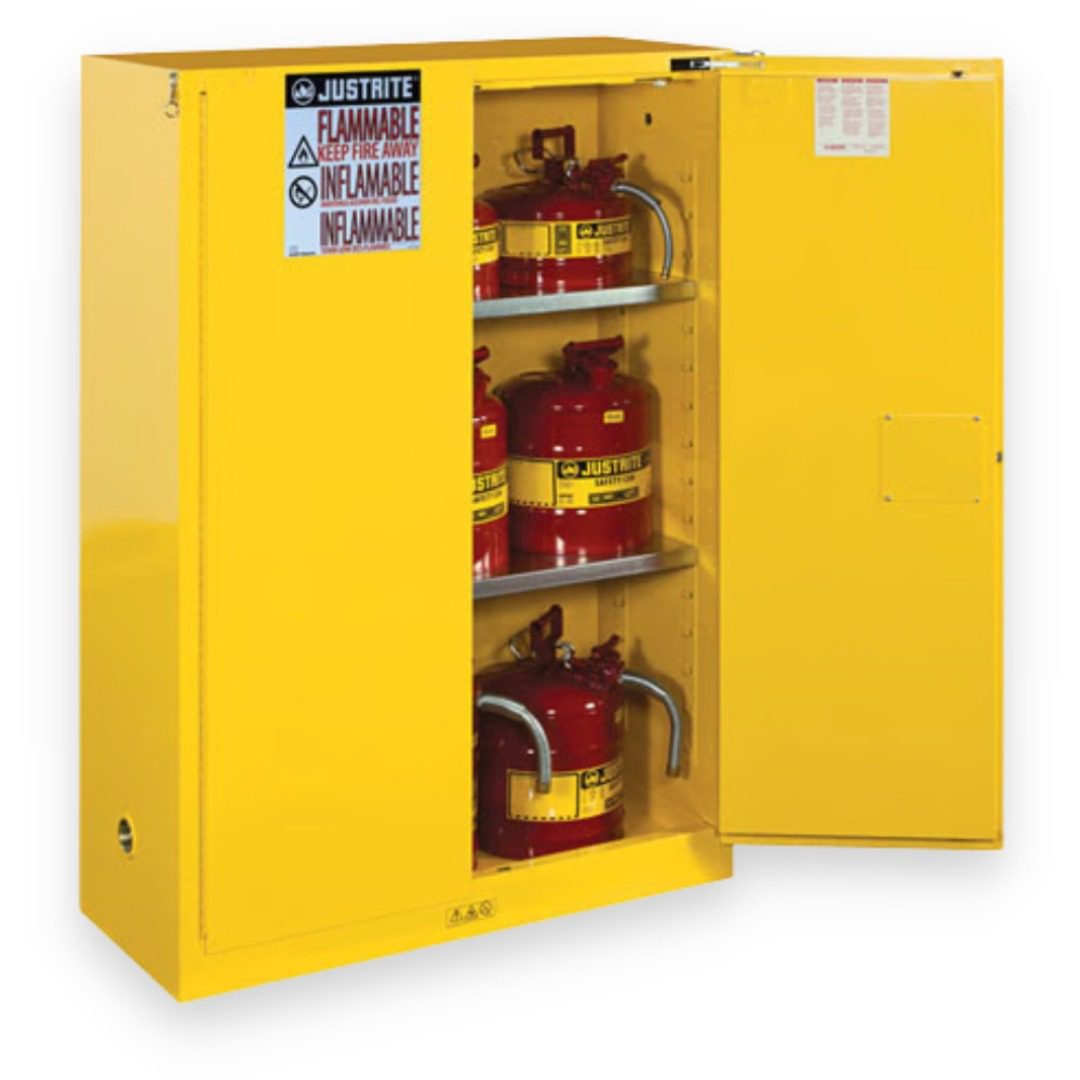 Acid & Flammable Safety CabinetsSeparate, labeled cabinets for flammable liquids and for corrosives, so incompatible chemicals are never stored in the same enclosure.
Planning a teaching lab on a summer schedule?
Send us the room dimensions and the equipment list and we will come back with a bench layout, a scope you can budget against, and the lead times that actually drive the date.
Request a Quote Try the Lab Bench Configurator Call (800) 326-4403
Planning and Design Came First
With a two-month window, drawings are the schedule. Anything discovered after fabrication starts costs weeks, so the design phase was deliberately front-loaded.
Requirements Walkthrough
Room dimensions, existing services, door and egress paths, and an inventory of every instrument that had to land on a bench — including the ones being replaced.
Layout Drafts
Bench runs, island positions, sink and fixture locations, hood placement and aisle widths drawn against the real equipment list, not a generic template.
Review & Revision
Faculty reviewed drafts for teaching flow: sight lines to the instructor, how a class of students circulates, and where a demonstration actually happens.
Approval & Release
Final drawings, product selections and finishes approved as a fixed scope, then released to fabrication so delivery dates could be held.
Why the drawing set is the schedule
Casework, work surfaces and hoods are made to order. Once a layout is approved and released, a change to one bench length can reset the lead time on the whole run. On a summer project, the cheapest week you will ever buy is the week you spend getting the drawing right.
Bench Heights, Knee Space and Access
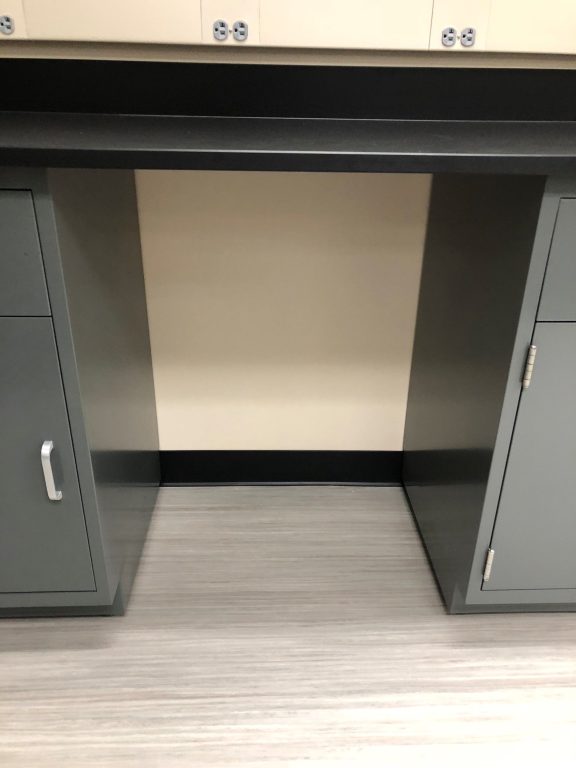
One of the specific requests was that students be able to work comfortably at machines of different sizes. That is a dimensional problem, and it is solved in the drawing: standing-height runs for instruments loaded from above, seated-height positions for microscopy and long bench work, and open knee spaces where a student needs to sit square to the work rather than sideways.
The accessible positions were laid out against the 2010 ADA Standards, which put the top of a work surface between 28 and 34 inches above the floor (§902.3) and require usable clearance underneath: toe clearance up to 9 inches high and at least 30 inches wide, and knee clearance between 9 and 27 inches above the floor, at least 11 inches deep at 9 inches and 8 inches deep at 27 inches (§306.2, §306.3). Source: U.S. Access Board.
The practical version: a knee space is only useful if nothing is hiding in it. Where an accessible position was called for, the cabinet layout leaves the space open rather than filling it with a mobile pedestal that will end up parked there permanently.
- Standing-height bench runs where instruments are loaded and serviced from above.
- Seated-height positions for microscopy and extended bench work.
- Open knee spaces at the accessible work positions, kept clear of pedestals and cabinets.
- Drawer banks placed beside the work position instead of under it, so clearances survive.
- Aisle widths checked against a full class circulating, not a single technician.
Work Surfaces: Why Phenolic for a Teaching Lab
Weber State’s benches were specified with phenolic tops. Solid phenolic composite is defined in SEFA 3 as a compression-molded composite with a homogeneous core of organic fiber reinforced phenolic and one or more integrally cured non-porous surfaces (SEFA 3-2020). In a teaching lab it earns its place for three reasons: it takes abuse from a rotating cast of students, it is lighter than epoxy resin across long unsupported runs, and it cleans up predictably after clinical spills.
| Work surface | How SEFA 3 defines it | Where it fits |
|---|---|---|
| Solid phenolic composite | Compression-molded composite, homogeneous fiber-reinforced phenolic core with integrally cured non-porous surface(s) | General teaching and clinical benches; good chemical and impact behavior at lower weight than epoxy |
| Epoxy resin | Cast and oven-cured composite of epoxy resin, silica, inert fillers and organic hardeners; homogeneous and non-absorbent | Heavy chemistry, hot work and aggressive reagents; the traditional choice under and inside fume hoods |
| Stainless steel | Typically 14-18 gauge type 304 or 316, seams fully welded and ground to a #4 mill finish | Sterile, wash-down and high-heat areas; instrument and prep zones needing a cleanable monolithic surface |
| High-pressure plastic laminate | Melamine-impregnated surface papers pressed over phenolic-impregnated kraft layers on a substrate | Dry offices, write-up counters and non-chemical zones — not wet clinical benches |
| Edge-grain hardwood | Solid hardwood strips glued together, finished in penetrating oil or a clear synthetic finish | Physics, teaching shops and mechanical benches where impact matters more than chemicals |
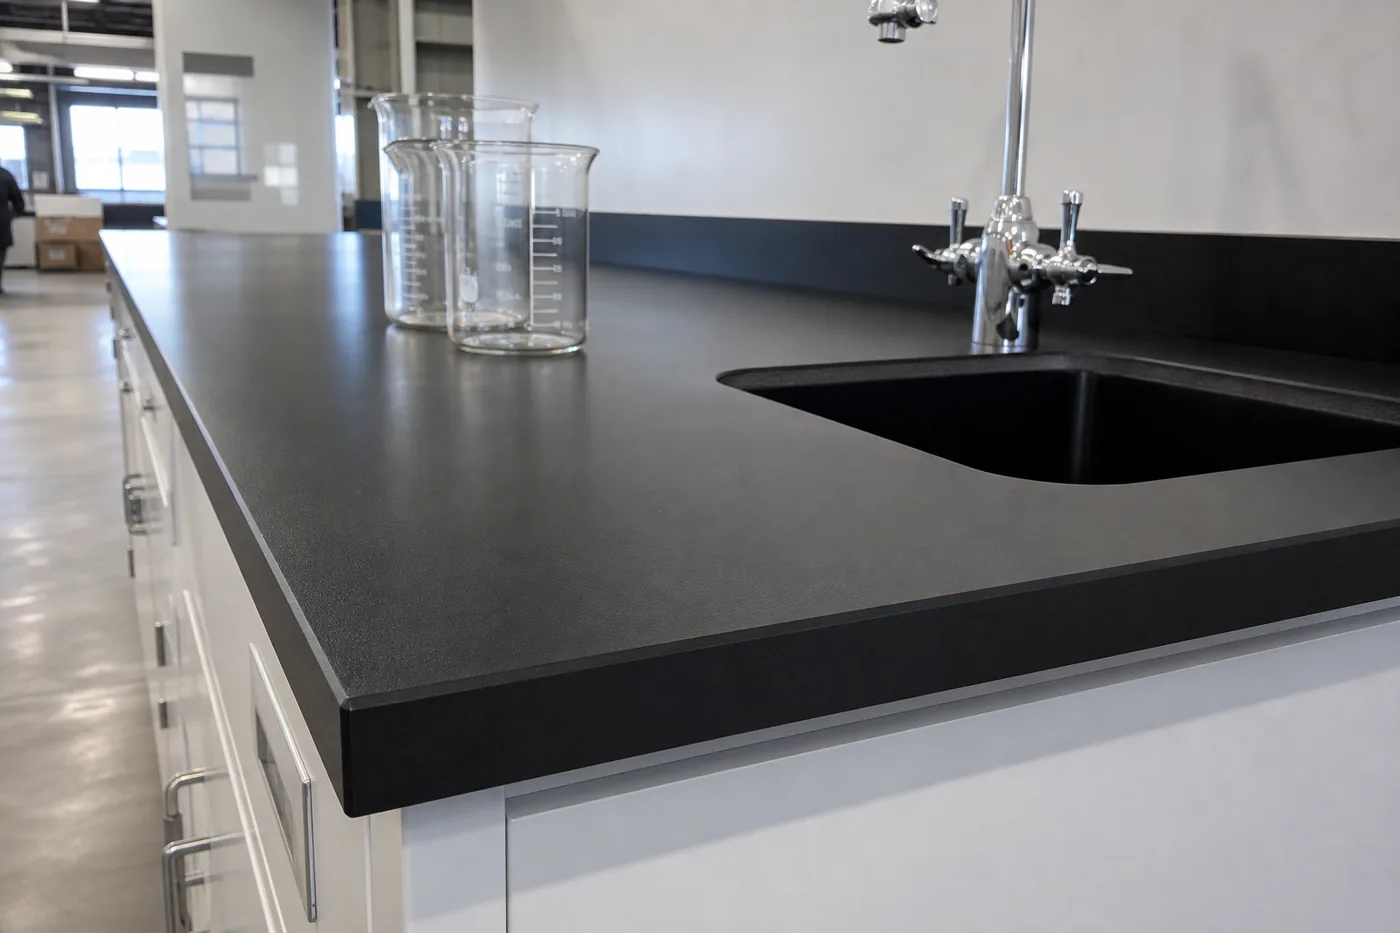
The other half of a work surface decision is what is set into it. At Weber State the runs carry molded drop-in lab sinks with gooseneck faucets placed where students wash glassware and rinse samples — close to the work, not at one end of the room.
SEFA 3 also sets the plumbing expectation for lab sinks: an outlet of no less than 1-1/2 inches in diameter, and an overflow arrangement referenced two inches below the top of the sink. Those details are worth checking on a drawing, because they are expensive to discover after the tops are set.
Casework Durability: What “Lab Grade” Actually Means
A teaching lab is the hardest duty cycle in the building. The same drawer gets opened by a new student every hour, all semester, for years. That is why lab casework is specified against SEFA 8 rather than by gauge alone — SEFA 8 is a set of physical tests with published acceptance levels. These are the ones worth writing into a campus specification (SEFA 8-M-2026).
| SEFA 8-M test | What is applied | Acceptance level |
|---|---|---|
| Door cycle test | 100,000 continuous cycles at 15 cycles per minute | Door operates through the full cycle period without hinge adjustment |
| Drawer cycle test | 50,000 cycles to within 1/4 in of full extension at up to 10 cycles per minute, with a 100 lb laboratory load (150 lb heavy-duty load) | Drawer runs freely with no dragging, rubbing or binding; test pull force not more than 8 lb |
| Shelf load test | 40 lb per square foot of shelf area, to a maximum of 200 lb | Deflection not more than 1/180 of the span and never more than 0.25 in |
| Table static load test | Uniform load applied to the top, including its own weight as live load | No structural breakage; apron rails deflect no more than 1/360 of span and never more than 1/8 in |
| Table racking test | Table raised to 45 degrees on one pair of legs with load applied across the top | Returned to level, the table operates normally with no permanent damage |
The ADA footnote most specifications miss
SEFA 8-M allows up to 8 lb of force to activate drawer hardware under its 100/150 lb test loads, and then says plainly that the ADA limit is 5 lb — so real-world drawer loading at accessible positions should be reduced to stay under it. On a teaching bench, that is an argument for more, shallower drawers rather than fewer deep ones.
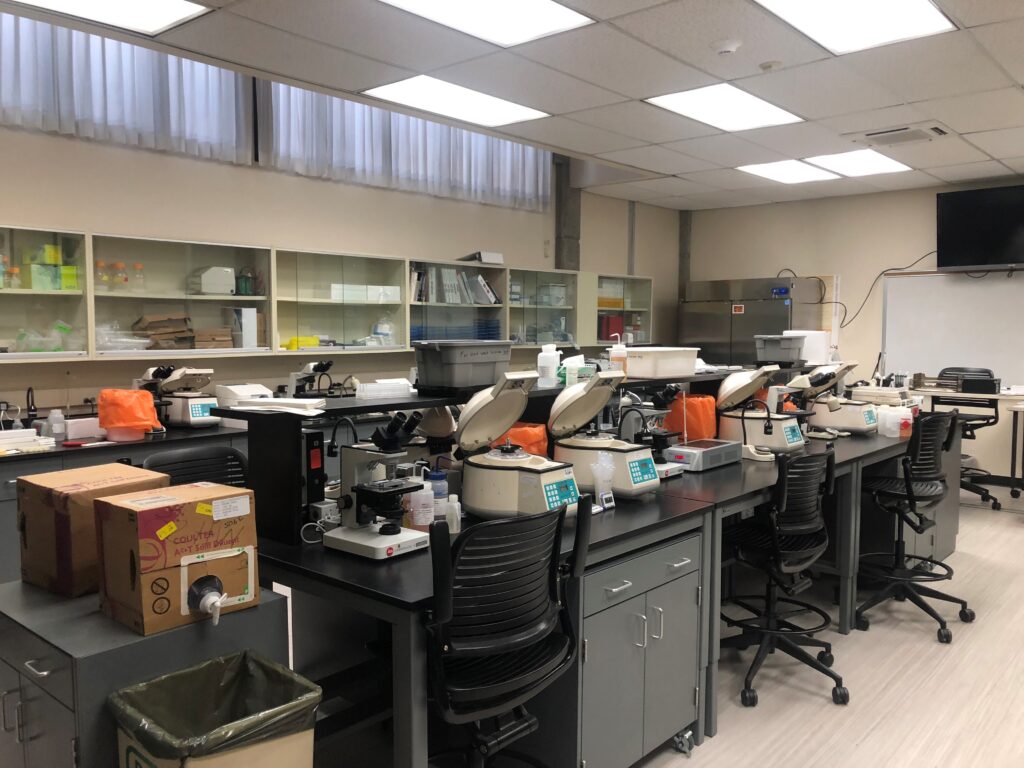
The photographs on this page show the pattern that survives: drawer banks in the cabinet body rather than hung off the top, upper cabinets carried on the wall instead of on the work surface, and long bench runs broken by cabinet supports so no shelf or top spans further than it should.
None of that is visible to a student. It is the difference between a lab that still closes squarely in year eight and one that gets a repair line item in year three.
Safety Storage and Fume Hoods
Safety equipment was a fixed part of the scope, not an accessory added at the end. Two categories mattered here: correct cabinets for the chemicals stored in the room, and hoods for the work that generates vapors.
Flammable and Corrosive Storage
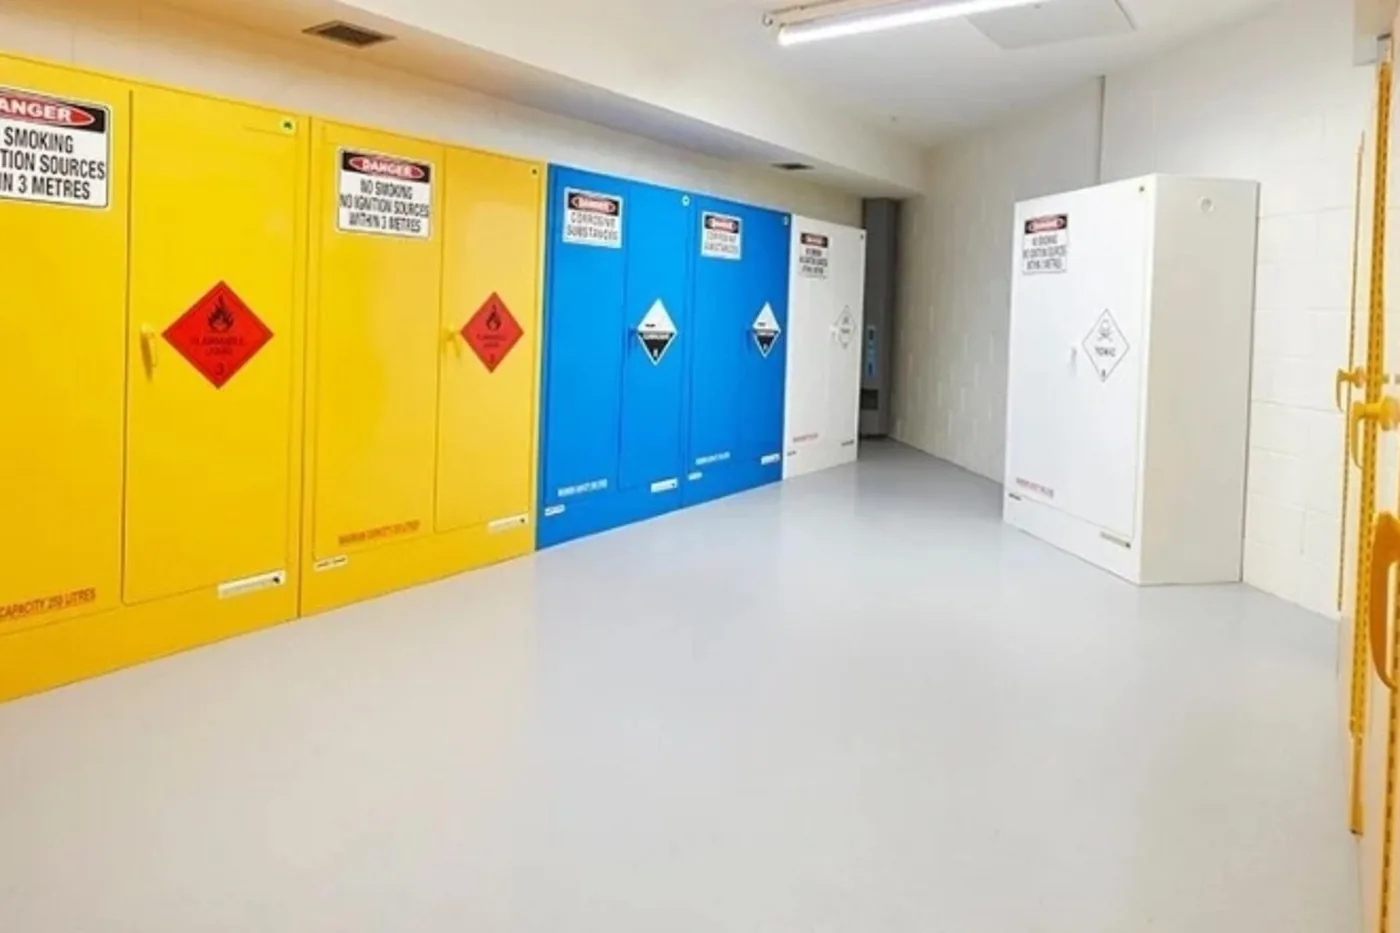
OSHA sets real numbers for flammable liquid storage cabinets in 29 CFR 1910.106(d)(3). A storage cabinet may hold no more than 60 gallons of Category 1, 2 or 3 flammable liquids (or 120 gallons of Category 4), and it must limit its internal temperature to no more than 325°F during a 10-minute fire test with all joints and seams staying tight and the door staying closed. Cabinets must be labeled “Flammable — Keep Fire Away.”
The rule also describes a metal cabinet that is deemed to comply: bottom, top, door and sides of at least No. 18 gage sheet iron, double walled with a 1-1/2 inch air space, joints riveted or welded, a three-point lock, and a door sill raised at least 2 inches above the cabinet bottom. Source: eCFR 1910.106.
Acids and bases were given their own cabinets. Corrosives and flammables are separate storage problems, and putting them behind one door is one of the most common findings in a campus lab inspection.
Chemical Fume Hoods
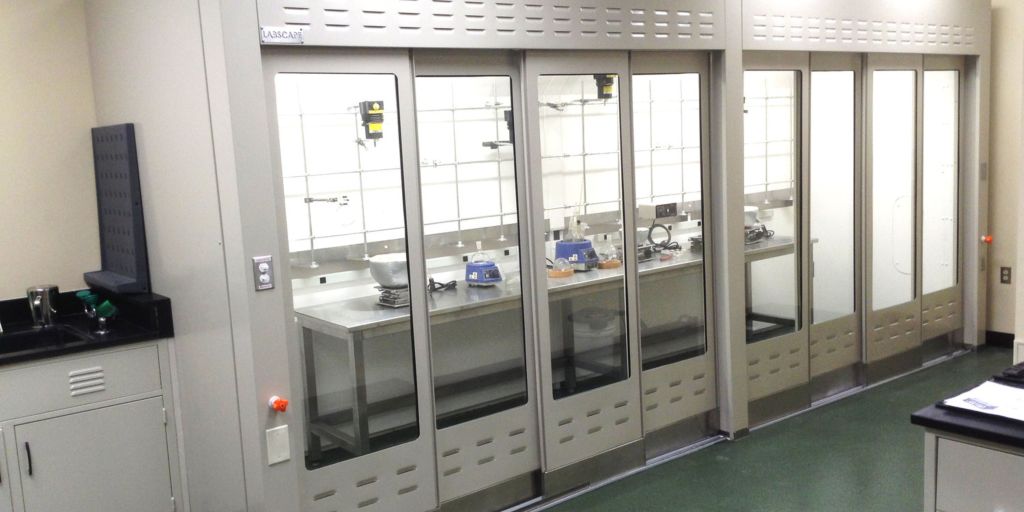
OSHA’s Laboratory Standard is unambiguous about the role of a hood: laboratory chemical hoods are the most important components used to protect laboratory personnel from exposure to hazardous chemicals. Its Appendix A guidance also says lab air should be exhausted directly outdoors rather than recirculated, the lab should sit at negative pressure relative to the rest of the building, and hoods should be maintained, monitored and routinely tested for proper performance (eCFR 1910.1450 App. A).
Two points we always make on a campus project. First, a hood is not a storage cabinet — OSHA specifically says chemicals needing vented storage belong in vented cabinets, not parked in the hood. Second, hood performance is proven by testing, not by a number on a sticker: ANSI/ASSP Z9.5 governs the laboratory ventilation program and ASHRAE 110 is the containment test method. Setpoints and verification belong to the university’s ventilation program and its engineer of record; our scope is furnishing and installing the hoods and casework that program is built around.
Need chemical storage and hoods scoped correctly the first time?
We will review your chemical inventory against cabinet capacities and separation, and lay out hood positions before the bench runs are fixed.
Request a Quote Laboratory Design Services Call (800) 326-4403
How the Summer Schedule Was Held
A two-month window does not leave room for sequential trades. The install was planned so that each phase created a finished surface for the next one, with weekly coordination between the trades sharing the room.
| Phase | What happened | Why the order matters |
|---|---|---|
| 1. Layout locked | Drawings, product selections and finishes approved and released to fabrication. | Lead times start here. Nothing downstream can recover a week lost at this stage. |
| 2. Room prepared | Rough-in locations confirmed against the approved drawings before casework arrived. | A sink or hood connection in the wrong place is a wall repair, not a furniture change. |
| 3. Casework set | Base cabinets, drawer banks and tall cabinets positioned, leveled and secured. | Everything above — tops, fixtures, wall cabinets — references the leveled cabinet line. |
| 4. Work surfaces installed | Phenolic tops fitted, sinks and gooseneck fixtures set and connected. | Tops cannot be scribed until the cabinet run is final; plumbing follows the tops. |
| 5. Storage and safety | Upper wall cabinets, tall storage and lab coat cabinets, then acid and flammable cabinets placed. | Wall cabinets go up after tops are protected; safety cabinets need their final wall and clearance positions. |
| 6. Hoods and handover | Fume hoods set and tied to exhaust; punch walk, cleaning and handover to faculty. | Leaves time for the university’s own testing and commissioning before classes. |
The coordination habit that saved the date
Weekly coordination with every team sharing the room, and a written update after each one. Nothing exotic — but on a fixed-date summer project, a problem found on a Tuesday is a scheduling note, and the same problem found three weeks later is a missed semester.
The Results
The lab was completed on time and within budget, and was in use for the fall semester. What the photographs show is the part that matters to faculty: benches loaded with real instruments, students seated at the work positions, and storage that is actually being used the way it was drawn.
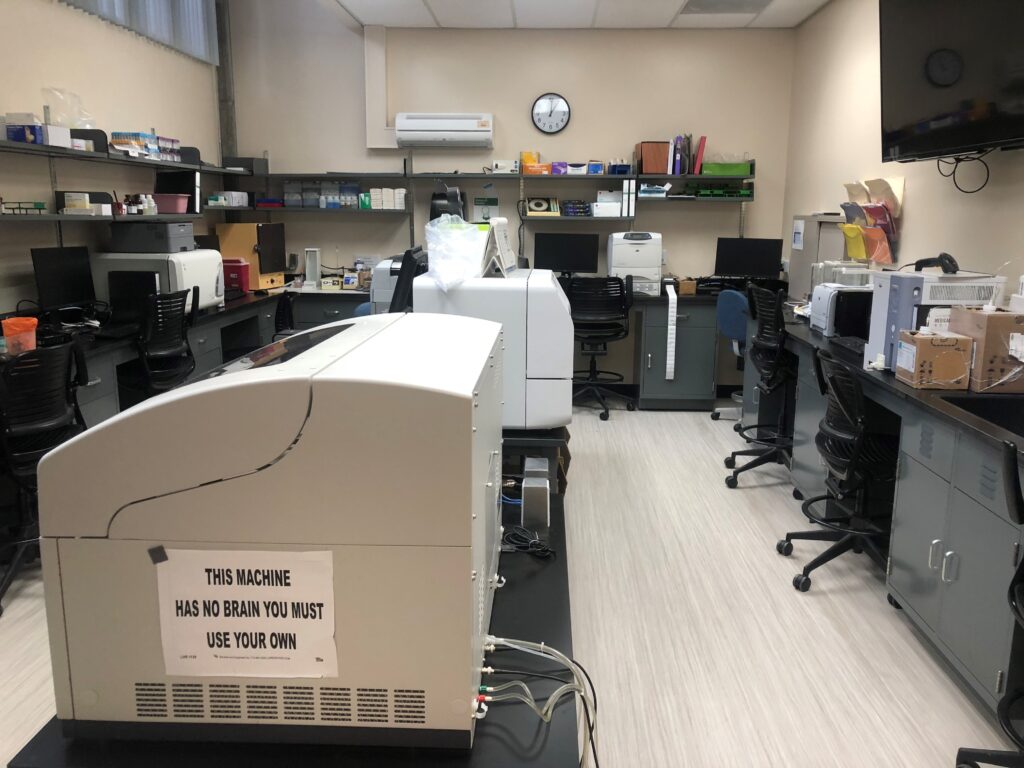 A Working Clinical Teaching LabAnalyzers and student stations sit on the new casework, with power, data and bench depth where the equipment list said they would be needed.
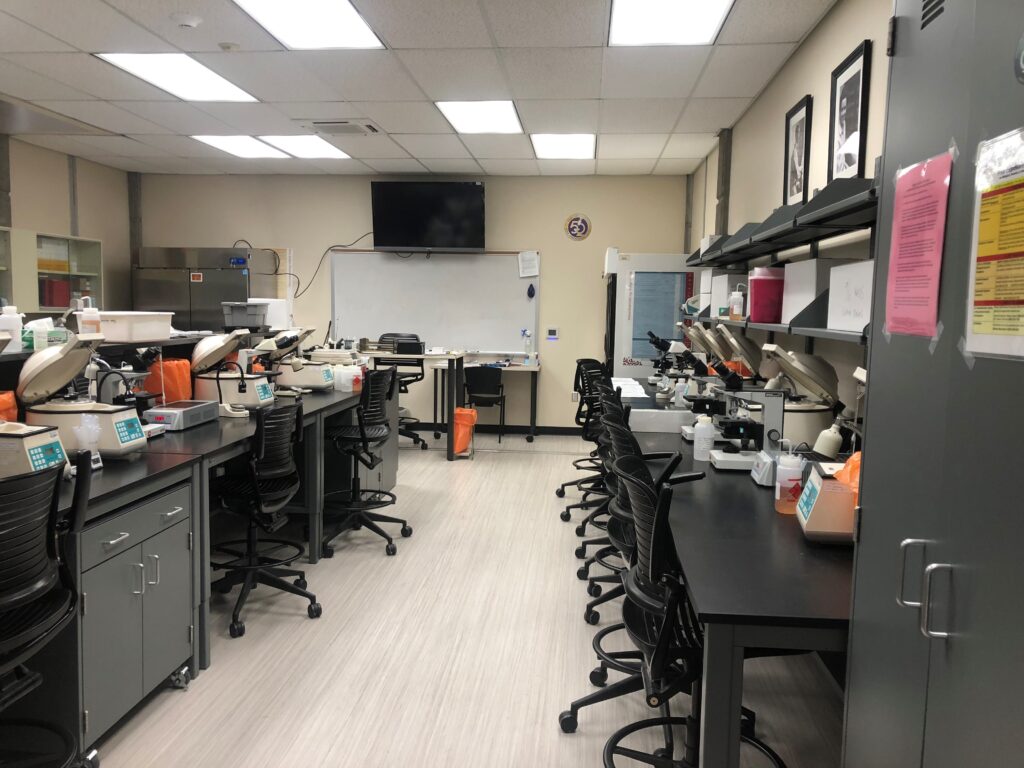 Microscopy Stations Ready for ClassA repeating row of seated microscope positions at consistent height, so an entire lab section can run the same exercise at once.
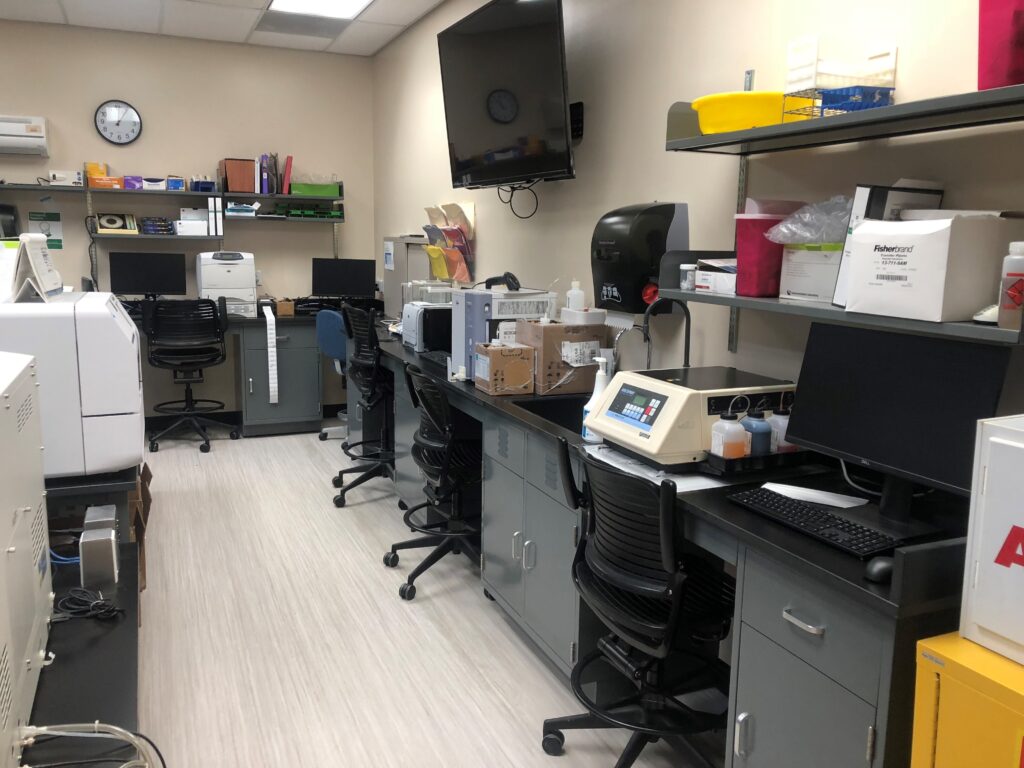 Instrument and Write-Up Zones SeparatedInstrument benches, computer stations and reagent storage each have their own zone instead of competing for the same run of counter.
What the University Got
Lessons for Other Campus Lab Projects
We have run this exact pattern — a fixed-date summer renovation of a teaching lab — on other campuses. The projects that land on time share the same habits.
| Habit | What it prevents |
|---|---|
| Start from the equipment list, not a bench module | Benches that are the wrong depth for an analyzer, and service outlets in the wrong place |
| Get the drawing reviewed by the people who teach in the room | A layout that works on paper and blocks sight lines or circulation in practice |
| Specify against SEFA 8 and SEFA 3 by name | Two bids that both say “lab grade” and mean very different things |
| Sequence the trades and agree a weekly check-in | Trades colliding in one room for eight weeks with no one owning the date |
| Size safety storage to the real chemical inventory | Flammables and corrosives sharing a cabinet, or a cabinet over its OSHA capacity |
- Lock scope and finishes before fabrication release — then hold the line on changes.
- Verify rough-in locations against the approved drawing, not against the old room.
- Keep accessible work positions clear: no pedestals, no wastebaskets built into knee space.
- Give flammables and corrosives separate, labeled cabinets sized to the real inventory.
- Leave the university time for its own hood testing and commissioning before day one.
- Plan one full week of buffer inside a summer window. It always gets used.
Frequently Asked Questions
How long did the Weber State University lab project take?
What was installed in the lab?
How did the project stay on schedule?
Why were phenolic work surfaces chosen instead of epoxy resin?
What standards should a campus specification reference for lab casework?
How much flammable liquid can a safety cabinet hold?
Do you handle fume hood airflow testing and certification?
Can you work around an academic calendar on our campus?
Related Products & Resources
 Laboratory Design ServicesLayout, space planning and equipment coordination for new and renovated labs.
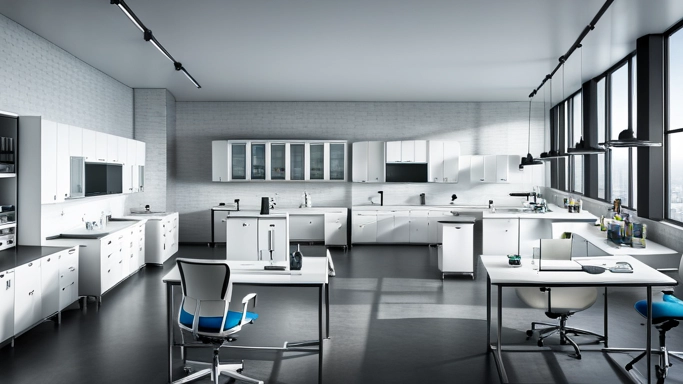 Laboratory Furniture & CaseworkBase, wall and tall casework, work surfaces and lab tables specified to SEFA standards.
 Fume HoodsBench-mounted, walk-in and floor-mounted chemical fume hoods with service fixtures.
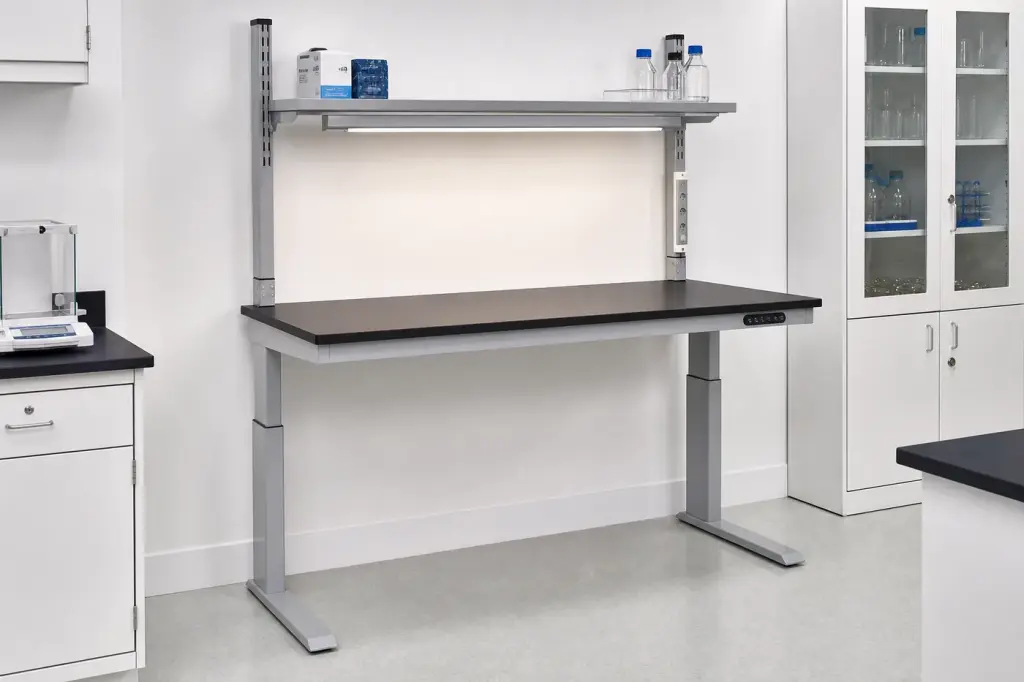 Lab Bench ConfiguratorConfigure a lab bench online — size, surface, shelving and accessories — and send the configuration to our team.
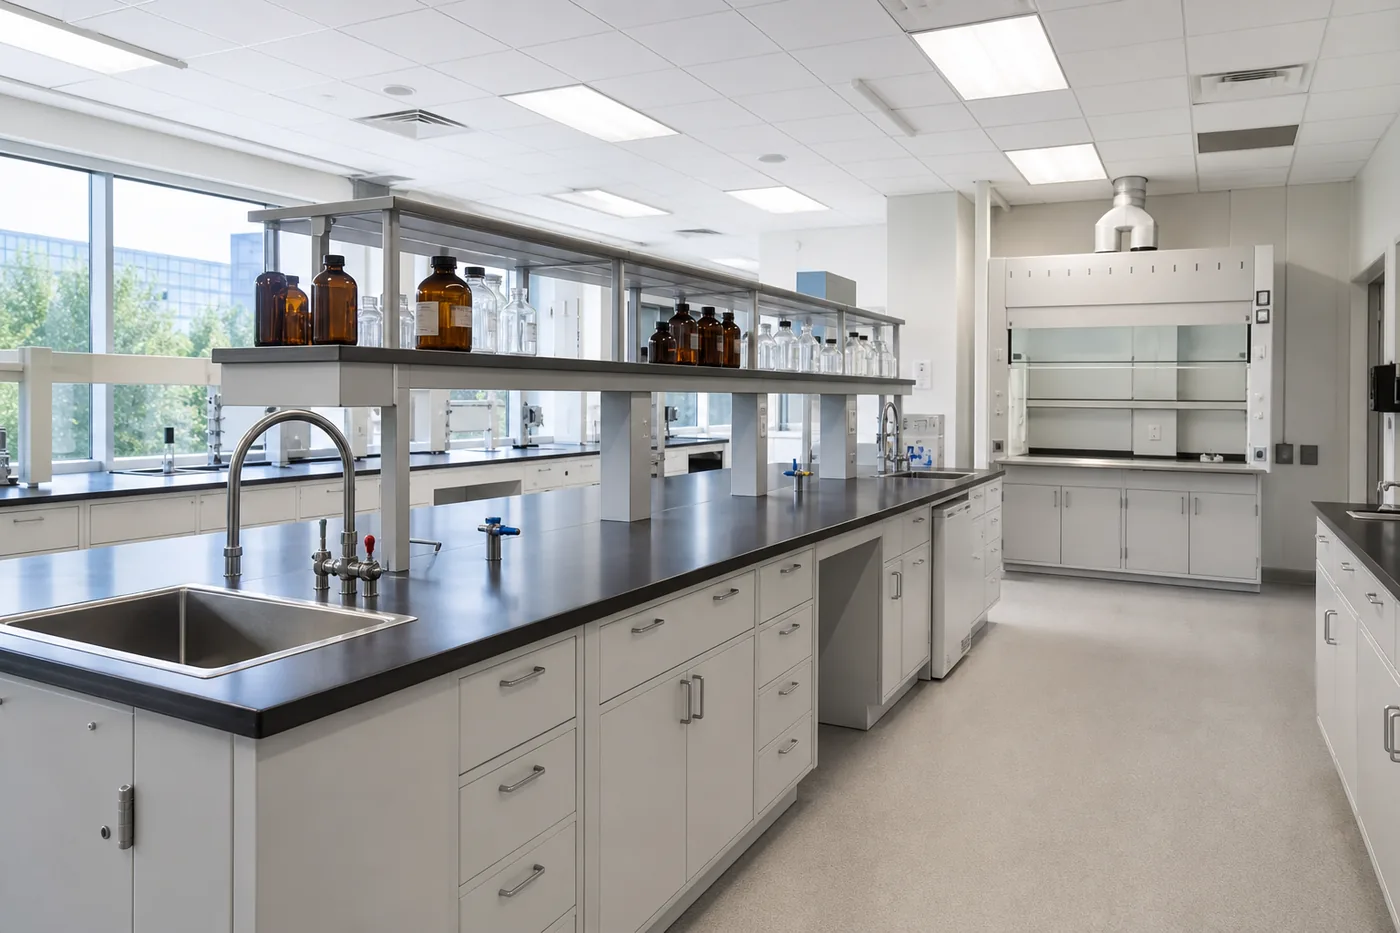 R&D Chemistry Lab SetupHow casework, hoods and zoning come together in a research chemistry lab.
 Custom Lab Tables: Princeton UniversityAnother university project — custom lab tables built to a specific research layout.
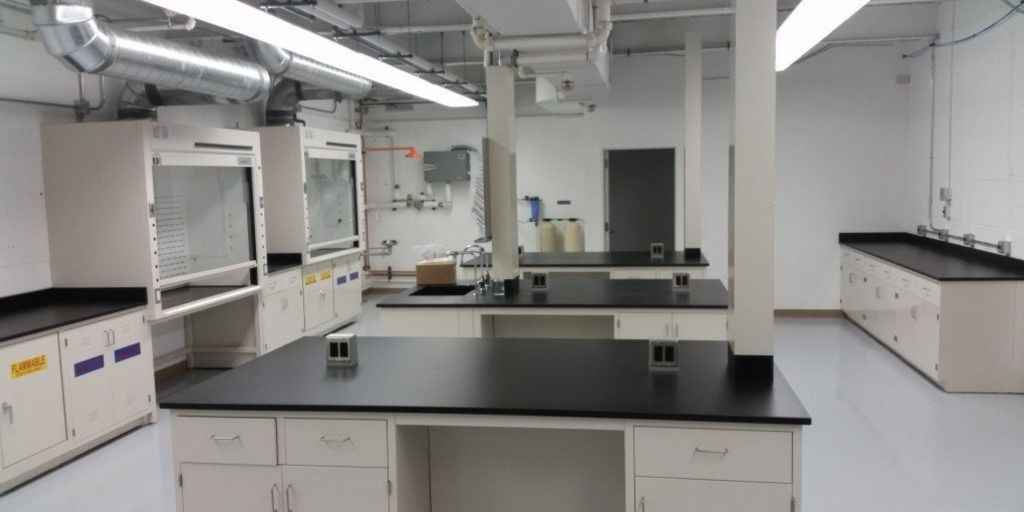 Fast-Track Lab Casework & HoodsA compressed-schedule casework and fume hood installation in Baltimore.
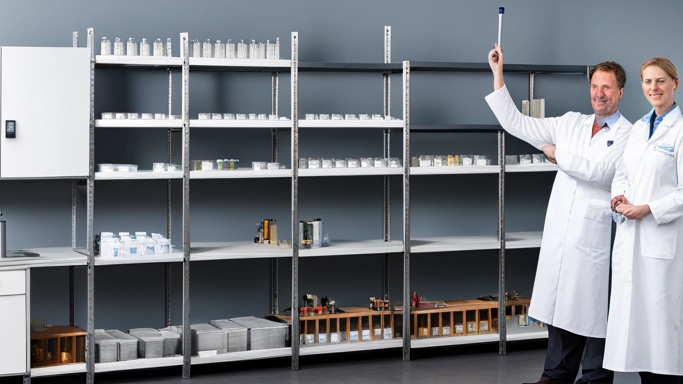 Laboratory Shelving & StorageShelving, carts and storage systems for reagents, consumables and lab supplies.
Have a Lab to Build Before the Next Semester?
Material Handling USA designs, supplies and installs laboratory casework, work surfaces, fume hoods and safety storage — on academic calendars, with fixed scope. Call (800) 326-4403 or request a quote and we will start with your room and your equipment list.