
Laboratory Design / Benchtops
Laboratory Benchtops & Work Surfaces
Choose a laboratory work surface around the chemistry, heat, moisture, equipment, cleaning routine and people who use it. Compare materials, fabrication details and layout decisions before the cabinets are released.
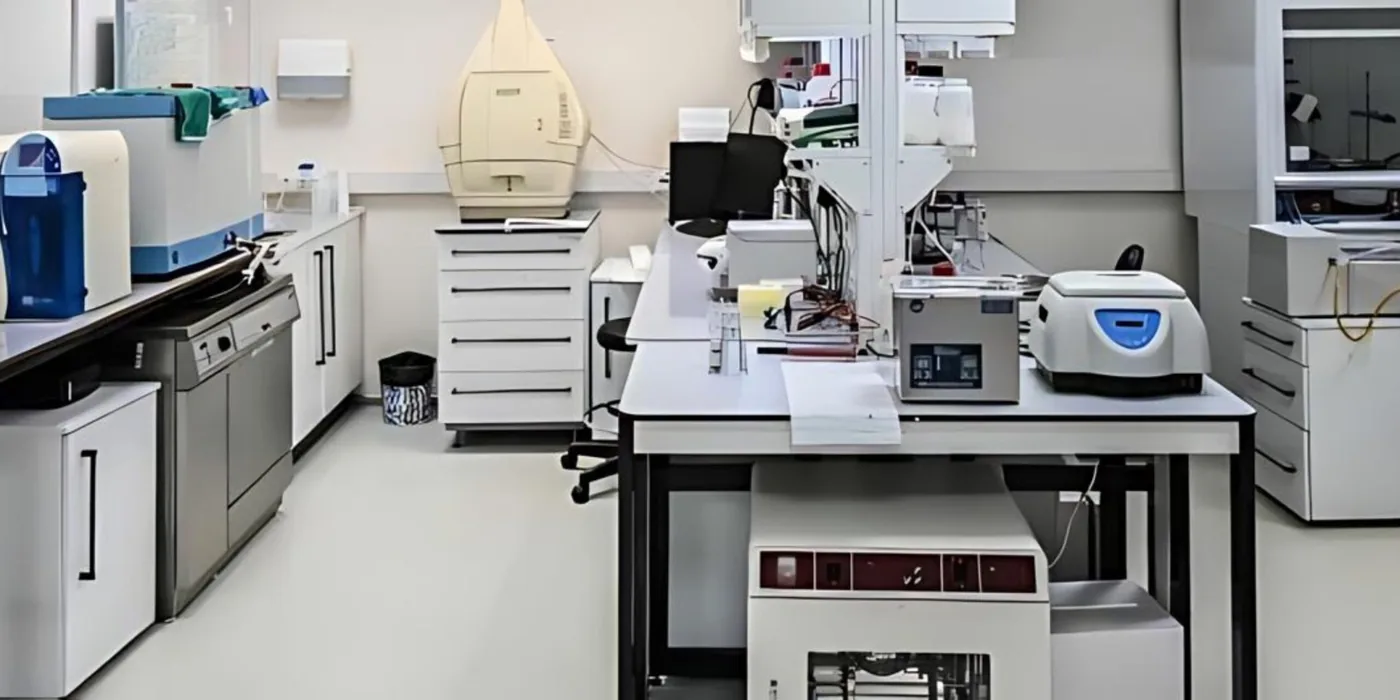
5+
surface families to compare
SEFA 3
work-surface standard
3
interfaces to coordinate
800-326-4403
talk with a specialist
Choose a benchtop for the work—not just the room

A laboratory countertop is an active part of the process. It supports instruments, receives samples and containers, frames sink and service cutouts, and can become a boundary between a controlled task and the rest of the room. A material that works for a dry instrument bench may be a poor fit under a fume hood, at a wash station or in a teaching lab where spills and repeated cleaning are routine.
Begin with the exposure map: chemicals and concentrations, heat sources, moisture, abrasion, impact, cleaning agents, equipment loads, static sensitivity and the time a spill might remain on the surface. Then map the interfaces—sinks, faucets, backsplash, service fixtures, reagent shelving, fume hoods, power, data and access for maintenance. Material Handling USA can help coordinate those decisions with casework and the equipment schedule.
The final choice belongs to the project team and the selected manufacturer’s submittals. “Chemical resistant,” “non-porous” and “lab grade” are not permission to skip a product-specific review. SEFA 3 specifically notes that chemical resistance changes with concentration, contact time, temperature, humidity and housekeeping, and recommends requesting supplier information suited to the user’s needs.
Laboratory benchtop materials at a glance
SEFA 3-2020 identifies common laboratory work-surface categories including epoxy resin, high-pressure laminate, solid phenolic composite and stainless steel. This comparison is a planning aid—not a performance ranking. Confirm the exact product, test method, chemical list and fabrication details before specification.
 Epoxy resinA homogeneous, non-absorbent cast composite often selected for demanding wet chemistry, heat and chemical exposure. Durcon publishes product-specific SEFA 3, ASTM and reagent testing; do not generalize one formulation’s results to all epoxy.
 Solid phenolic compositeA compression-molded composite with a homogeneous phenolic core and non-porous cured surfaces as defined by SEFA. Often considered where moisture, cleanability, lower weight and durable fabrication matter.
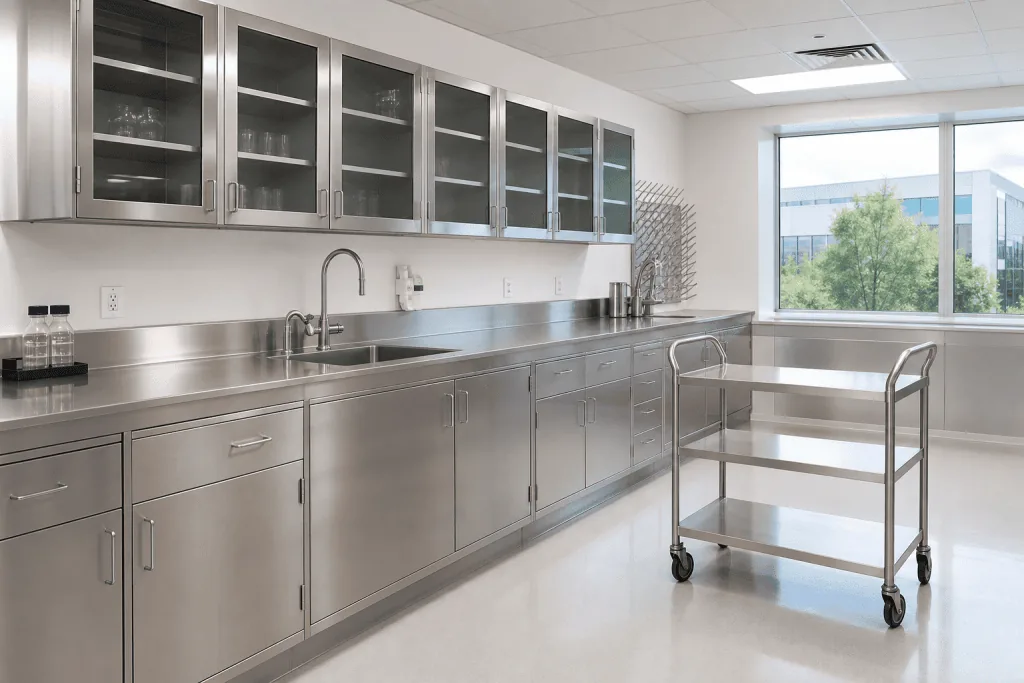 Stainless steelA fabricated metal surface used where moisture, cleanability, welded sink details and specialized process requirements are important. Alloy, gauge, finish, seam and cleaning chemistry must be specified.
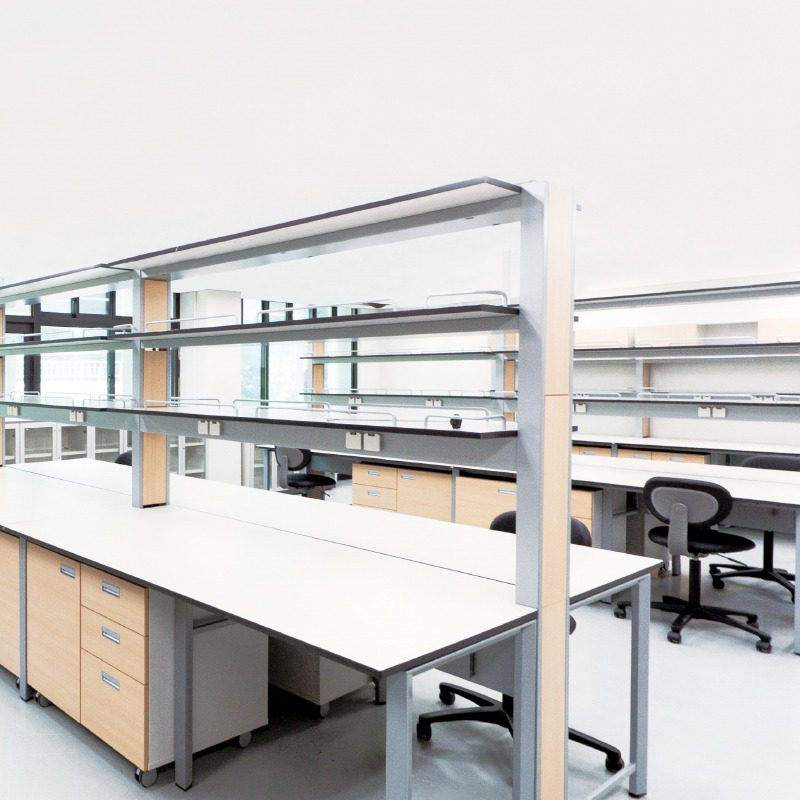 Chemical-resistant laminateA laminate construction that may suit dry or moderate-severity work when its published resistance and edge details match the application. Protect the substrate at seams, cutouts and exposed edges.
 High-pressure laminateMelamine-impregnated surface papers over phenolic-impregnated kraft layers, per SEFA’s material definition. A practical finish for lower-severity areas—not an automatic substitute for epoxy or stainless.
Quick selection matrix
| Surface family | Useful starting question | Verify before approval |
|---|---|---|
| Epoxy resin | Does the station need a homogeneous, non-absorbent cast composite with product-specific reagent and thermal data? | Exact chemical table, heat exposure, cleaning agents, edge profile, bonded seams, sink supports and casework load path. |
| Solid phenolic composite | Would a homogeneous phenolic composite suit the moisture, cleaning and handling demands of this station? | Core and surface construction, exact chemical/heat data, edge treatment, sink and service cutouts, support and fastening. |
| Stainless steel | Do moisture, cleanability, fabricated seams or an integrated sink make a metal surface advantageous? | 304 or 316 alloy, gauge, finish, weld/blend quality, chlorides, heat, abrasion, drainage and access below the top. |
| Chemical-resistant laminate | Is this a dry or moderate-severity station where the complete laminate system matches the exposure? | Substrate, adhesive, exposed edges, seam protection, sink detail, standing-water limits and chemical/heat data. |
| HPL | Is appearance and practical cleanability more important than high chemical or heat exposure at this location? | Surface construction, substrate, edge and backsplash, disinfectant compatibility, impact, moisture and cutout details. |
Specify the material, fabrication and interfaces together
A useful work-surface requirement tells the fabricator what the bench must do and how it must connect to the rest of the laboratory. The material name is only the start. Request samples and manufacturer data, identify the actual reagents and cleaning products, and show special stations on the drawings.
Epoxy resin: chemical, heat and fabrication review
SEFA describes epoxy resin tops and sinks as a composite of epoxy resin, silica, inert fillers and organic hardeners, cast and cured at elevated temperature; the material is homogeneous and non-absorbent. Durcon’s specification sheet is an example of the detail a submittal can provide: its named epoxy product lists 3/4-inch, 1-inch and 1-1/4-inch thickness options, a 1/8-inch drip groove at exposed edges, edge treatments, bonded seams, support coordination and routed sink cutouts. The same sheet reports a 293°F / 145°C maximum heat-deflection value, 0.03% maximum 24-hour water absorption and a reagent table. Those are Durcon-specific published values, not universal epoxy guarantees.
Solid phenolic composite: through-thickness construction and moisture
SEFA defines solid phenolic composite as a compression-molded composite with a homogeneous core of organic-fiber-reinforced phenolic and one or more integrally cured non-porous surfaces. That construction is different from a thin decorative laminate over a separate substrate. Ask whether the selected panel is solid phenolic composite, what edge treatment is available, how sink and service openings are supported, and which heat and chemical data apply. Air Master Systems separately describes its phenolic work surfaces as having a double-cured acrylic, non-porous coating and resistance to harsh chemicals including acids; that is a manufacturer-specific description.
Stainless steel: alloy, finish, welds and drainage
SEFA describes laboratory stainless tops and sinks as commonly fabricated from 14–18 gauge Type 304 or 316 stainless, with seams fully welded using stainless filler, ground smooth and blended to a #4 mill finish. Air Master Systems states that its standard tops use 16-gauge 304 stainless with a #4 smooth grain finish and that 316 is supplied for perchloric-acid fume-hood tops. The exact alloy and finish should follow the chemical and cleaning review. A stainless sink station also needs a coordinated bowl, pitch for drainage, backsplash, reinforcement, sound treatment and under-counter access.
HPL and chemical-resistant laminate: know what is underneath
SEFA defines high-pressure plastic laminate as melamine-impregnated surface papers pressed over phenolic-impregnated kraft layers, with the back prepared for bonding to a suitable substrate. On a laboratory counter, the substrate, adhesive, edge, seam, sink cutout and splash exposure can matter as much as the decorative face. Chemical-resistant laminate may be suitable for a dry or moderate-severity station, but standing water, aggressive reagents, high heat or repeated impact can change the recommendation. Obtain the exact manufacturer’s chemical and fabrication data.
Edge details, seams and cutouts are performance details
- Edges: choose a bevel, radius, marine edge, drip groove or cove according to spill control, ergonomics and cleaning.
- Seams: locate joints over supports and away from sink openings where possible; specify the adhesive, joint appearance and non-porous finish.
- Sinks: coordinate drop-in, undermount or molded sink details, basin fall, drain, overflow, faucet holes and access below.
- Supports: verify cabinet, frame, bracket and wall support for equipment loads, long spans and cantilevered work areas.
- Samples: approve the actual color, texture, edge and seam sample before the shop drawing is released.
Make the benchtop work with casework, equipment and people
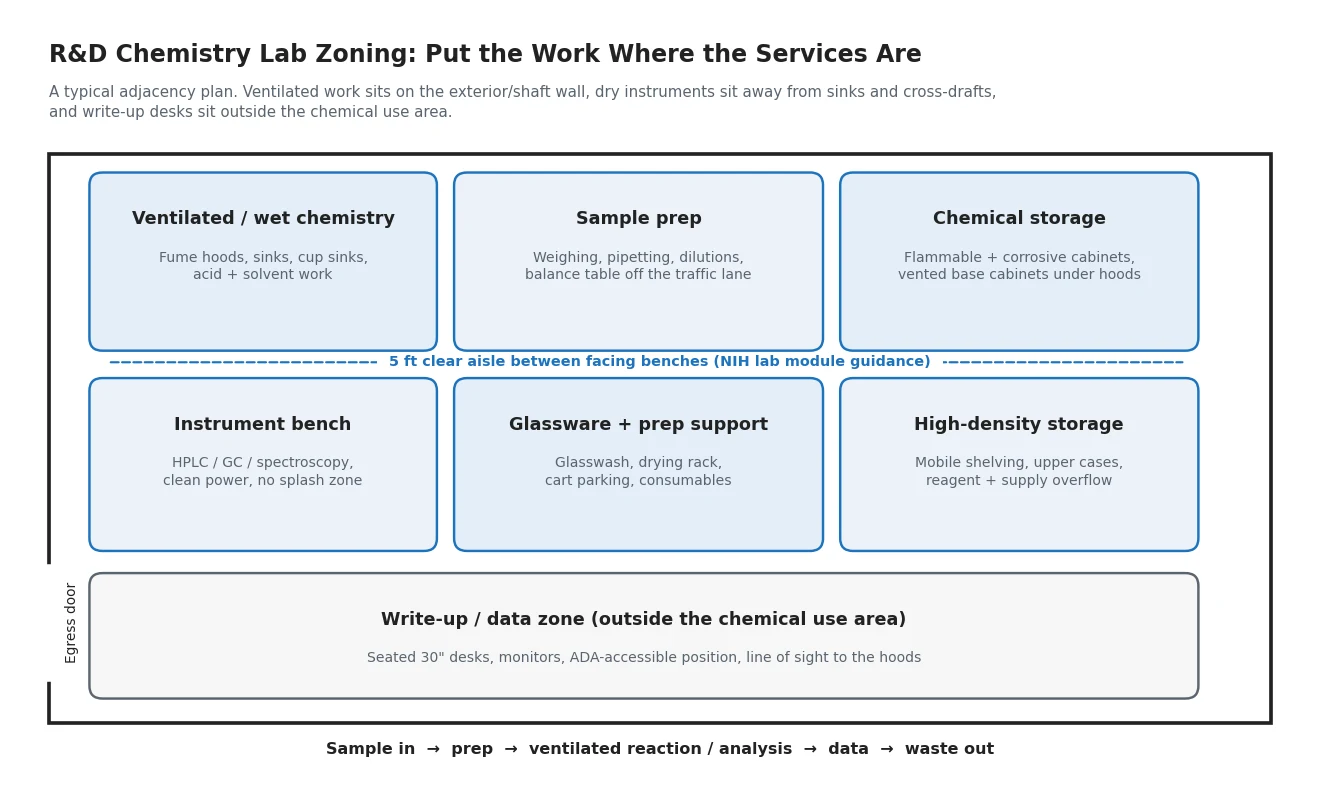
A benchtop is only useful when the surrounding layout supports the task. Keep frequently used supplies close without placing them over an active spill zone. Reserve landing space beside instruments and fume hoods. Separate clean write-up work from wet processes where contamination or splash is a concern. If a station serves students, leave sight lines and circulation for instruction, supervision and cleanup.
Coordinate accessibility early
For projects subject to the 2010 ADA Standards, Section 902 addresses work surfaces and Section 306 addresses knee and toe clearance. The design team should confirm the applicable requirements, clear floor space, approach, knee clearance, reach ranges and utility locations before cabinets and tops are fabricated. An accessible station is part of the room plan, not a late cabinet substitution.
Coordinate fume hoods and local capture
A hood countertop is not ordinary desk space. The hood manufacturer, ventilation engineer and lab planner should coordinate sash operation, service fixtures, cutouts, backsplash geometry, exhaust routing, make-up air and access for maintenance. OSHA’s Laboratory Standard and Appendix A are authoritative starting points for chemical hygiene and fume-hood guidance, but they do not replace project-specific engineering or commissioning.
Support the surface under the surface
Confirm concentrated equipment loads, vibration isolators, sink openings and future accessories with the fabricator and casework supplier. A long run or cantilever may need additional support even when the cabinets look substantial. Do not use a generic span assumption for a specialized instrument bench. Keep service access available for traps, valves, electrical raceways, data and controls.
Measure an existing room before renovation
Capture wall runs, door swings, columns, ceiling heights, floor slope, outlet elevations, drain locations, overhead obstructions and the route used to bring instruments into the room. Photograph the undersides of existing benches and the cabinet condition. A replacement top can fit the face dimensions and still fail if the wall is out of square or the cabinet is no longer level.
From equipment list to installed laboratory bench
Document exposure
List reagents, heat, moisture, cleaning agents, instruments, loads and workflows by station.
Zone the room
Place wet work, hoods, instruments, storage, write-up space and accessible stations around safe circulation.
Coordinate details
Review dimensions, seams, supports, sinks, cutouts, edges, backsplash and service locations.
Approve submittals
Compare the exact product data, samples and shop drawings with the actual process before fabrication.
What to include in the project brief
- Room plans, elevations, field dimensions and a photo survey
- Equipment list with footprint, weight, heat output, vibration and service connections
- Chemical and cleaning-product list with concentration and contact assumptions
- Sink, faucet, drain, backsplash, eyewash, utility and ventilation requirements
- Accessibility, clear-floor-space and reach requirements identified by the design team
- Finish samples, edge profiles, thicknesses, seams, supports and approved cutout dimensions
- Installation phasing, shutdown windows, protection and maintenance access
Open the Lab Layout Configurator Explore the Lab Bench Configurator
Care, inspection and replacement planning

SEFA 3 recommends regular cleaning and maintenance, prompt spill cleanup and consultation with the supplier for cleaning methods, stains and acceptable temperatures. Follow the selected manufacturer’s instructions; an abrasive pad, concentrated reagent or aggressive disinfectant that is acceptable on one material can damage another.
Inspect more than the face
Look at seams, sink rims, cutouts, backsplash joints, edges, cabinet interiors, brackets and plumbing connections. Record open joints, cracks, delamination, bubbling, swelling, corrosion, deep scratches, recurring leaks, discoloration or unsupported loads. Damage below the surface can undermine a bench before it is obvious from above.
Replacement is an opportunity to correct the cause: an incompatible cleaner, a leaking trap, inadequate support, a sink in the wrong work zone, or a surface that was never matched to the process. Plan decontamination, utility isolation, temporary work space and disposal before removing an existing top.
When repair or replacement deserves review
- Open seams, cracks or chips around sinks, fixtures and high-use zones
- Delamination, bubbling, swelling or soft exposed substrate
- Deep scratches, pitting or etching that interferes with cleaning or function
- Corrosion or finish loss that does not match the approved use
- Recurring moisture under a sink or at a wall penetration
- Sagging, cabinet movement or equipment loads beyond the original plan
Plan the shutdown
Inventory instruments, samples, reagents and utilities affected by the work. Confirm decontamination requirements and designate a temporary station. Recheck finished dimensions, wall conditions, cabinet level, sink openings and service locations in the field. Capture photographs and a marked-up plan so the replacement fabricator understands the room that exists—not only the room that was originally drawn.
Frequently asked questions
What is the best material for a laboratory benchtop?
Is epoxy resin chemical resistant?
What is the difference between phenolic resin and epoxy resin?
Is stainless steel a good laboratory countertop?
Can HPL or chemical-resistant laminate be used in a laboratory?
How should a lab benchtop be planned around a sink?
How long should a laboratory countertop last?
Can Material Handling USA help select and lay out lab work surfaces?
Standards and manufacturer sources
The following references informed the material definitions, testing cautions, fabrication terminology and planning guidance on this page. Manufacturer values are quoted only for the named manufacturer’s product or surface system; they are not blanket guarantees for every material in a category.
- SEFA standards index and SEFA 3-2020 Work Surfaces PDF — laboratory work-surface definitions, performance topics, sink guidance and testing context.
- Explore Labs USA laboratory furniture solutions, Explore Labs USA laboratory furniture solutions, Explore Labs USA laboratory furniture solutions, Explore Labs USA laboratory furniture solutions and the Explore Labs USA laboratory furniture solutions — product-specific construction, fabrication and published test information.
- Explore Labs USA laboratory furniture solutions — manufacturer-specific surface, finish, alloy and sink-application information.
- 2010 ADA Standards, Sections 306 and 902 — accessibility planning references for work surfaces and clearances.
- OSHA Laboratory Standard, 29 CFR 1910.1450 and Appendix A — chemical-hygiene and laboratory-safety planning context.
Important: chemical resistance depends on the reagent, concentration, contact time, temperature, cleaning method and product formulation. Request the selected manufacturer’s current submittal for the actual lab process.
Related Products & Resources
These resources extend the benchtop decision into laboratory design, casework, hoods and furniture. Each card uses the destination page’s own featured image.
 Weber State University laboratory case studySee a completed university laboratory with casework, work surfaces and equipment coordination.
 Custom laboratory furniture solutionsExplore custom laboratory benches, casework and workstations for specialized layouts.
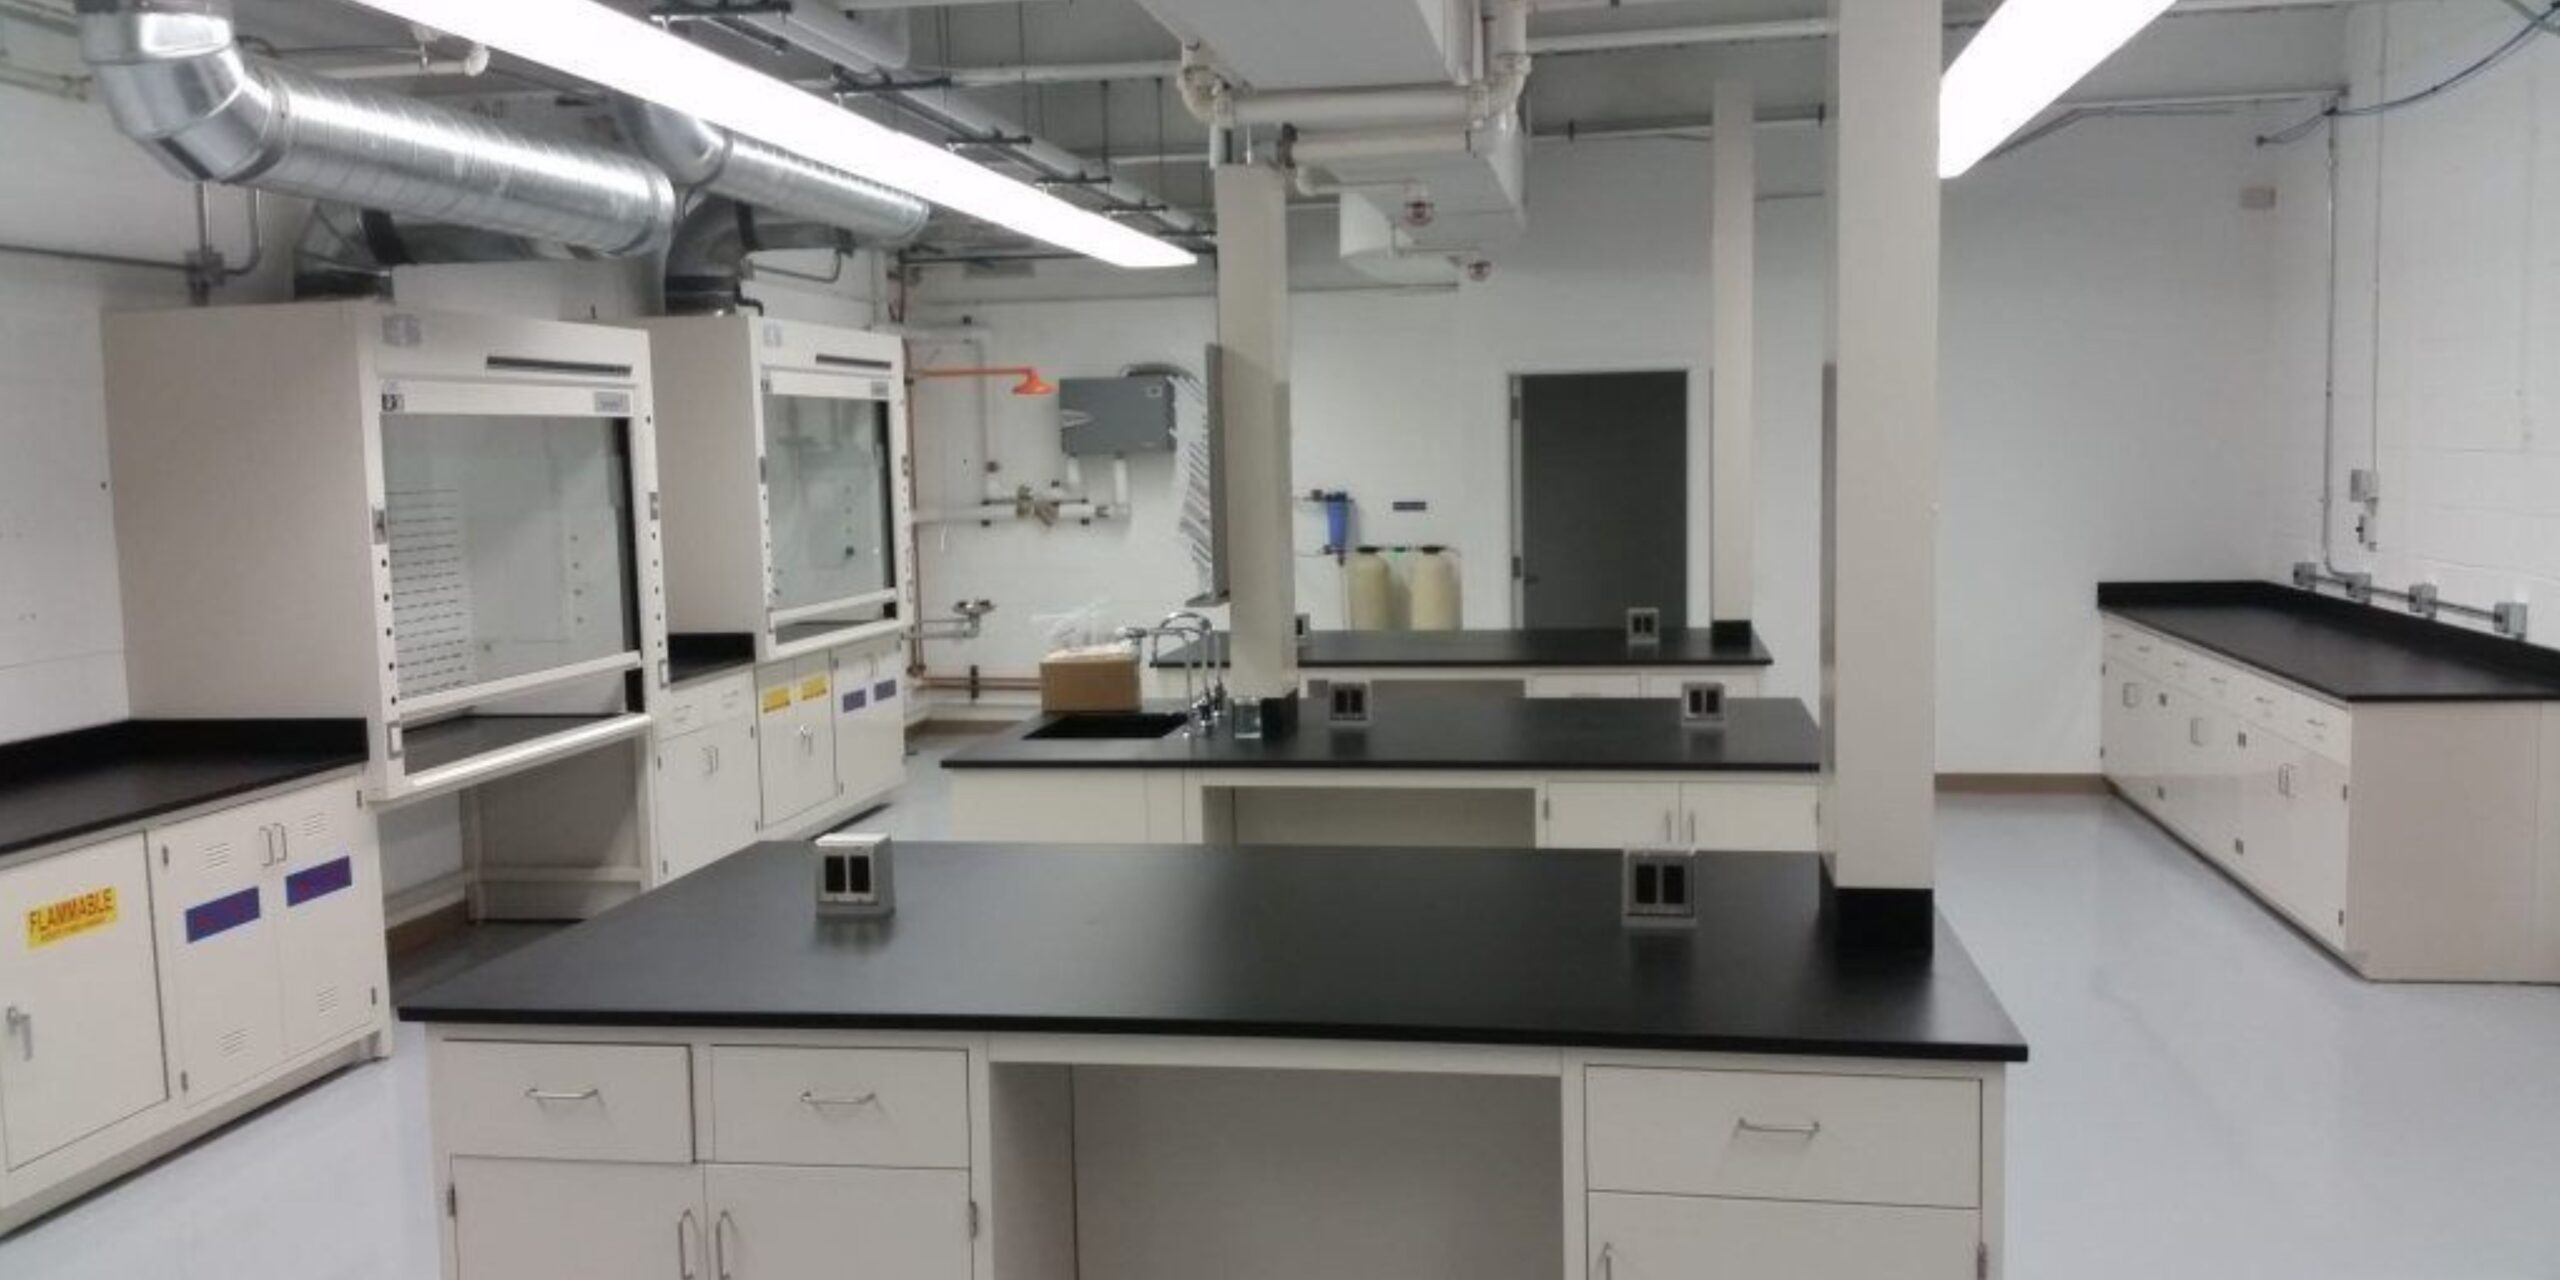 Lab casework and fume hoodsReview coordinated casework and hood planning for fast-track laboratory projects.
 Walk-in fume hoodsExplore floor-mounted hood configurations and the work-surface interface.
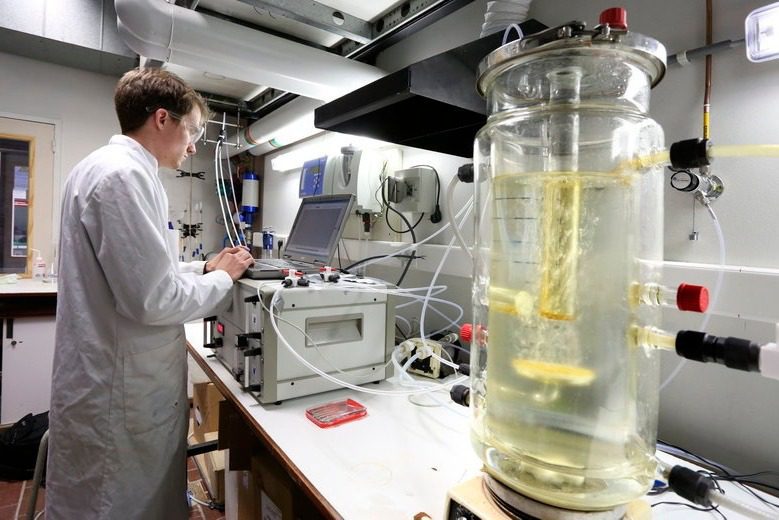 Comprehensive laboratory designSee how casework, epoxy benchtops, hoods, shelving and equipment fit together.
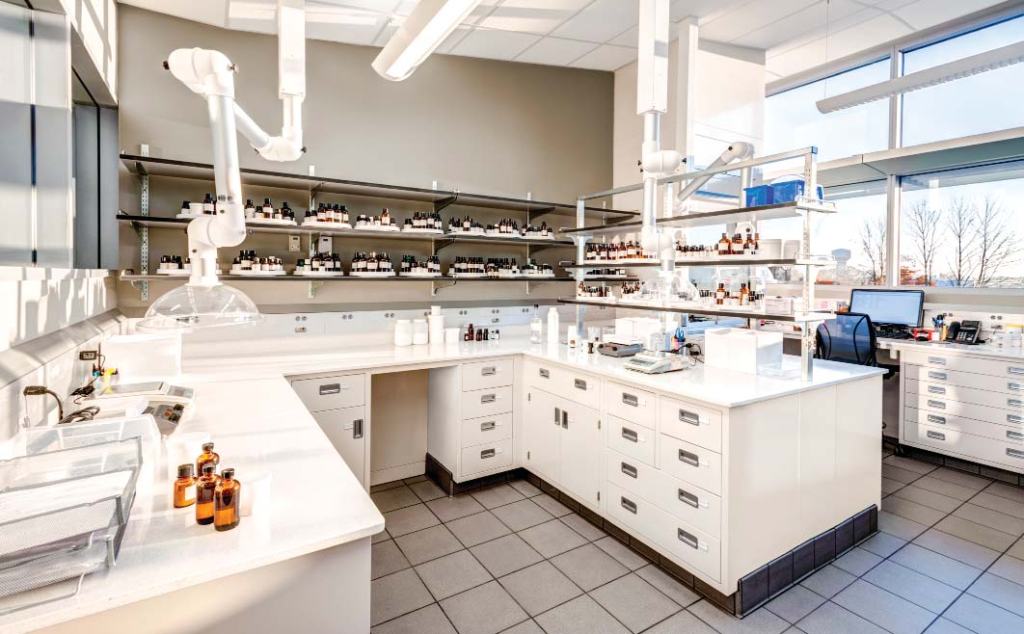 Laboratory shelving systemsPlan reagent and equipment storage above, below and beside the work surface.
Plan a laboratory benchtop that fits the work
Tell us what happens at each station—chemicals, heat, equipment, cleaning, sinks and utilities—and we’ll help you start a coordinated laboratory layout.