
Home › Pallet Rack › Tire Storage Rack › Tire & Wheel Assembly Storage
Tire and Wheel Assembly Storage Racks
A mounted assembly is a heavier, more damageable, set-based item than a bare tire — and racking sized for bare tires does not respect any of that. Here is how to store tire and wheel assemblies without scraped rims, split sets or overloaded levels.
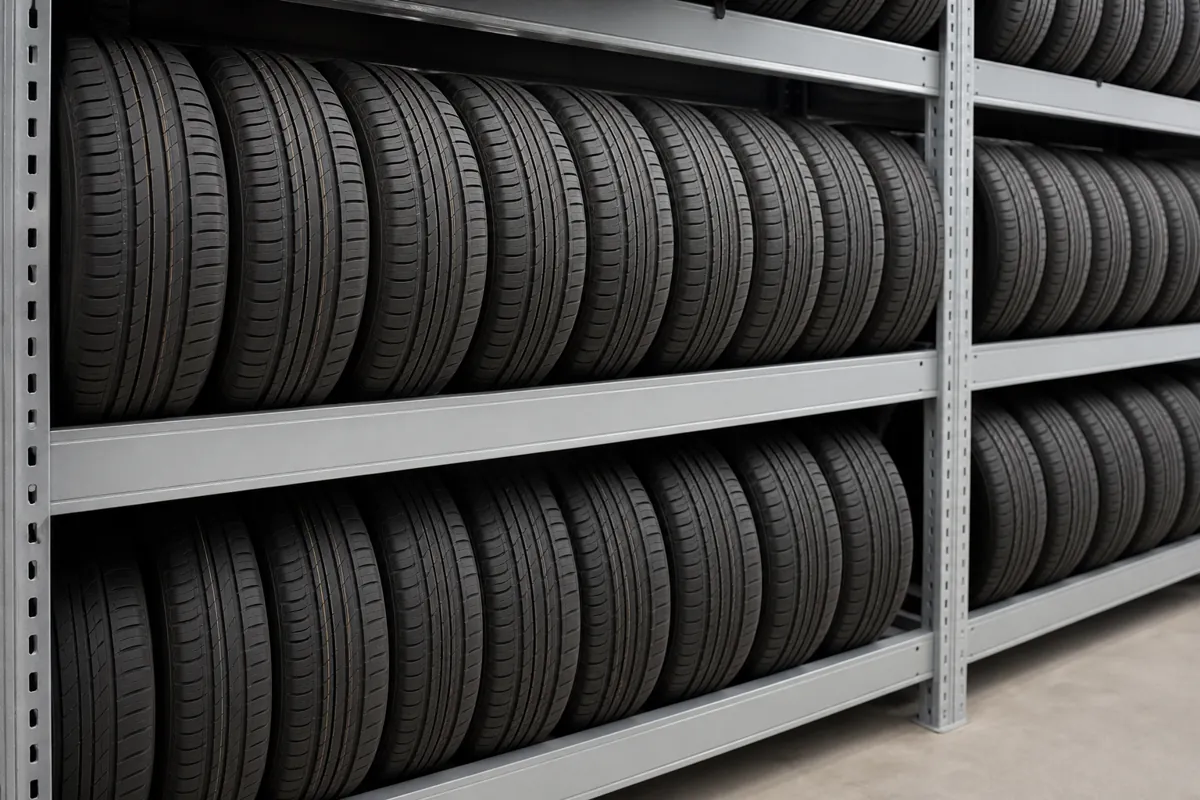
Weigh one
Assemblies are far heavier than tires
Smooth bearing
Rim finish is a customer-visible asset
Set integrity
Four items, one location
Orientation
Follow the tire or vehicle maker
Why mounted assemblies break bare-tire racking assumptions
Most tire racking is designed around a bare casing: light, cheap to scuff, interchangeable with the next one of the same size. A mounted tire and wheel assembly is none of those things. It carries a wheel that may cost more than the tire, it belongs to a set of four, and it is frequently somebody’s property held on your premises. The failure modes change accordingly — from “we ran out of space” to “we damaged a customer’s alloys and lost one of their winters”.
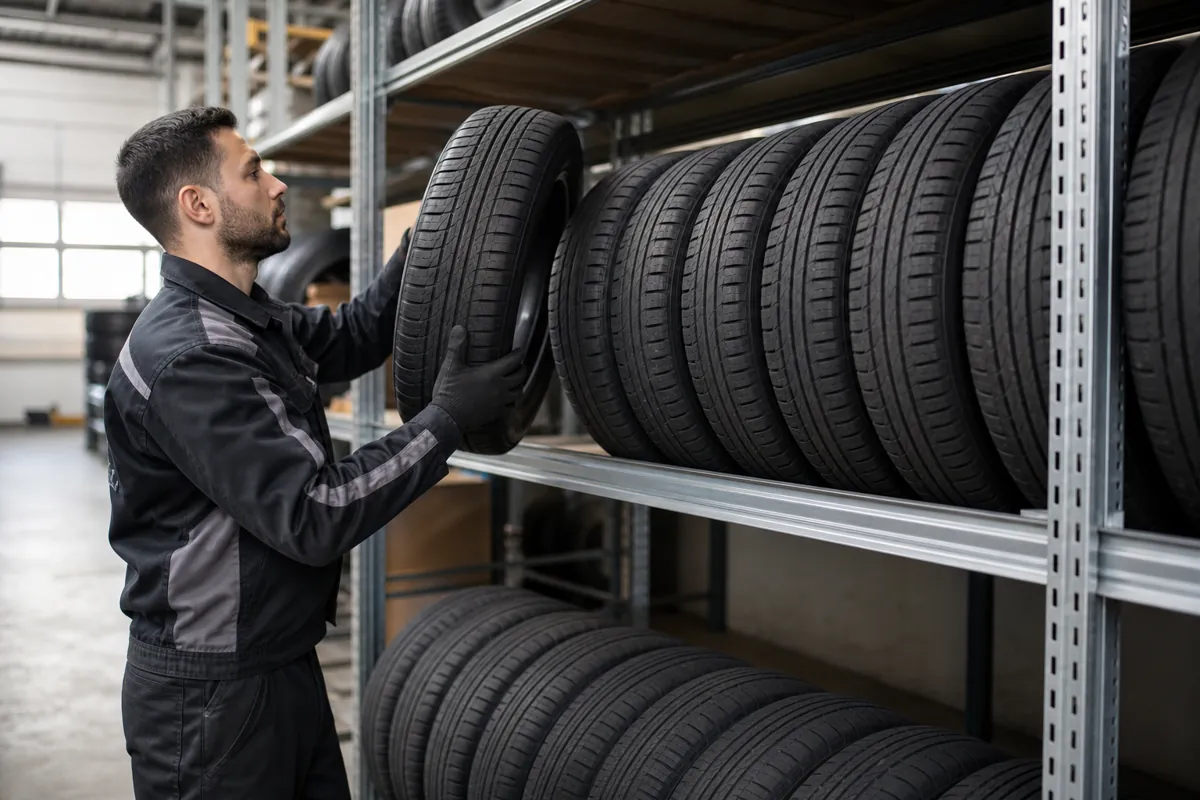
The three things that change
Weight. You are now storing steel or aluminium as well as rubber. Level capacity, which is rarely a real constraint for bare passenger tires, becomes a genuine design number.
Damageability. A rim face is a finished surface. Beam edges, bolt heads, rough decking and neighbouring assemblies are all capable of marking it, and every mark is visible to the owner.
Set integrity. Bare stock is fungible; assemblies are not. Four specific items have to leave together, and a location system that counts units instead of holding sets will eventually split one.
Everything else — on-tread orientation, off-the-floor storage, honest rack capacity and clean aisles — carries straight over from the tire storage rack fundamentals.
Shop Tire and Wheel Racks Online
Genuine tire racks you can order online. Prices are current store prices for the lowest-priced in-stock starter unit in each line; add-on bays, other sizes and freight are in each category. Some common sizes are in stock at select manufacturers, subject to confirmation. Larger rooms on pallet rack are quoted.

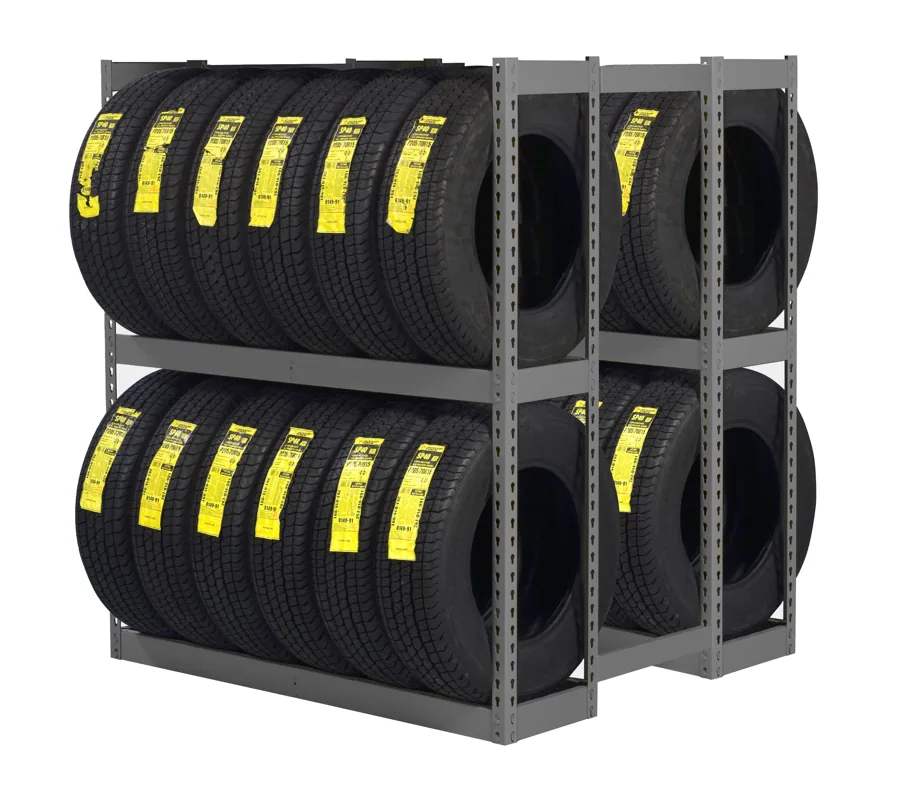
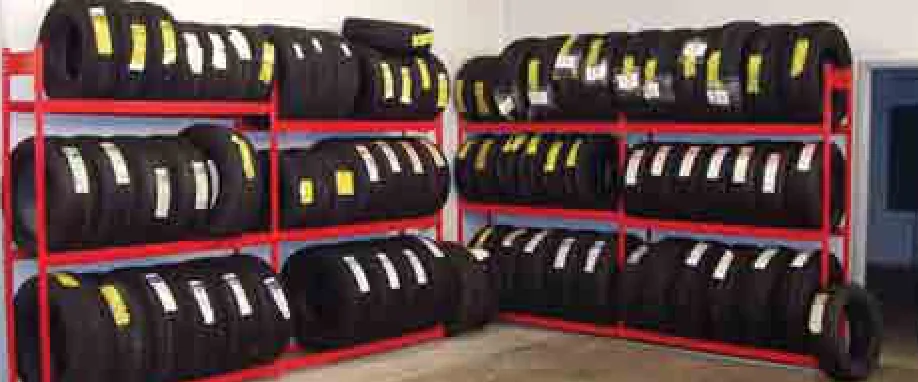

Weight is the first number, and it has to be measured
Assembly weight varies enormously with wheel material, diameter and vehicle class, and published tire weights tell you nothing about the wheel bolted to it. There is no substitute for putting one on a scale.
| Step | What to do | Why it matters |
|---|---|---|
| 1. Weigh a representative assembly per band | Passenger alloy, SUV/light-truck, premium large-diameter alloy, commercial steel — whichever you actually hold. | Sets the level rating. An average across bands under-designs the heavy band. |
| 2. Count the worst-case level | Heaviest assembly in that band times the maximum that fit on the level. | This, not a typical load, is the number the beam or shelf must carry. |
| 3. Add the handling reality | Assemblies get placed, not lowered gently, and the middle of a span sees the worst of it. | Keep a real margin rather than designing to the exact calculated load. |
| 4. Check the bay and the frame | Total of all levels against frame capacity, plus base plates, anchoring and floor. | Heavier items per level change the whole bay, not just one beam. |
| 5. Mark the capacity on the rack | Per-level capacity marked and a written load plan for each zone. | Assembly zones get loaded by whoever is on shift; the rack has to say what it holds. |
Commercial assemblies are a different design again
A truck tire on a steel wheel can exceed 250 lb as an assembly, and OTR sizes go far beyond that. If that is your mix, design from the heavy-commercial side rather than adapting a passenger layout — start with heavy-duty truck tire storage racks and treat assemblies as the heavier case within it.
The full treatment of weight, beam spans and deck loading for commercial sizes is on heavy-duty truck tire storage racks, and the general rules for level ratings across a bay are covered in our guide to rack weight capacity.
Protecting rims, finishes and sensors
Almost all rim damage in storage happens in the two seconds an assembly is being put away or taken out. The fix is therefore geometric and procedural, not a product you bolt on.
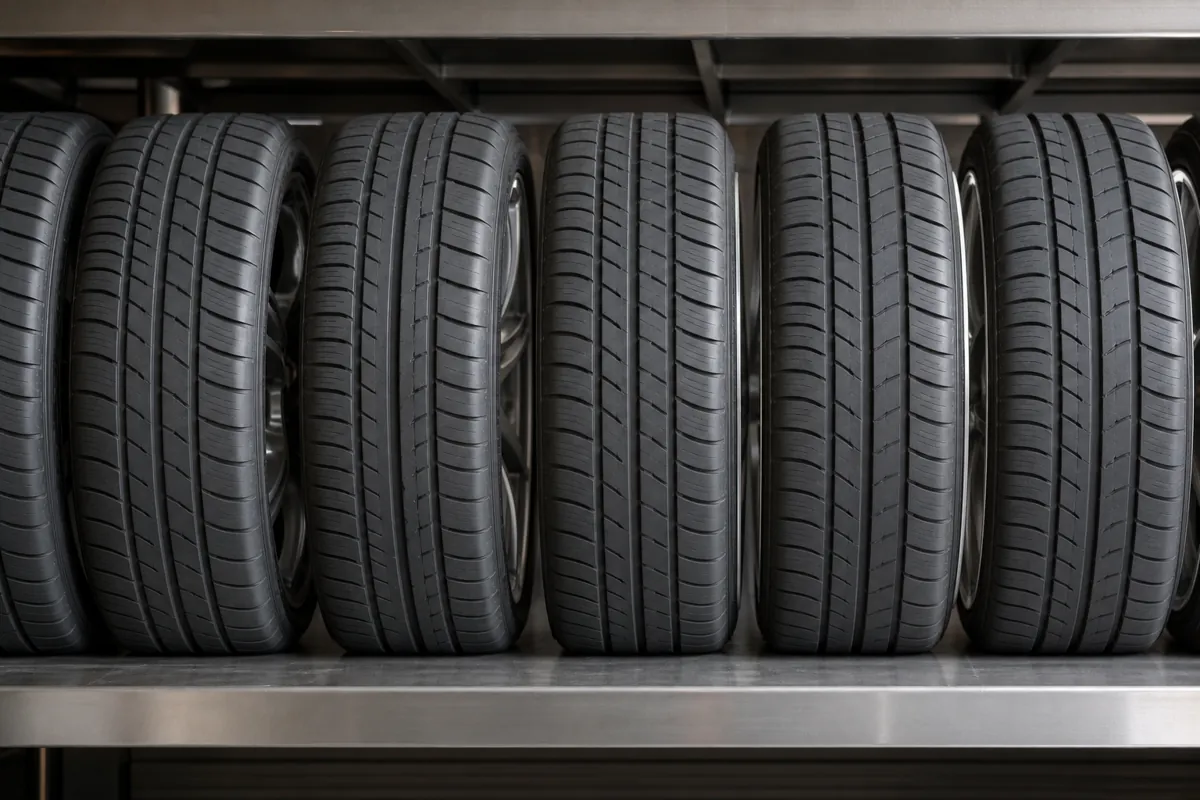
Design the loading path, not just the storage position
Smooth bearing surfaces. Deburred, painted or coated shelves and beams, with no sharp edge where the tread lands and no bolt head in the sliding path.
Width for handling, not just for fit. If a technician has to force an assembly past its neighbour, the neighbour gets marked. Leave the clearance and accept one fewer unit per level.
Nothing above rim height at the front. Front-to-back supports, deck edges and label holders that sit in the lift-out path are exactly what catches an alloy face.
Sleeves or bags on premium sets. On high-value alloys and stored customer sets, a cover is a few dollars against a wheel refinish, and it keeps dust off the finish while stored.
Handle the sensor by handling the assembly. No dropping, no dragging, and follow the vehicle and tire manufacturer guidance on inflation for stored assemblies rather than deflating them for convenience.
- Set orientation by the tire or vehicle maker’s guidance — published advice differs, and some tire makers say mounted assemblies should be hung or stacked rather than stood upright. If you rack them upright on the tread, never let one assembly rest on another’s rim face.
- Keep assemblies off the floor on a flat, smooth support; industry guidance warns that a grated surface can indent a tire over long storage periods.
- If you stack assemblies, keep stacks short and within the maker’s guidance — the bottom one carries everything above it through casing and wheel.
- Give each level a defined maximum count so nobody wedges in one more.
- Choose decking deliberately: solid shelves, or wire decking with the tread bearing across several wires rather than sitting in a single gap.
- Keep oil, solvent and fuel handling away from the assembly zone; those chemicals attack rubber and stain finishes.
Rack types that suit mounted assemblies
All four of these are built from the same pallet rack range and standard shelving components, which matters: an assembly zone is easier to re-pitch and repair when it is made of serviceable, standard steel rather than a one-off frame.
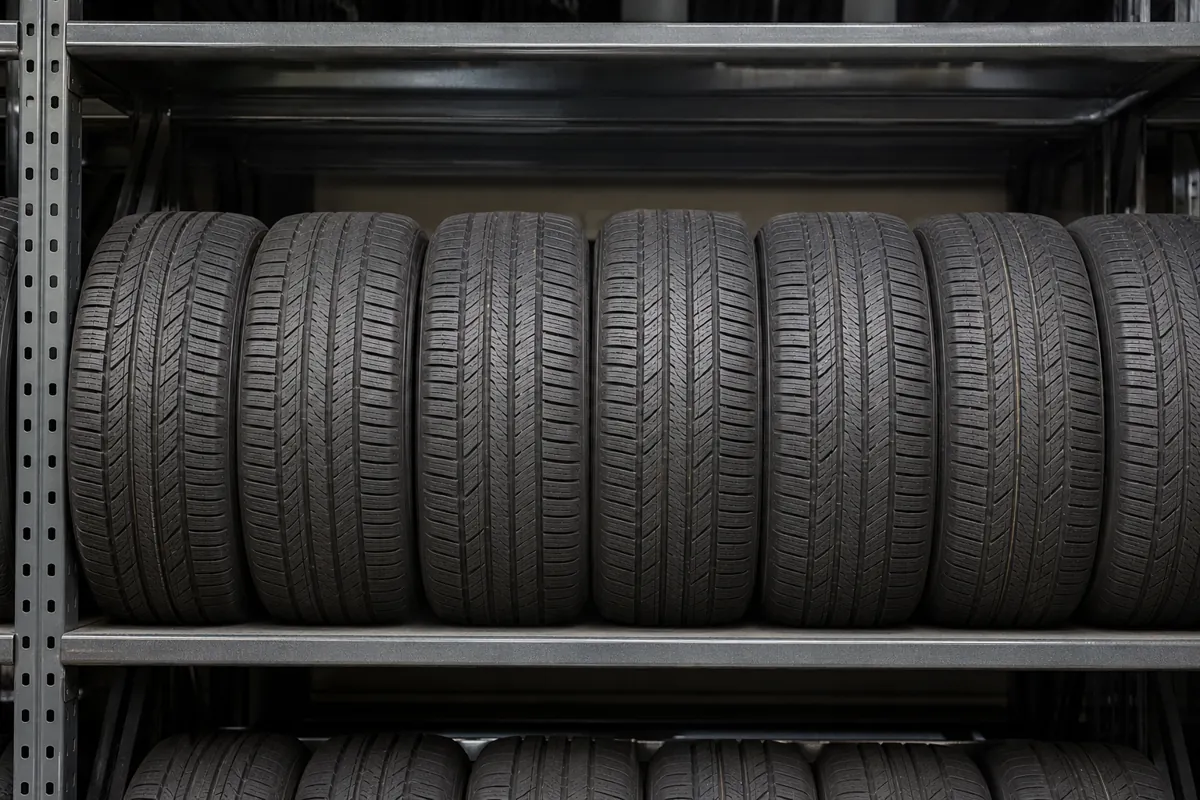 Solid-shelf assembly baysSmooth, continuous bearing surface and a defined count per level. The safest default for alloy and customer-owned sets, and the easiest to keep clean.
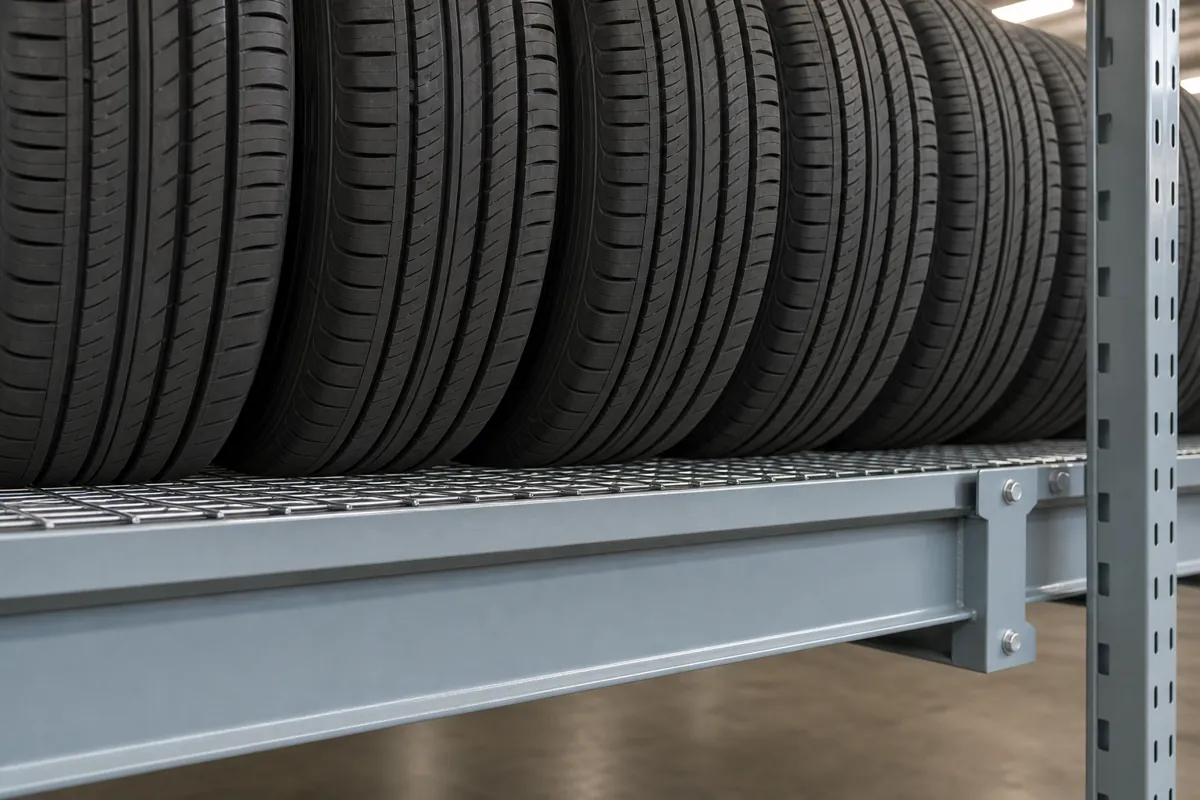 Beam levels with wire deckingBeams sized for real assembly weight with decking that spreads the load and lets light and water through. Specify mesh fine enough that tread bears across wires, not into a gap.
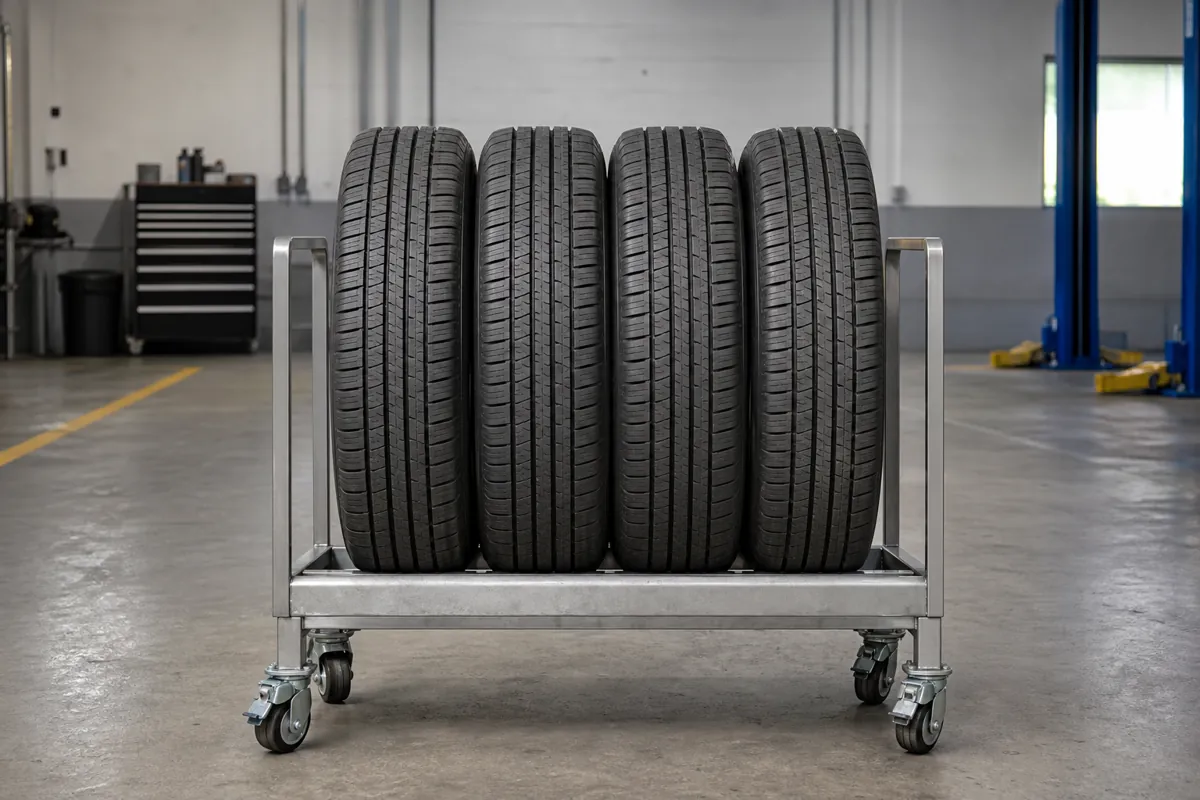 Set carts for the working layerOne set per cart, wheeled to the bay. Removes carrying, keeps sets intact, and shifts the location code from bay-and-level to unit-and-level.
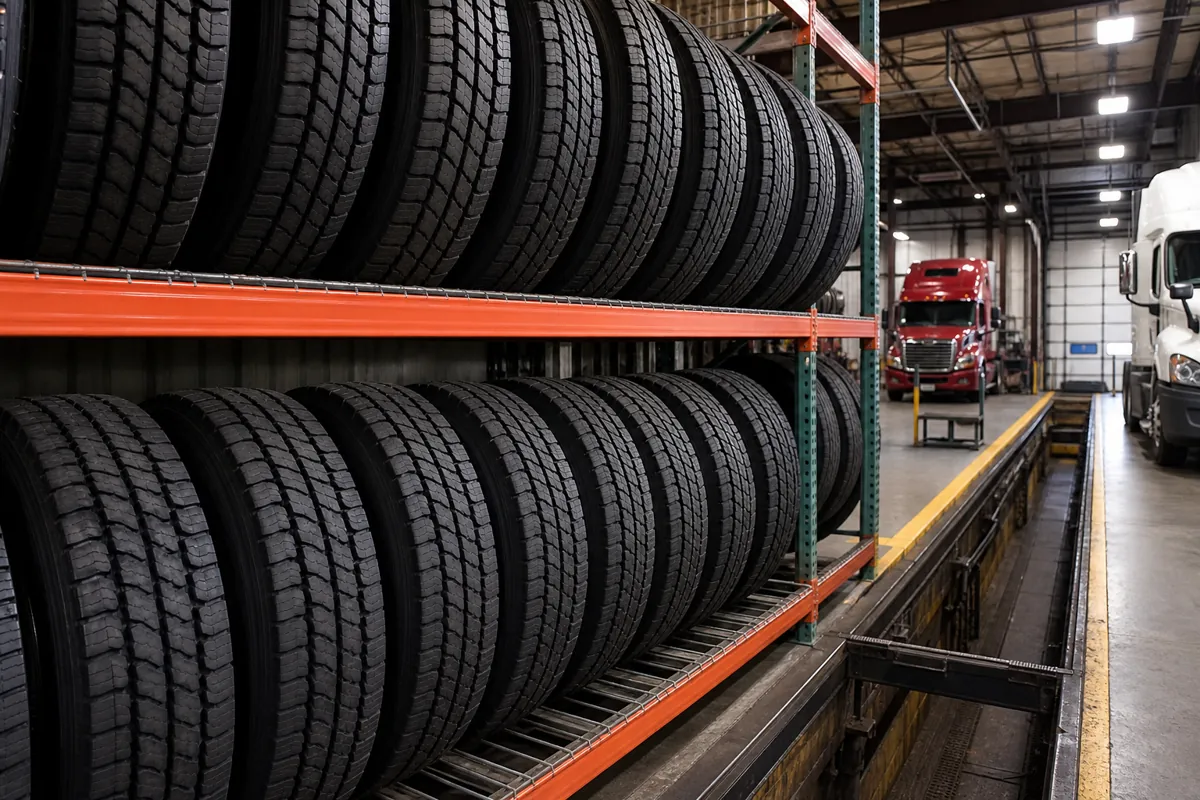 Heavy bays for commercial assembliesStructural or heavy roll-formed bays where the assemblies are truck sizes on steel wheels. Designed from weight and handling clearance rather than from unit count.
Level pitch and layout for assemblies
The geometry is the same arithmetic as bare tires with two adjustments: the assembly is wider than the tire alone at the bead area, and it needs lift-out clearance rather than roll-in clearance.
Measure the assembly, not the tire
Overall diameter and overall width of the mounted assembly, per size band. Wheel offset and tire profile both change the footprint.
Pitch levels by band
Diameter plus the clearance needed to lift an assembly out at that height. Pitching every level for the largest band wastes a level per bay.
Set a count per level and mark it
Usable length divided by overall width, minus one unit’s worth of handling clearance. Write the number on the level.
Put the heavy band low
Heaviest assemblies at waist height or below. It is better ergonomics and a lower centre of gravity in the bay.
Separate customer property from stock
A physically distinct zone for customer-owned sets prevents the worst error in the building: selling somebody’s winters.
Leave the aisle for the lift
Assemblies are carried out, turned and set down. Aisle width has to allow a person holding one to turn without contacting the opposite bay.
If the constraint is total capacity rather than protection, the density levers — level pitch, bay depth, aisles and height — are worked through on high-density tire storage racks. Applying them to an assembly zone is legitimate, with one caveat: never buy density by narrowing the handling clearance that protects the rims.
Seasonal storage: the program, not just the rack
Storing customer assemblies is a service business with a storage component. The rack is the easy part; the record keeping is what determines whether the program makes money or generates claims.
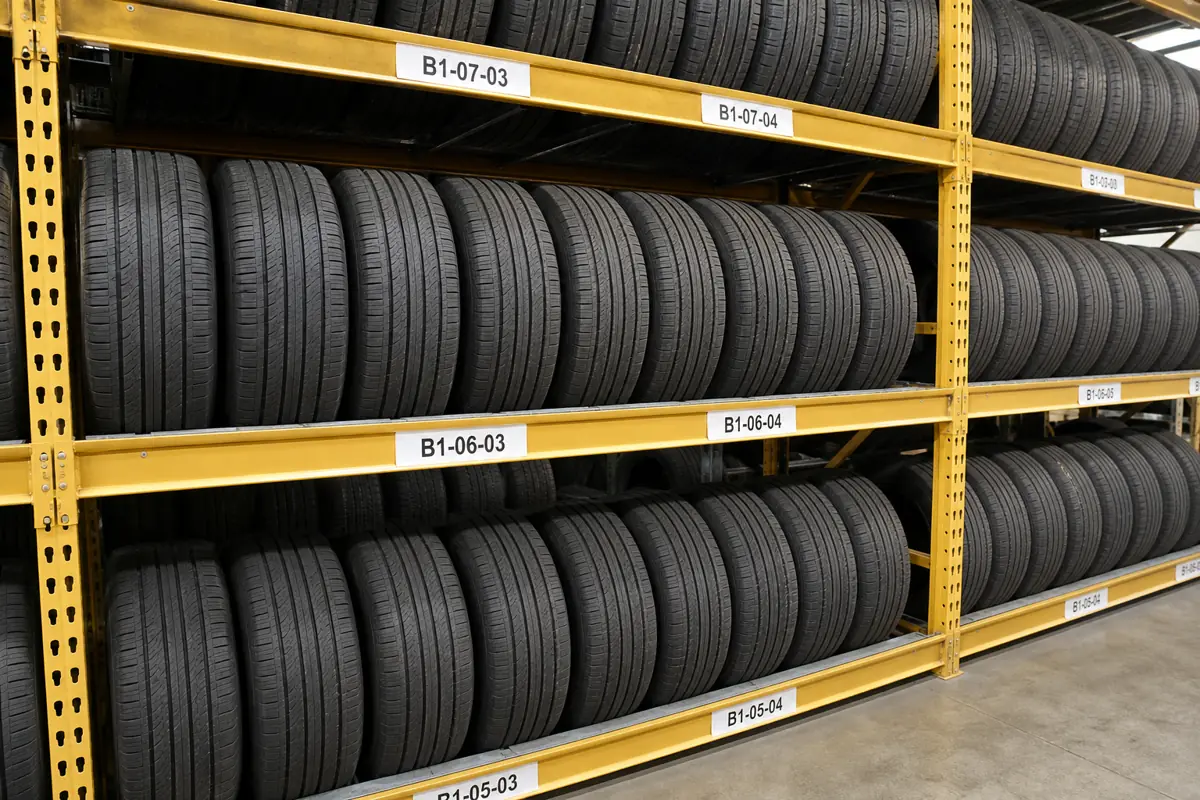
What a working program needs
Intake condition record. Tread depths, existing wheel damage and any sensor faults recorded and acknowledged at drop-off. This single step removes most disputes on refit.
One identifier per set. Tied to customer and vehicle, with the four positions recorded inside it — not four separate stock lines.
A location that cannot drift. Bay and level for fixed racking, unit and level for carts. If a set moves, the record moves with it in the same transaction.
A rule against splitting sets. If a set will not fit one level, it gets flagged and a different location, never a quiet split.
An exit plan. Agreed storage duration, contact process and disposal terms for abandoned sets. Long-term abandoned assemblies otherwise occupy your densest, best-located steel.
Sizing a seasonal assembly zone
Take the peak number of sets you expect to hold at once, not the annual count. Multiply by the levels a set occupies at your assembly size, add a working buffer for intake and refit days in the busy weeks, and size the zone to that. Programs fail in the two-week peak, not on the average day.
Storage conditions that protect the tire itself
You can rack an assembly perfectly and still hand back a degraded tire. Published industry storage recommendations for tires are consistent and easy to design around.
Tire industry bodies publish current storage recommendations for both unmounted and mounted tires, and it is worth checking the latest bulletin from the U.S. Tire Manufacturers Association against your own procedure, along with the tire and vehicle manufacturer guidance for any specialty tire or for inflation of stored mounted assemblies.
Handling and safety in an assembly zone
The hazards are ordinary and the controls are cheap. General materials handling requirements apply: stored material must not create a hazard, storage in tiers must be stable and secure against sliding or collapse, aisles and passageways must be kept clear, marked and in good repair, and storage areas must be kept free of accumulation.
- Two-hand, two-person thresholds written down for the heavier bands, and lifting aids where assemblies are stored above shoulder height.
- Heavy band low, light band high — the reverse arrangement is where back injuries and dropped assemblies come from.
- Nothing protruding into the aisle, including the last assembly on a level and any label holder or deck edge.
- Marked capacities and counts per level, so a busy shift cannot silently overload a bay.
- Scheduled rack inspection with damaged components replaced rather than patched — see rack inspection and repair.
- Fire protection reviewed for the room: rubber tire storage is a high-challenge commodity, and adding an assembly zone changes what is stored where.
Specifying an assembly storage zone properly
A complete brief for a quotation is short. If you can answer these, the design is straightforward and nobody has to guess.
| What to state | Example of a good answer | Why it is needed |
|---|---|---|
| Assembly size bands and counts | Peak 180 passenger sets, 40 SUV sets, 12 commercial assemblies. | Sets level pitch, count per level and the number of bays. |
| Measured assembly weight per band | Weighed: 58 lb passenger, 78 lb SUV, 265 lb commercial. | Sets level and frame ratings honestly. |
| Ownership split | Customer-owned seasonal sets versus resale stock. | Drives zoning, labelling and access control. |
| Handling method and heights | Hand-placed to 6 ft; anything above on a lift. | Sets clearance, pitch and the ergonomic limits. |
| Building constraints | Clear height, sprinkler layout, column grid, floor condition. | Sets achievable height and anchoring. |
| Growth expectation | Program expected to double in two seasons. | Decides whether to buy expandable bays now. |
Where this sits in the tire storage decision
Assembly storage is one branch of a larger decision. The tire storage rack overview covers the fundamentals that apply everywhere — on-tread orientation, off-floor storage, level pitch, fire considerations — and links out to each specialised case.
From here, three neighbours are worth reading: high-density tire storage racks if capacity is your constraint, mobile and rolling tire racks if the sets need to travel to the bay, and heavy-duty truck tire storage racks if commercial assemblies dominate your mix. All of them are built on the same pallet rack systems we design, supply and install, which is what keeps a storage room adaptable as the program grows.
Building a seasonal or assembly storage program?
Send your set counts, measured assembly weights and room dimensions. We will lay out the zone, size the levels honestly and tell you where the handling clearance has to win over density.
Get a free quote
Tell us what you are storing, the room size and your timeline. A project specialist will follow up with layout options and pricing. Prefer to talk? Call (800) 326-4403.
Tire and Wheel Assembly Storage FAQs
How is storing a mounted assembly different from storing a bare tire?
How much does a mounted tire and wheel assembly weigh?
Should mounted assemblies be stored upright, stacked or hung?
What surface should assemblies rest on?
Do the rims need protecting from the rack?
How should seasonal customer sets be labelled?
Are wheel sensors affected by storage?
What storage conditions do mounted assemblies need?
How many assemblies fit per level?
Can I store assemblies on the same racking as bare tires?
Store mounted assemblies without damaging them
Tell us your set counts, size bands and measured assembly weights and we will design the zone: level ratings, pitch, deck choice, labelling and layout. Call (800) 326-4403.