
Cantilever Rack Installation in Utah: Permits, Anchoring, Assembly and Inspection
What actually happens when cantilever rack goes in along the Wasatch Front: engineering and city permits, slab and anchor checks, the assembly order, bracing, first loading and the inspections that keep a row safe.
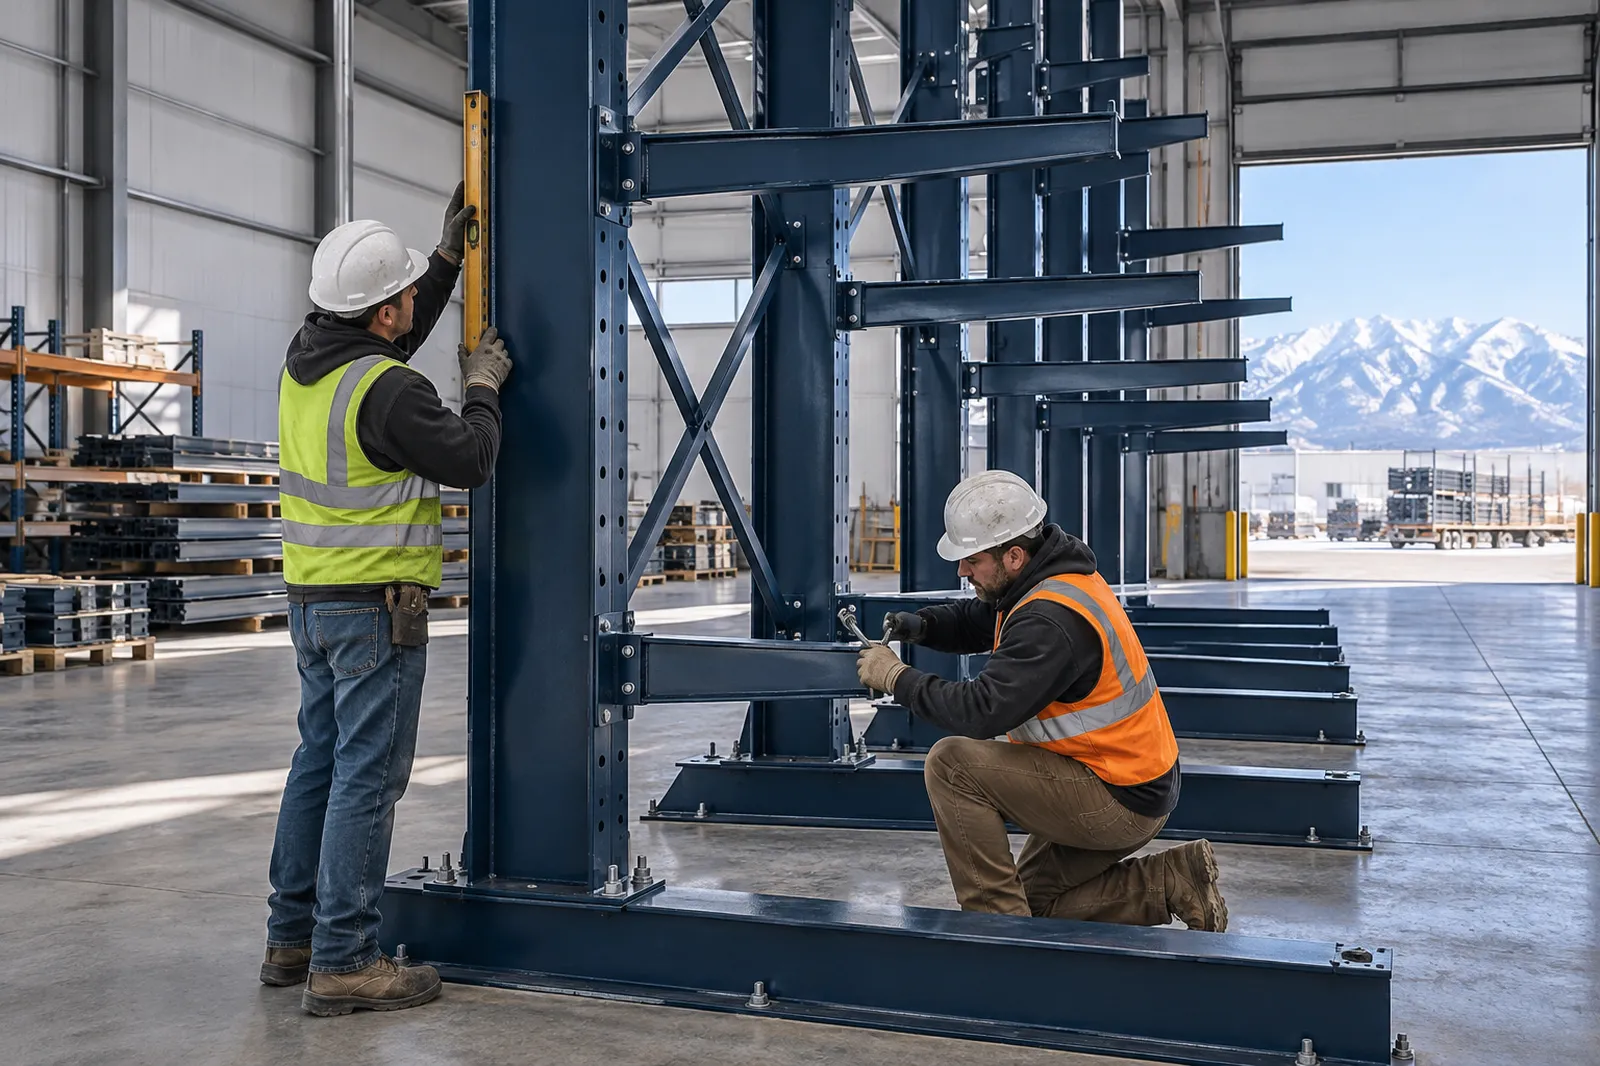
Permit first
Installers scheduled after approval
Braces + horizontals
Required to stand a row
Concrete only
No anchoring into asphalt
Annual minimum
RMI inspection interval
Shop Cantilever Rack by Category
Each bay needs uprights, one brace set and the arms your layout calls for; order the exact counts from your layout drawing. Each card opens a shop category. Prices are current online prices; freight is quoted by destination and some common sizes in stock at select manufacturers, subject to confirmation. For a full layout, longer arms or freight-rated orders, request a free quote or plan it in the Cantilever Rack Configurator.
What Cantilever Rack Installation Involves
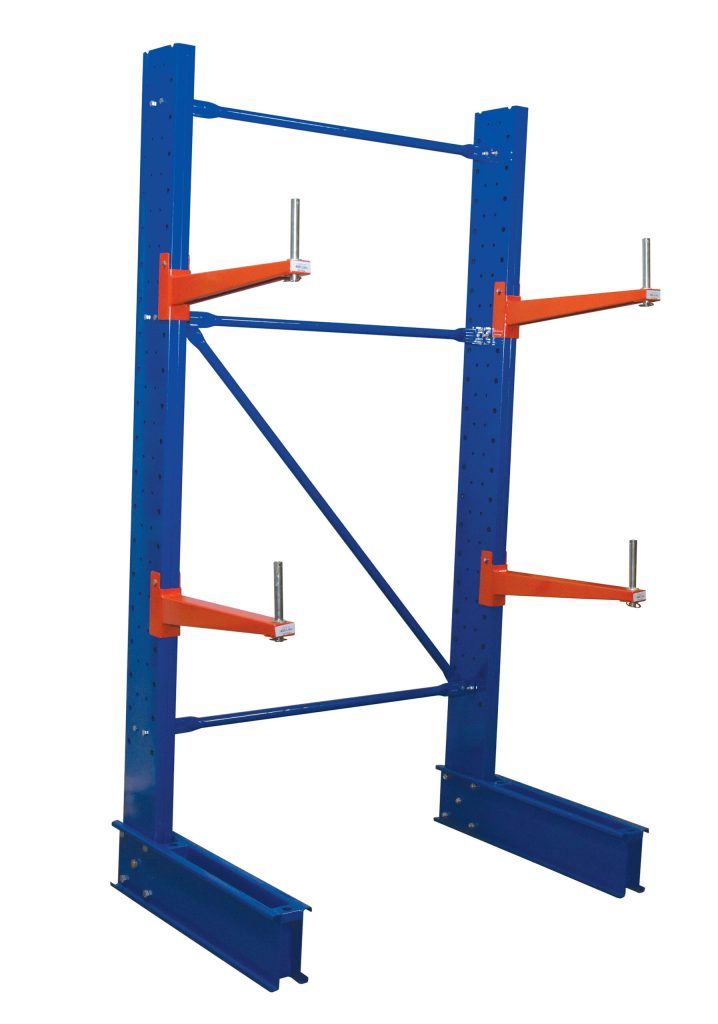
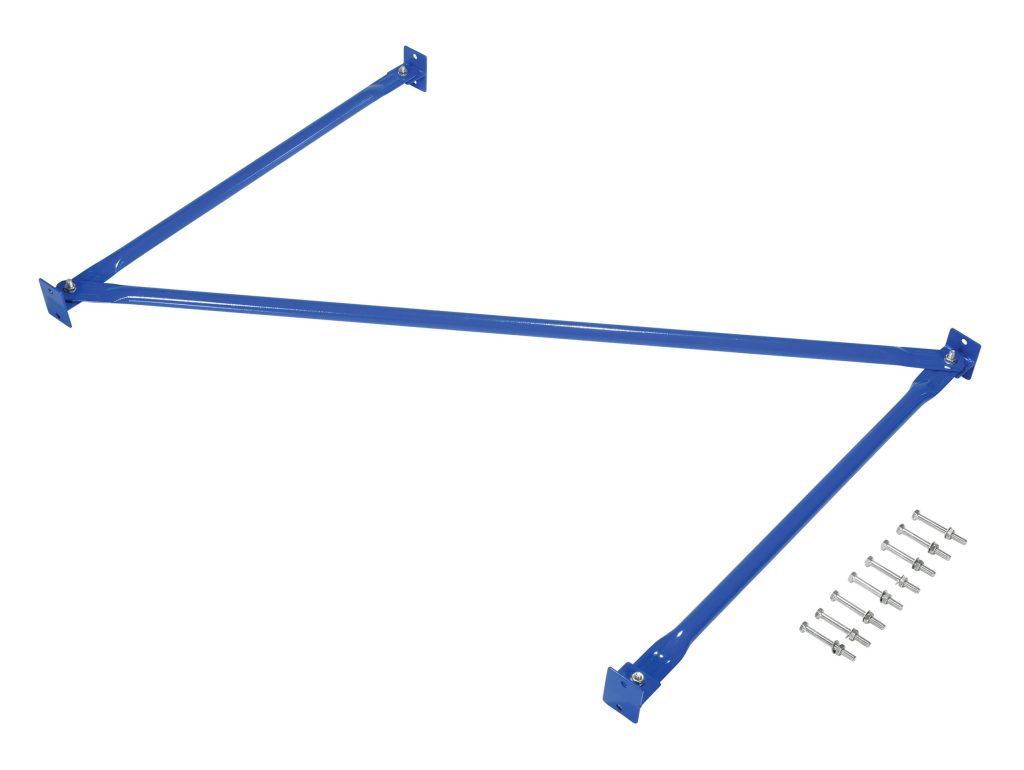
Cantilever rack looks simple: a row of columns standing on base legs, arms bolted to the columns, and bracing tying the columns together. That simplicity is exactly why installations go wrong. There is no front upright to hold anything in place, so every pound on an arm is carried back through the column, into the base and down into the floor. A column that is out of plumb, a base sitting on a soft spot, or a missing brace does not show up until the row is loaded.
This guide walks through a real installation in the order it happens, using what we see on projects across Salt Lake City, Ogden, Provo and the rest of the state. It covers the paperwork that comes before the truck, the floor under the rack, the assembly sequence, outdoor yards and the inspections after handover. If you are still choosing a system, start with our cantilever rack supply and installation page for Salt Lake City and Utah, or compare configurations on the main cantilever rack systems page.
Before the Truck Arrives: The Parts List Check
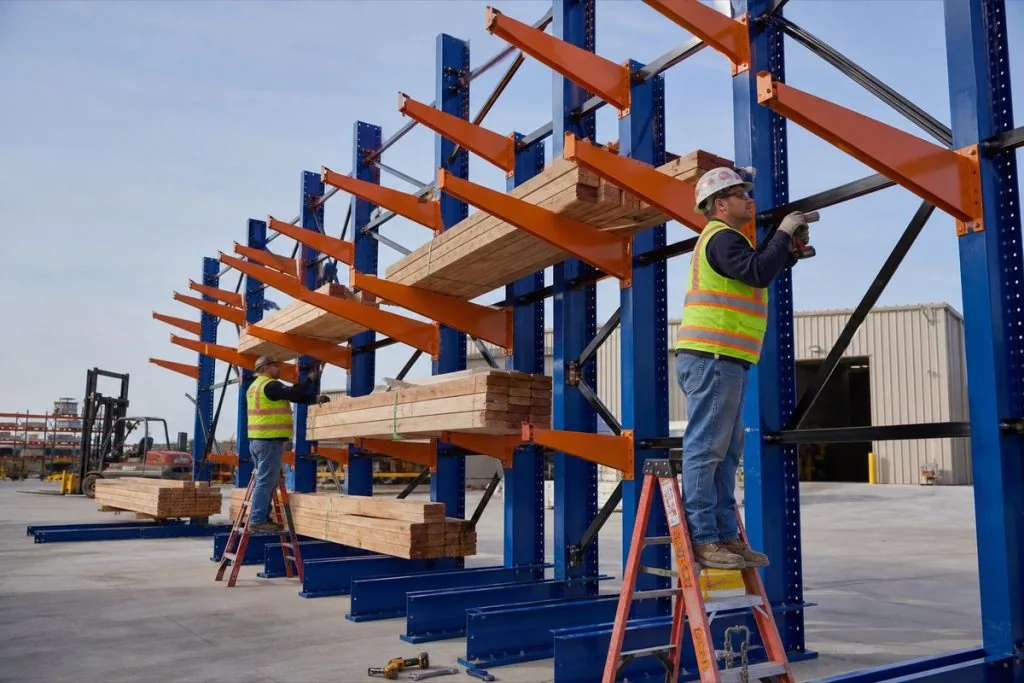
The most common delay on a cantilever install is not a hard problem. It is a missing part. Cantilever is sold as separate components, and the component list has to match the configuration exactly. Two lessons come up again and again on our jobs:
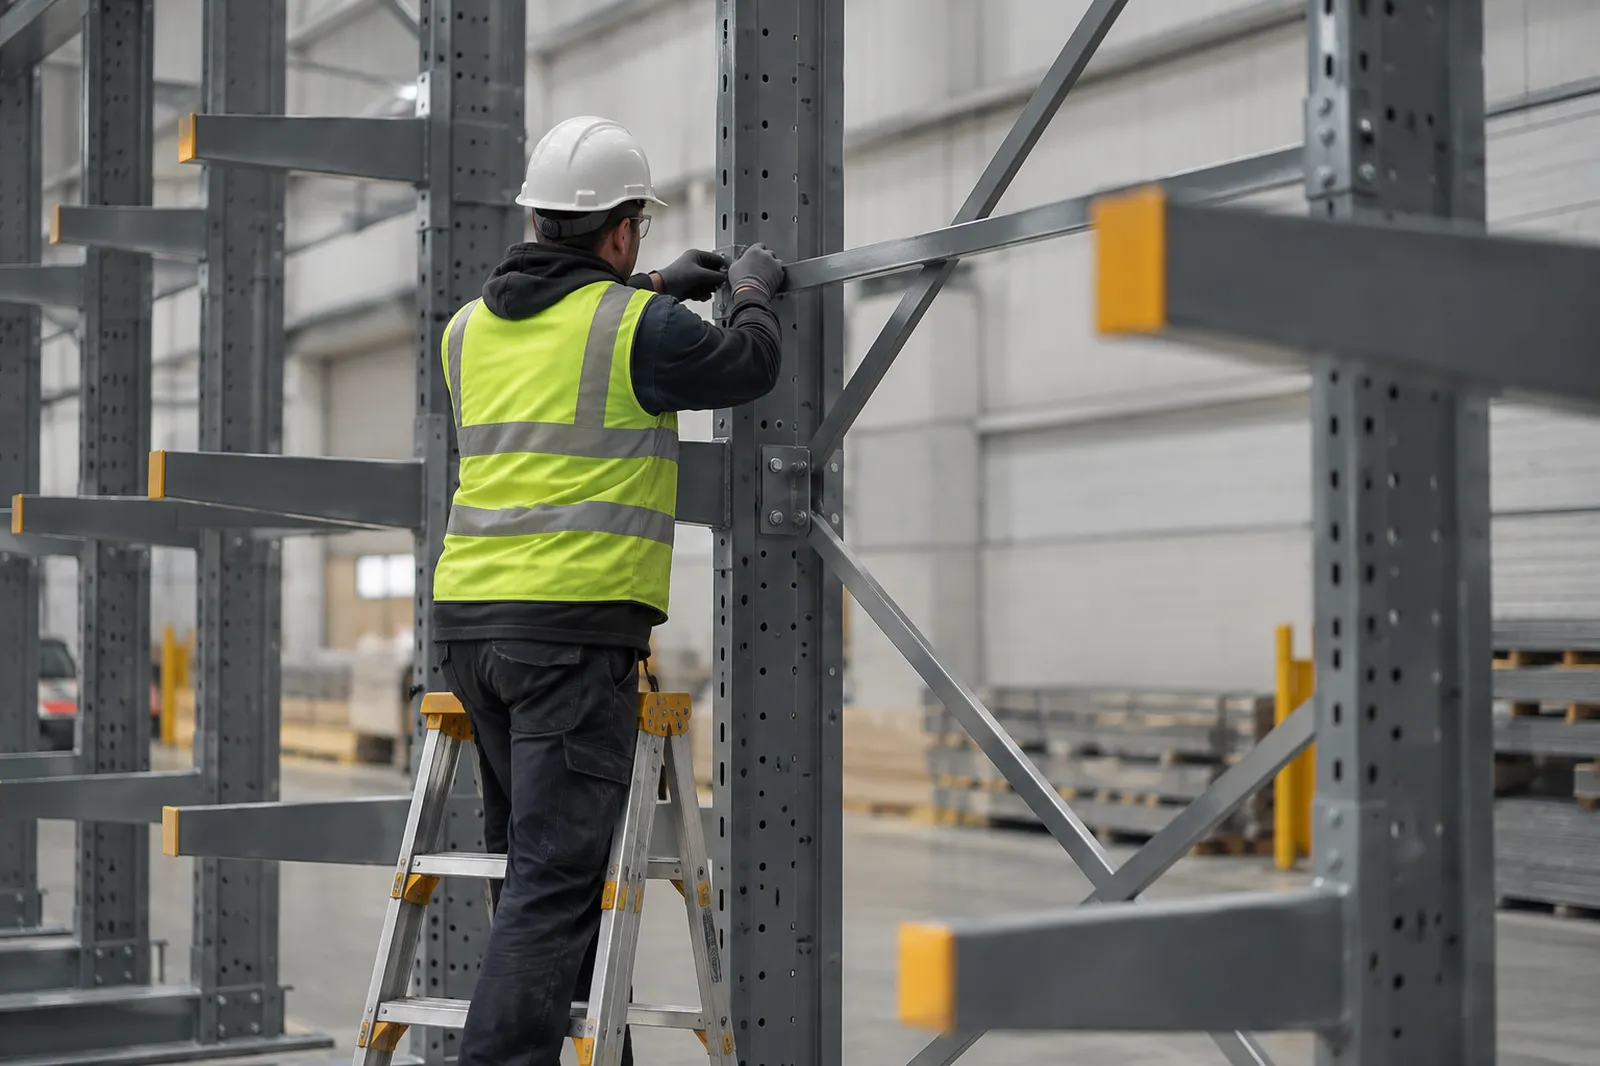
Bracing comes in two pieces. Manufacturers typically sell X-bracing and horizontal braces as separate line items, and they do not know how many horizontals your layout needs unless the order spells it out. A row cannot be stood up safely without both, so a short count on horizontals stops the crew on day one. Count one brace set per bay between columns, and confirm the horizontals per bay with your supplier.
Assembly hardware is not anchor hardware. A cantilever hardware kit usually includes the bolts that join bases, columns, arms and braces, but not the anchor bolts that tie the bases to the floor. Anchors are chosen for the actual slab or footing, so they are quoted separately. Make sure someone owns them before install day.
| Component | What to confirm before delivery |
|---|---|
| Columns | Height, quantity, single- or double-sided; matching the drawing |
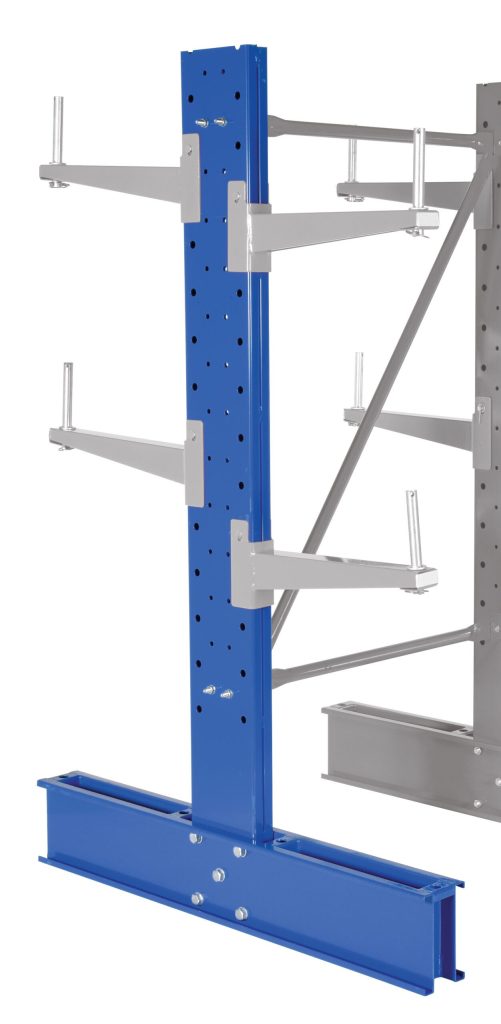
| Bases | One per column, length matched to arm length; double-sided bases for double-sided columns |
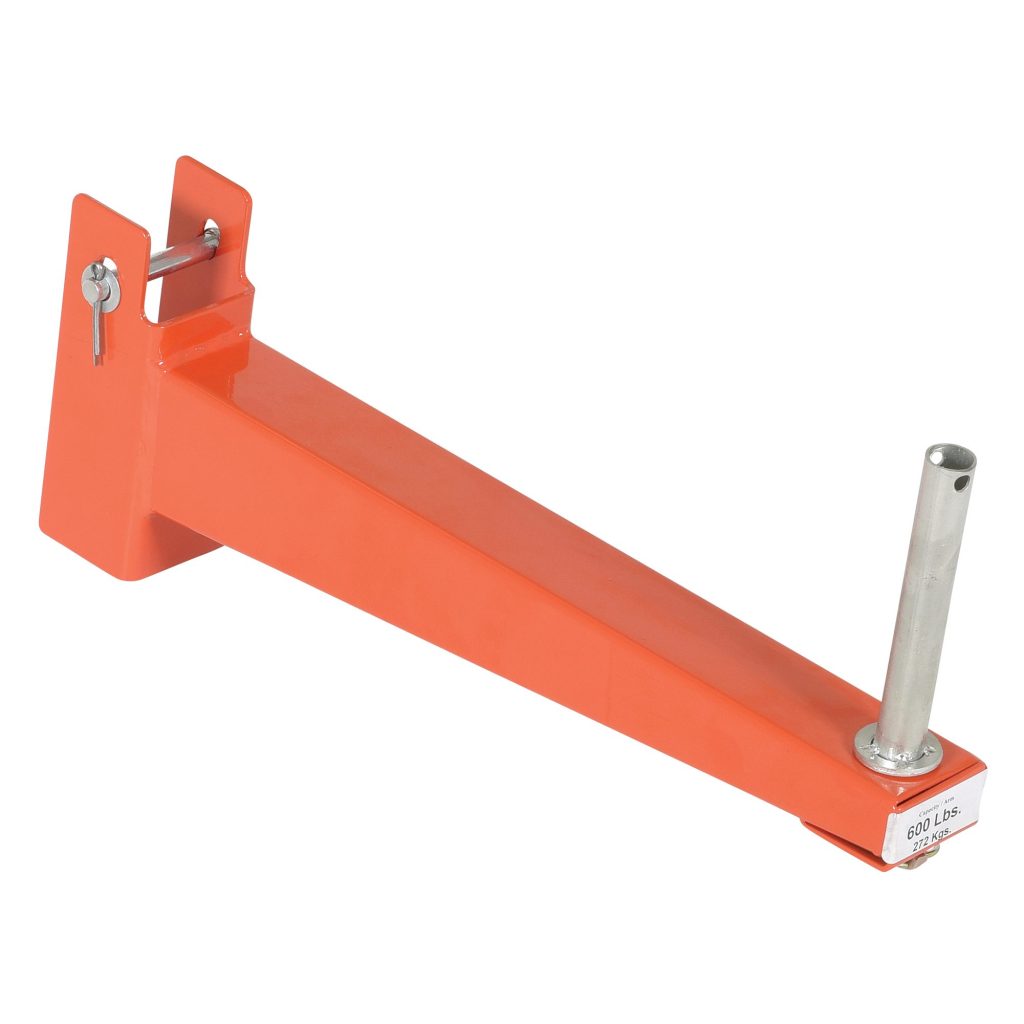
| Arms | Length, quantity per column, straight or inclined, rated capacity at that length |
| X-bracing | One set per bay, sized to the column spacing on the drawing |
| Horizontal braces | Quantity per bay confirmed with the supplier; ordered as a separate line |
| Assembly hardware | Bolts, nuts and locking pins for every connection |
| Anchors | Type and length suited to the slab or footing; quoted separately |
| Accessories | Pipe stops, end stops or decking if the load needs them |
Receiving tip
Have a forklift or enough labor ready, check the bundle count against the packing list, and note any damage on the delivery receipt before the driver leaves. Bent arms or columns should never be installed.
Planning to install used or relocated rack? Our used vs new cantilever rack comparison explains why fit-up time usually uses up the savings, and when reusing rack you already own can work.
Engineering, Permits and Seismic Design in Utah
Utah builds to a statewide construction code based on the International Building Code (IBC), with state amendments. The IBC’s steel chapter sends cantilevered steel storage racks to ANSI MH16.3, the Rack Manufacturers Institute specification for cantilever rack, and, where ASCE 7 requires it, to the seismic provisions for steel storage racks in ASCE 7 Section 15.5.3. In plain terms: a permanent cantilever installation is treated as an engineered structure.
Seismic design is not a formality here. The U.S. Geological Survey’s earthquake forecast for the Wasatch Front puts the probability of one or more magnitude 6.75 or larger earthquakes in the region at 43 percent over the next 50 years. The rack engineer accounts for that in column size, base length, bracing and, above all, anchorage.
On our Utah projects the sequence is consistent. A rack engineering firm prepares calculations and drawings for each distinct configuration in the layout, so a row with two different arm lengths or column heights may need two sets. The customer or contractor submits them to the city or county, and the installers are scheduled once the permit is issued. Afterward, the permit stays open until the building department completes a final inspection, so leave room for that visit on the schedule.
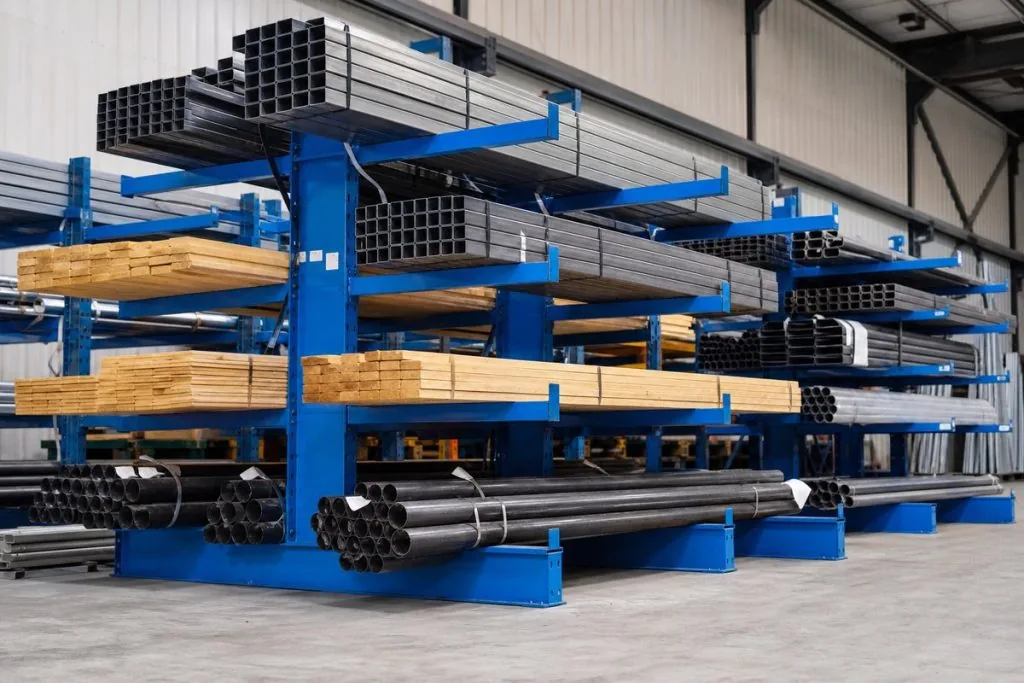
Layout and parts list
Configuration, column heights, arm lengths and loads are fixed on a drawing.
Rack engineering
Calculations and drawings for each configuration, including anchorage.
Permit submittal
The city or county reviews the package; requirements vary by jurisdiction.
Installation
Crews are scheduled after the permit is issued.
Final inspection
The building department inspects and closes the permit.
Moving an existing row counts too. When a customer relocated permitted rack to a neighboring building, our advice was to check with the city first, because the city may want new engineering or a separate permit for the new location. Our rack relocation, teardown and reinstall page covers that process in detail. Requirements differ between Salt Lake City, Ogden, Provo, St. George and county jurisdictions, so always confirm with the local building department before work starts.
The Floor: Slab, Anchors and What Not to Anchor Into
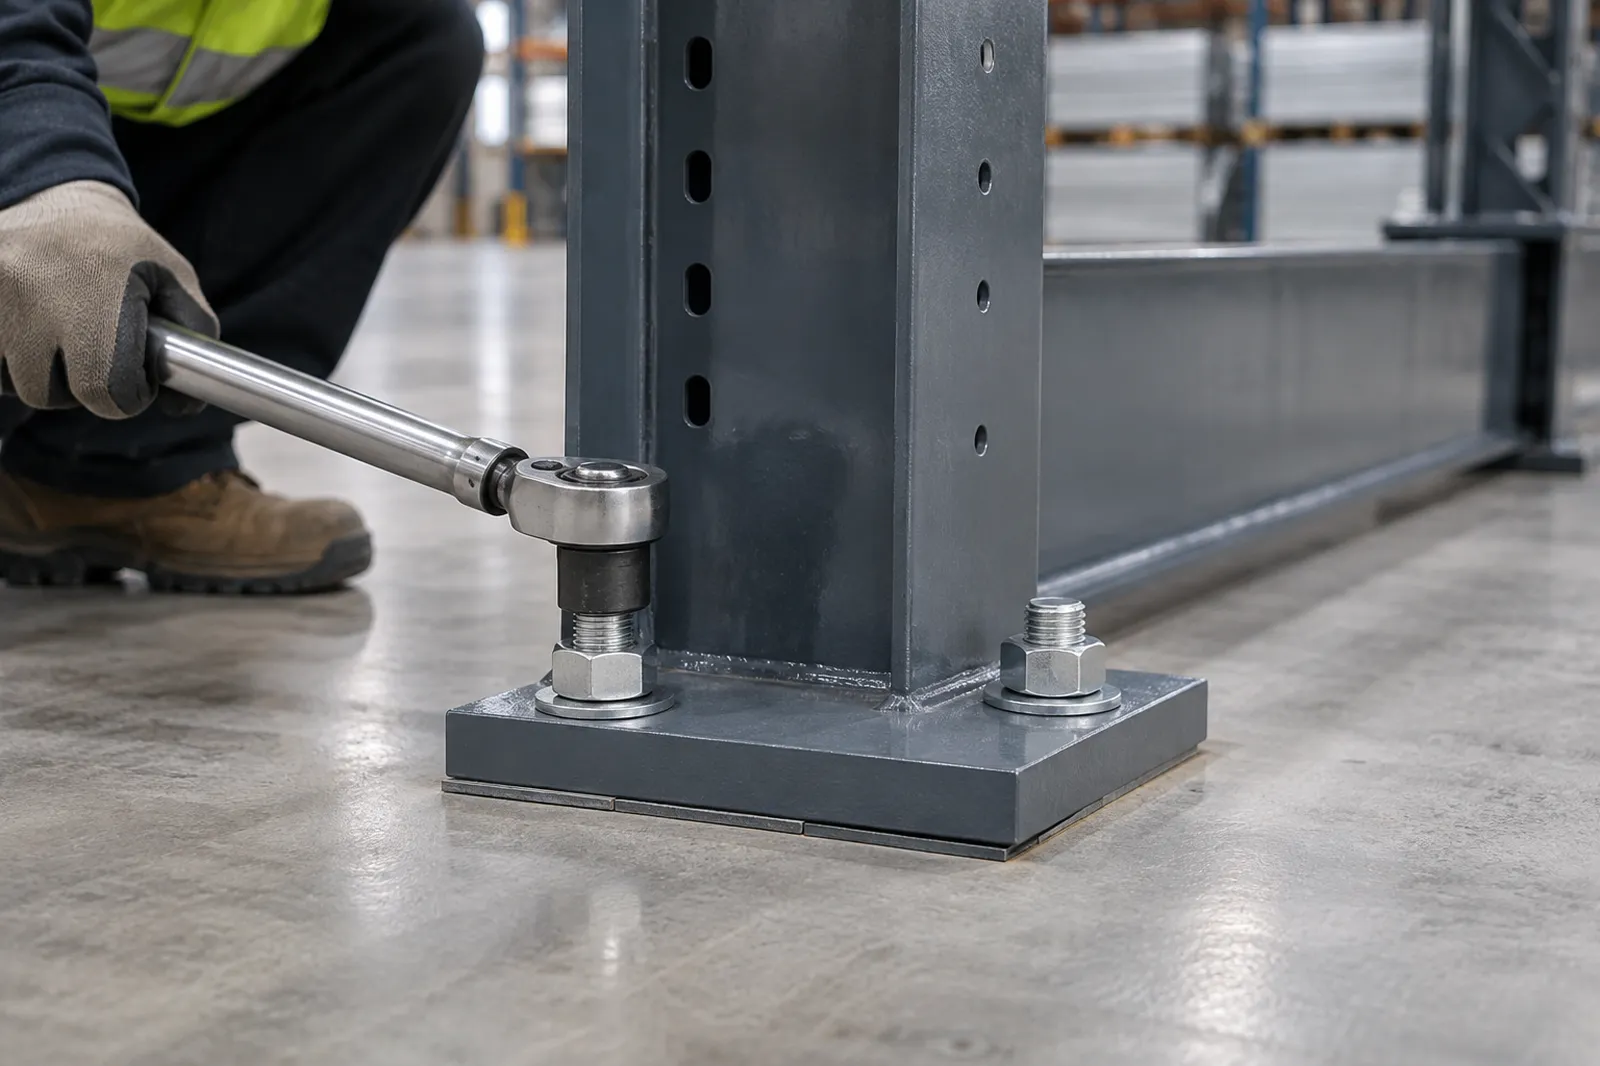
Every cantilever base is designed to be anchored. The anchors resist the overturning pull that a loaded arm creates, and in a seismic region they also hold the row against lateral shaking. That makes the floor part of the structure.
Indoors, the question is whether the slab can develop the anchor capacity the engineer specifies. Thickness, concrete strength, cracks, joints and edge distance all matter. If the slab is thin or unknown, the engineer may call for a different anchor or a thickened section under the bases. Where the slab is out of level, bases are shimmed with steel shims so the columns stand plumb, never by bending or forcing a column.
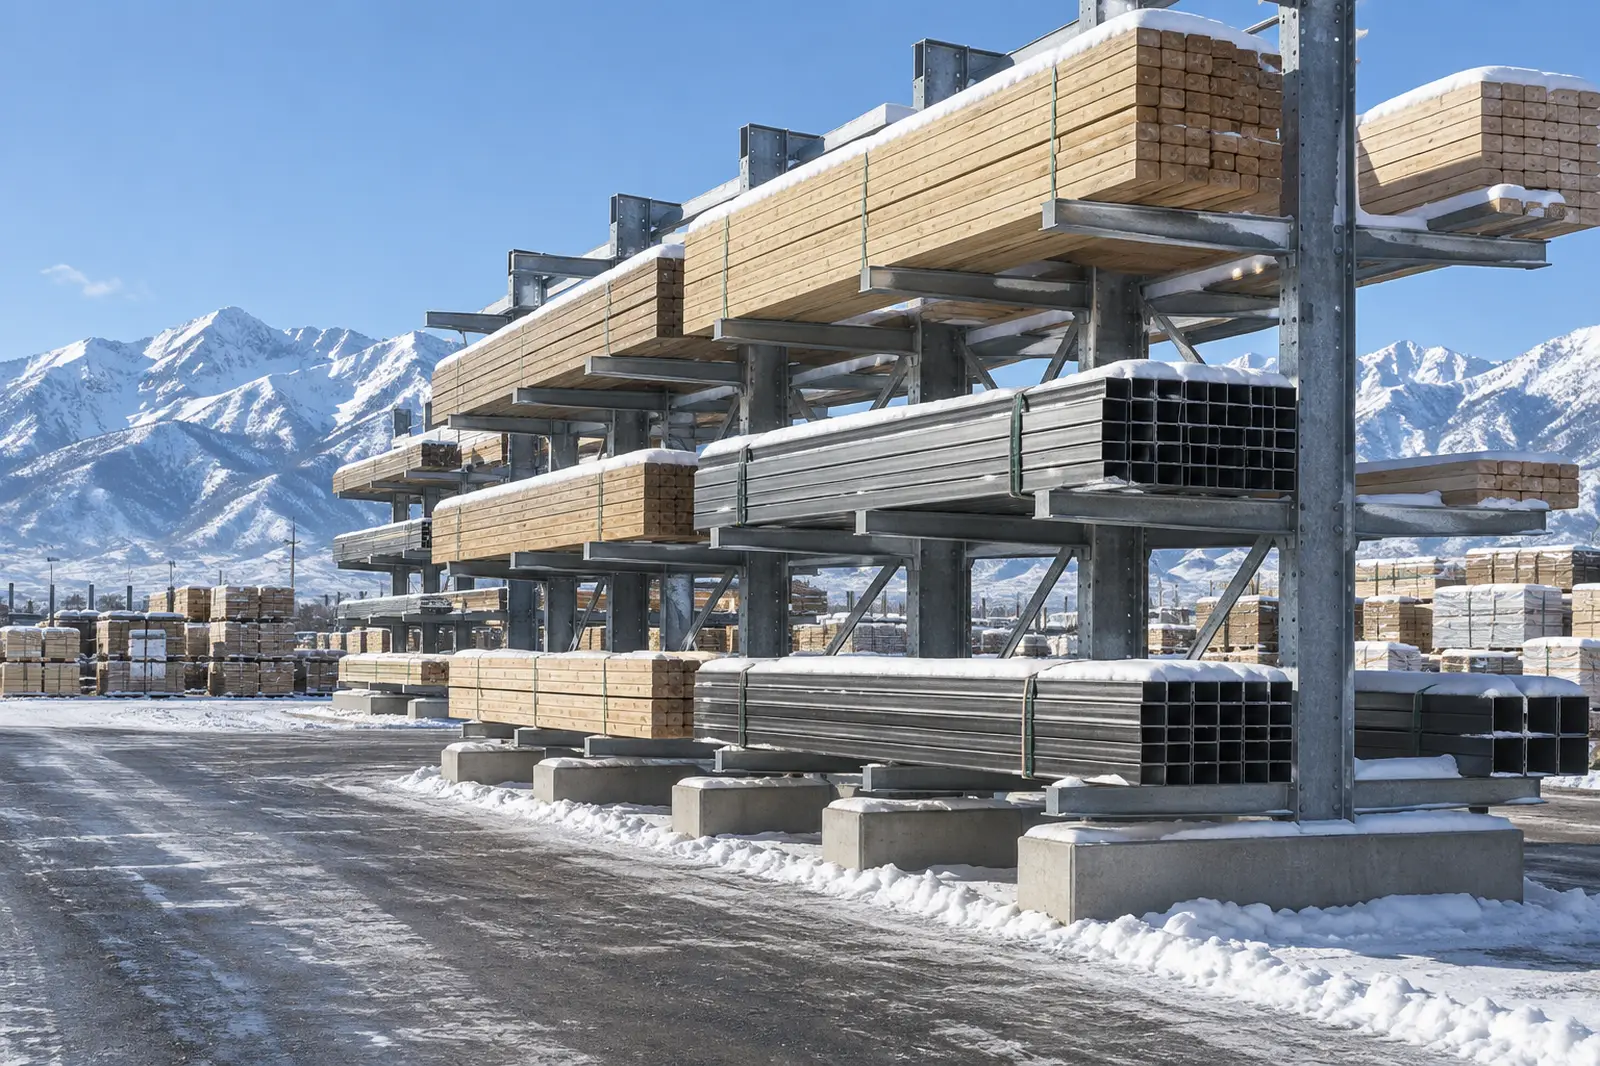
Outdoors, we do not recommend anchoring cantilever to asphalt. Asphalt is a flexible material that softens in warm weather, so it cannot hold an anchor reliably. Gravel cannot hold one at all. Yard rows need concrete: either a designed slab or footings under each base. The Big Yeti Builders yard project in Ogden shows how footing size was worked out from base length and column spacing.
| Surface | Suitable for anchoring? | What usually happens |
|---|---|---|
| Sound concrete slab | Yes, when it meets the engineer’s requirements | Anchors installed per the drawings, bases shimmed level |
| Thin or cracked slab | Only after review | Different anchors, relocated bases or a thickened section |
| Asphalt | No | Concrete footings or a slab are added under the bases |
| Gravel or compacted fill | No | Concrete footings designed for the soil and frost depth |
The Assembly Order, Step by Step
Always follow the manufacturer’s installation instructions and the stamped drawings for your specific system; they govern bolt sizes, torque and tolerances. The general sequence below is how a typical row goes up, and why the order matters.
Mark the layout
Snap lines for the row and mark each column location from the drawing, checking clearances to doors, sprinklers, dock traffic and walls.
Attach bases to columns
Bolt each base to its column on the floor, with the base pointing the way the arms will project (both ways on double-sided).
Stand the first two columns
Raise the first pair with suitable lifting equipment and hold them until they are tied together.
Brace the first bay
Install the X-bracing and horizontal braces between the pair. This creates the first stable frame.
Plumb, shim and anchor
Check each column for plumb in both directions, shim the bases as needed, then install the anchors.
Work down the row
Stand, brace, plumb and anchor one column at a time, never leaving a column freestanding.
Hang the arms
Install arms at the heights on the drawing, working from the bottom up, with every bolt or locking pin fully engaged.
Accessories and final check
Add pipe stops or end stops, re-check plumb and connections, and post the load capacity.

Structural versus roll-formed. Structural cantilever uses hot-rolled I-beam columns with bolted arm connections and is the usual choice for heavy steel, pipe and outdoor yards. Roll-formed (medium-duty) systems use lighter columns and arms that typically engage the column and lock with a pin or bolt. Both install in the same order, but roll-formed arms must be fully seated and locked, because an arm that is not engaged can be lifted out by a forklift tine. Our Merchants Metals project explains why that branch chose structural.
Single-sided versus double-sided. Single-sided rows usually run along a wall or fence line with bases pointing away from the aisle; double-sided rows stand freestanding with bases in both directions and need two working aisles. Double-sided columns can be armed on one face first and expanded later, as at Western Timber Frame.
Installing Cantilever in a Utah Yard
A large share of Utah cantilever lives outside: lumber and building-materials yards, fence and pipe suppliers, contractors and ag operations. Outdoor installation adds a few items to the checklist.
- Snow, wind and hail. The Rack Manufacturers Institute notes that designers of outdoor cantilever factor in extreme snow, wind and hail when sizing members. Snow that collects on stored bundles is weight on the arms, so tell the engineer where the rack will stand.
- Finish. Galvanized or outdoor-rated finishes resist rust through freeze-thaw cycles better than standard indoor paint.
- Footings and frost. Footings are poured, cured and level before the crew arrives, designed for local soils and frost depth.
- Traffic. Yard loaders and forklifts move fast; plan aisle widths and protect column ends and base legs at drive aisles.
Covered outdoor storage is also possible. ANSI MH16.3 covers cantilever racks with accessories such as shed roofs and canopies, but a roof adds its own snow and wind loads, so it must be part of the engineered design rather than added afterward.
Handover and First Loading
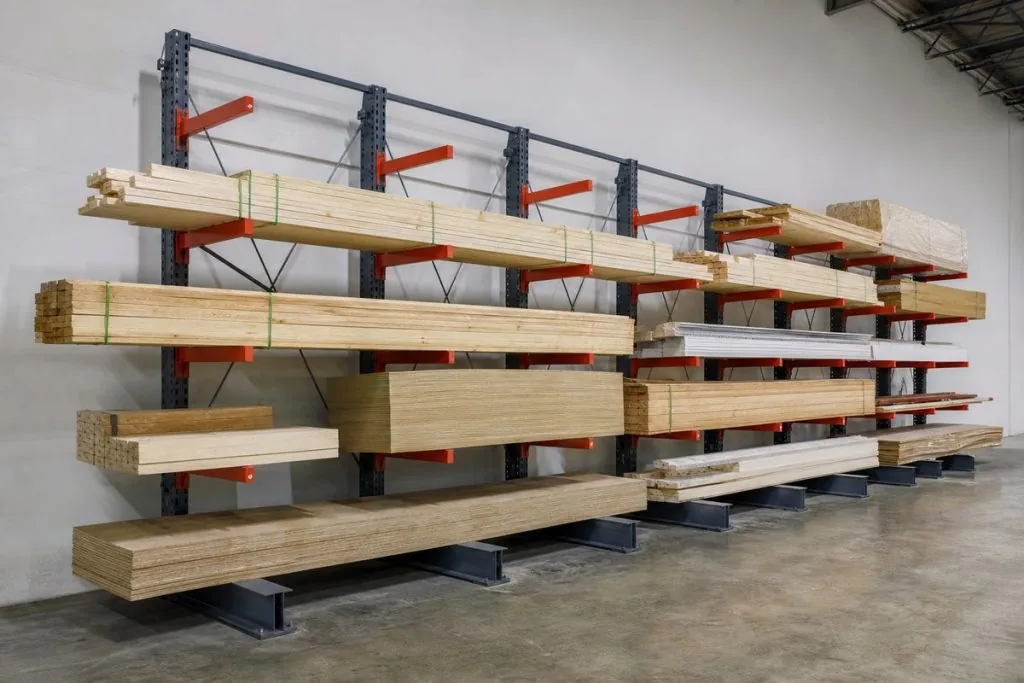
Installation is not finished until the row is loaded correctly. A few rules keep a new row within its design:
- Keep every arm under its rated capacity at its length, and make sure the column and base ratings cover all the loaded arms above them. Our guide to cantilever load capacity by arm length walks through the math.
- Rest long loads on enough arms that they do not sag or overhang excessively between them.
- Place loads gently. RMI’s guidance notes that ANSI MH16.3 designs arm connections for an added impact of 25 percent of the handled load, up or down, and rough placement can still dislodge an arm.
- Load double-sided rows reasonably evenly on both faces, and keep the heaviest material low.
- Watch the arm tips when traveling down the aisle; with no front upright, they are exposed.
Inspection After Installation
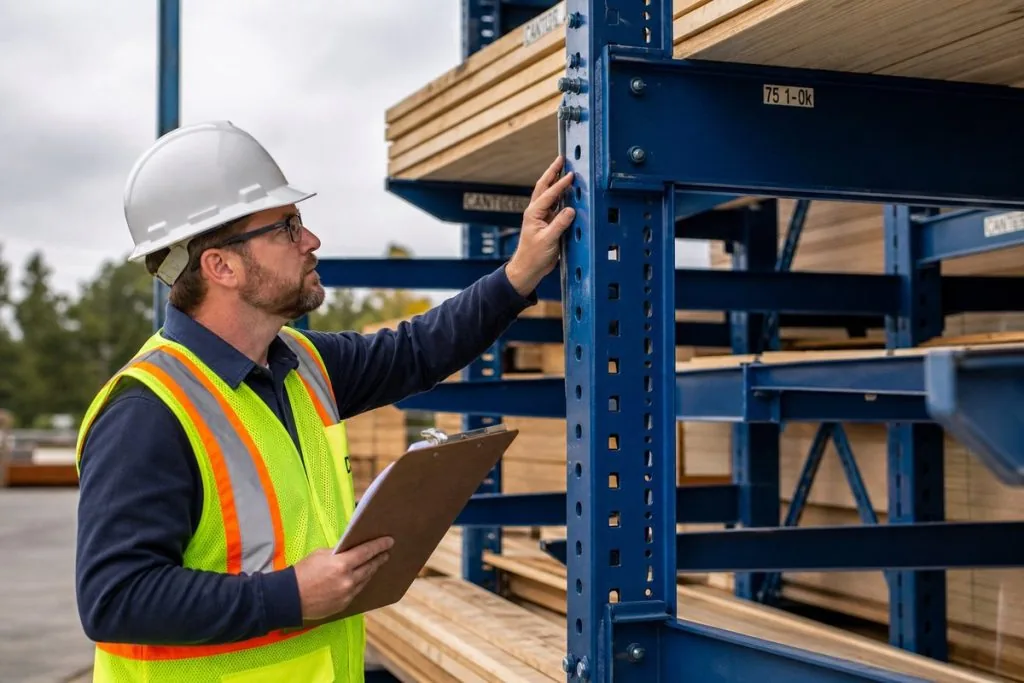
RMI’s best practices for cantilevered storage rack call for inspections at least annually, and more often for high-traffic or previously damaged rack. ANSI MH16.3 also recommends inspecting anchor bolts at installation and periodically afterward, because the anchors are part of the system that resists overturning. Federal rules add a general requirement: under OSHA 29 CFR 1910.176(b), stored material must be stable and secure against sliding or collapse.
- Columns plumb, with no dents, bends or twists
- Anchors present and tight; base plates flat on the floor or footing
- Every arm bolt or locking pin in place; no bent or tipped arms
- X-bracing and horizontal braces present, straight and bolted
- Load signs posted and loads within rated capacity
- Outdoor rows: rust, footing cracks and settlement after the first winter
If you find damage, isolate the rack, unload it when it is safe to do so, and keep it out of service until the damaged parts are repaired or replaced.
Customer Install or Full-Service Install?
Both work, and we do both. Some customers take material-only delivery and install with their own crews, like the OrePac building-materials yard in Boise and the Merchants Metals branch in Murray. Others want the whole job handled: engineering support, permit documents, delivery and a professional crew, as with the Ogden yard project above. For an indoor plant, see the 16-ft cantilever row we delivered and installed for Little Giant Ladder Systems in Springville. If your team installs, ask for the manufacturer’s instructions and the stamped drawings with the order, and plan the anchors and lifting equipment in advance. To sketch a layout before calling, try our cantilever rack configurator. For warehouse racking beyond cantilever, see Utah pallet rack and the full pallet rack range.
| Customer install | Full-service install | |
|---|---|---|
| Engineering and drawings | Provided with the order when required | Coordinated for you |
| Permit | Customer or contractor submits | We support the submittal package |
| Anchors | Customer sources to the drawings | Included in the install scope |
| Crew and equipment | Customer | Professional installation crew |
| Best for | Small rows, experienced in-house teams | Large rows, yards, seismic-engineered jobs |
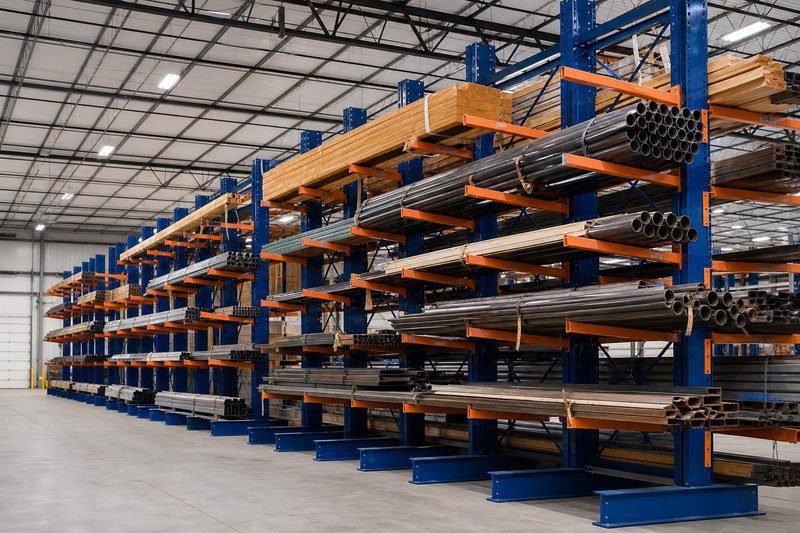 Cantilever Rack in Salt Lake CitySupply, delivery and installation along the Wasatch Front.
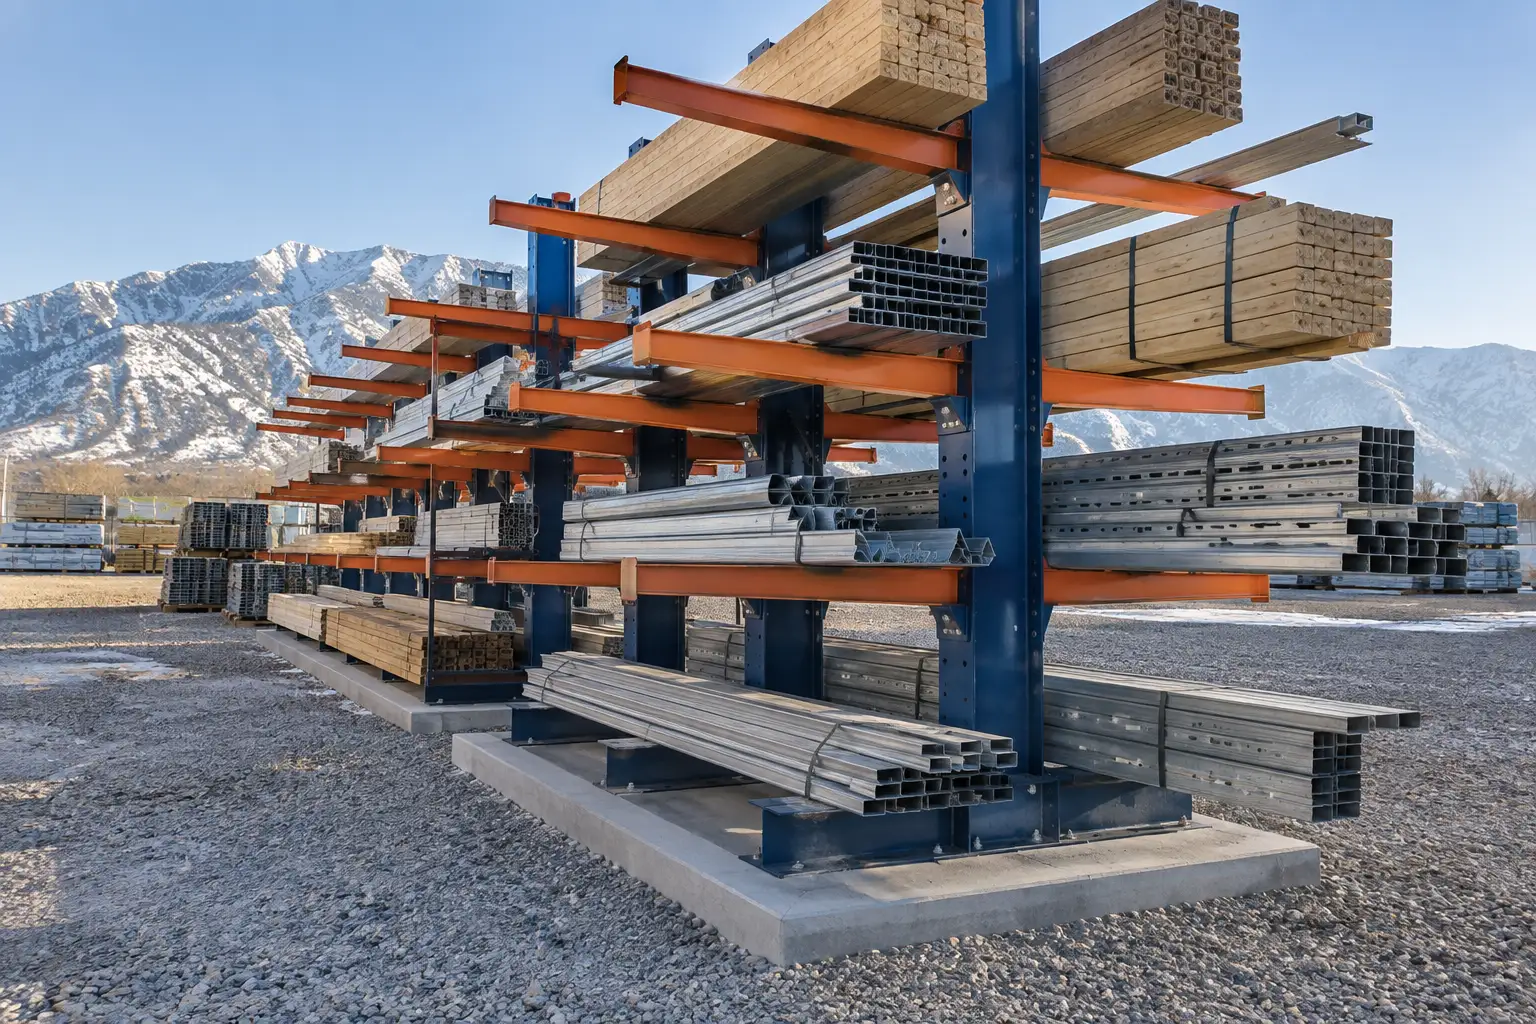 Outdoor Yard Case Study, OgdenFooting sizing and a double-sided yard row, installed.
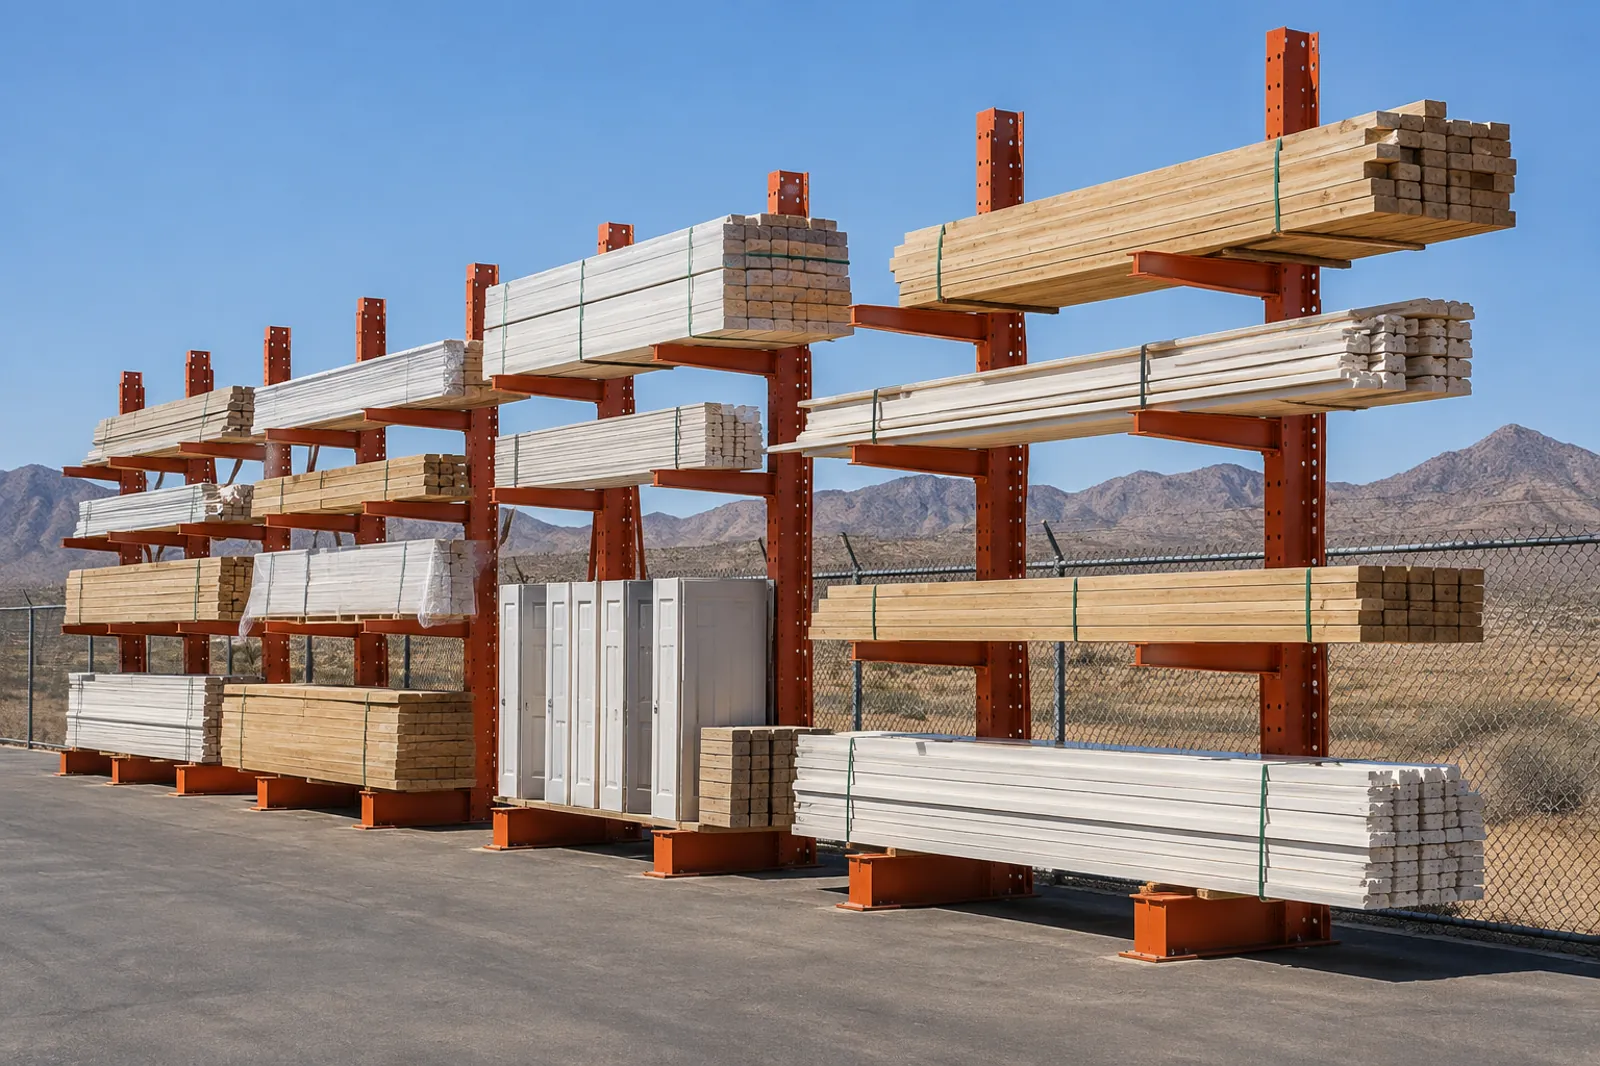 Customer-Installed Yard Row, BoiseMaterial-only supply and why asphalt was not an anchor surface.
Get a free quote
Tell us what you are storing, the room size and your timeline. A project specialist will follow up with layout options and pricing. Prefer to talk? Call (800) 326-4403.
Cantilever Rack Installation FAQs
Do I need a permit to install cantilever rack in Utah?
What comes with a cantilever rack order, and what does not?
Can cantilever rack be anchored to asphalt?
In what order is cantilever rack assembled?
How often should cantilever rack be inspected?
Can we install cantilever rack ourselves?
Does Material Handling USA install cantilever rack across Utah?
Planning a Cantilever Rack Installation in Utah?
Tell us what you store, where the rack will stand and what the floor is. We will size the system, coordinate engineering for the permit and quote supply and installation. Call 801-328-8788.