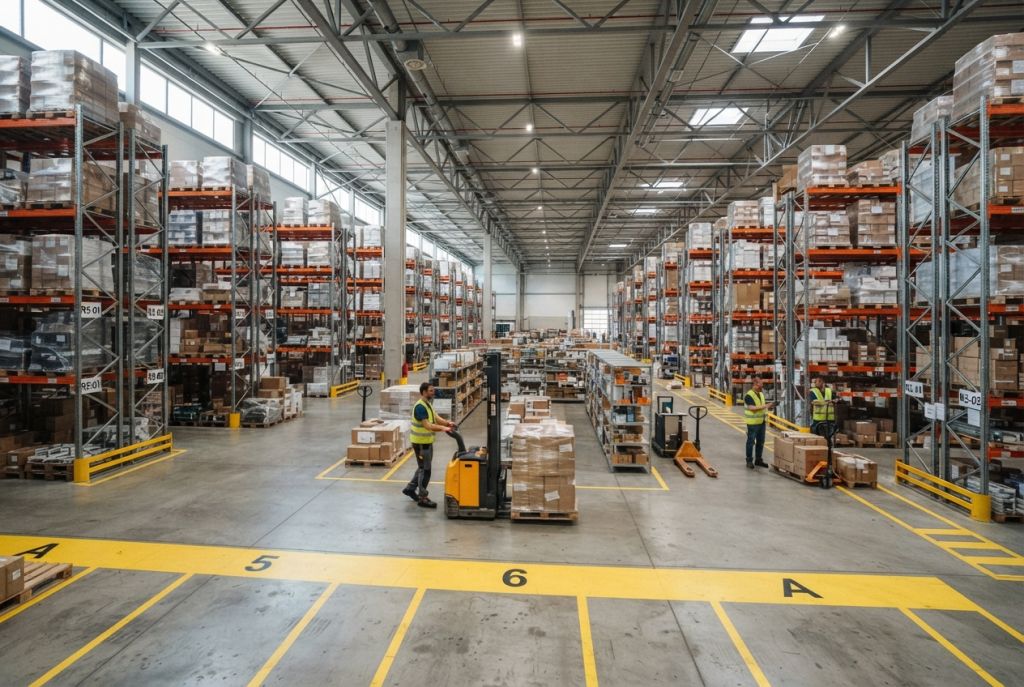
Most warehouse problems start on paper. A rack row blocks a dock door. An aisle is a foot too narrow for the reach truck. The sprinkler heads sit lower than the top beam. Each one is cheaper to fix in the plan than on the floor. That is why good warehouse planning comes before you buy a single upright.
This guide walks through warehouse planning and warehouse layout design one step at a time. You will see what data to gather, what your building allows, how to pick a flow pattern, how to plan zones and aisles, and which permits and codes to clear. It works for a new building, an expansion or a re-layout of the space you have now. If you would rather have a team do the drafting, our warehouse design services cover the full process.
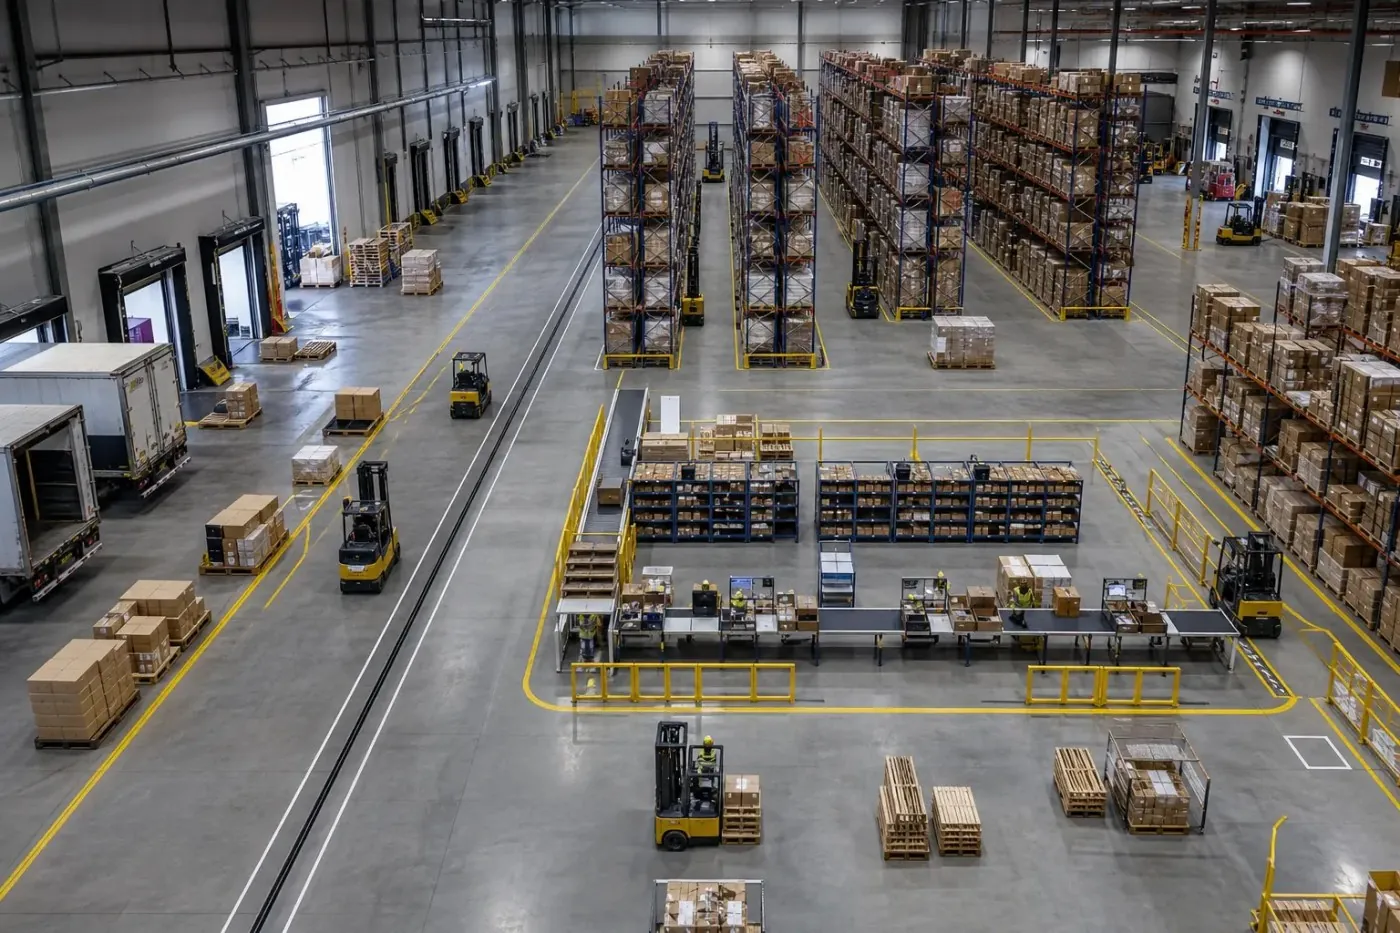
Warehouse planning in brief
- Gather inventory, order and equipment data before you draw anything.
- Measure the building: clear height, column grid, slab, sprinklers, doors and docks.
- Pick a U, L or I flow that matches where your docks are.
- Lay out five zones, then choose storage systems and aisle widths that fit your trucks.
- Check rack permits, seismic design and fire code early, then install in phases.
- Sketch rack runs in our free Rack Designer or send a drawing for a free floor plan review.
Shop Pallet Rack Components Online
Interlake Mecalux uprights, beams, wire decking and column protectors ship from our online store. For full systems, engineered layouts and installation, request a quote.
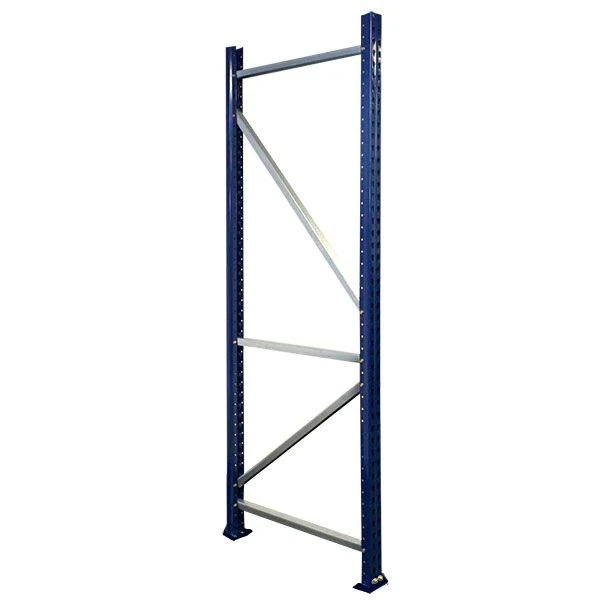
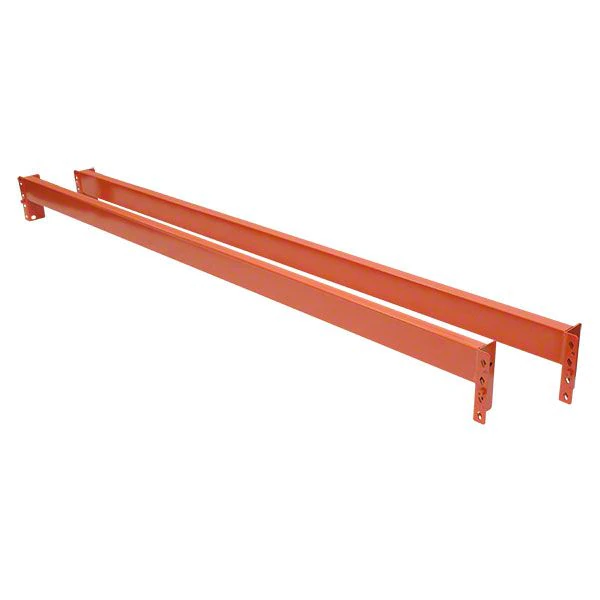
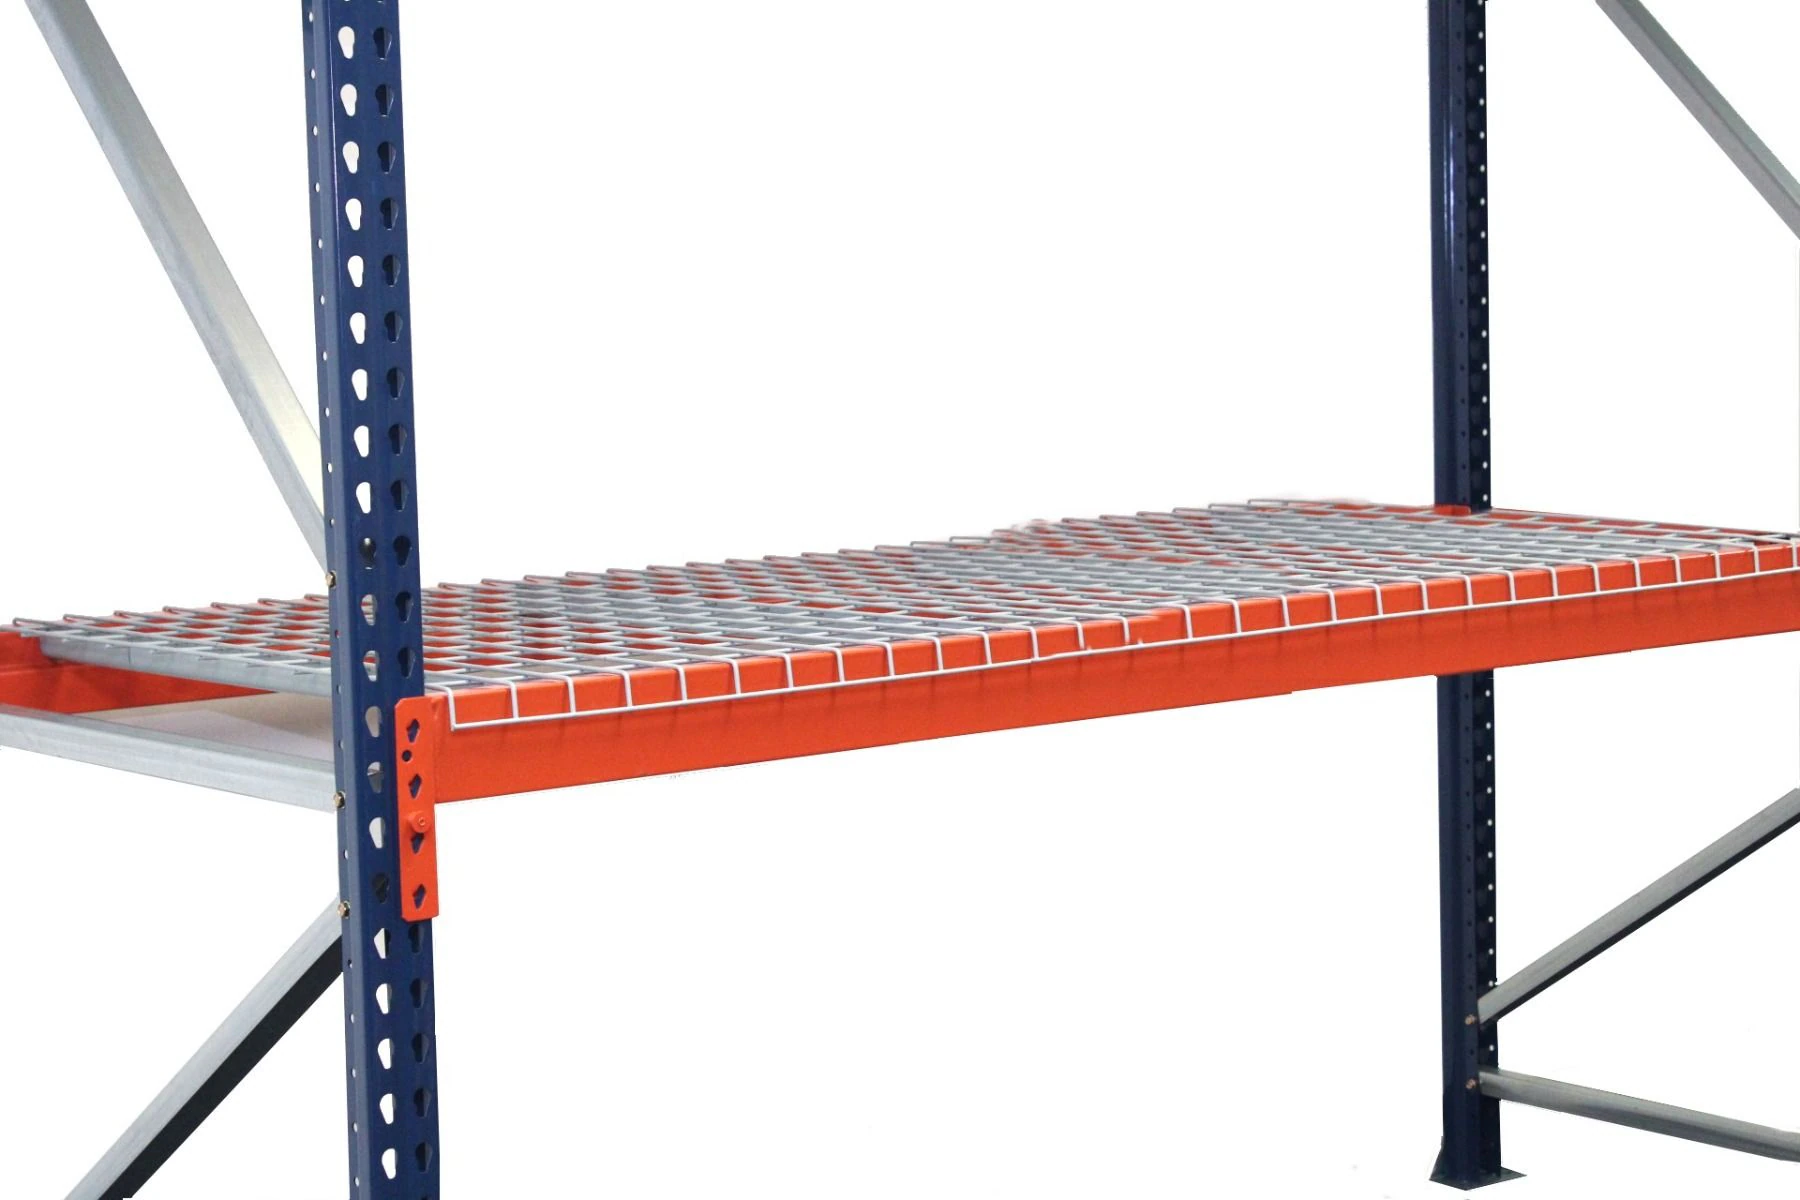

Browse all pallet rack parts in our shop or see our pallet rack guide.
Warehouse Planning Checklist
Use this checklist to keep a project on track. Each item links to a step later in the guide. If you cannot check a box yet, that is the next thing to work on.
- Inventory profile: SKU count, pallet and carton sizes, weights and special items (long, heavy, cold, hazardous or high value).
- Order profile: orders per day, lines per order, full pallet versus case versus each picking, and peak season volume.
- Velocity data: which items move fastest, ranked by picks, not by dollars.
- Equipment list: every lift truck, its lift height, its load capacity and the aisle width it needs.
- Growth plan: expected SKU and volume growth for the next three to five years.
- Building survey: clear height, column spacing, slab details, sprinkler type, doors, docks, lights, heaters and power.
- Flow pattern: U, L or I flow, chosen to match the docks.
- Zone plan: receiving, storage, picking, packing and shipping, support areas and any secure zones.
- Storage system choice: selective rack, high-density rack, cantilever, shelving or mezzanine for each zone.
- Aisle plan: working aisles, cross aisles, main traffic aisles and pedestrian walkways.
- Code review: rack permit, seismic design, fire and sprinkler review, and exit routes.
- Install plan: phases, dates, who moves what, and how you will measure results.

Why warehouse plans get redrawn
Plans usually get redrawn for a few common reasons. The rack was drawn before anyone measured the true clear height. The truck fleet changed and the aisles no longer work. The fire marshal asked for changes to sprinkler clearance or flue spaces. Or the plan only fit today’s inventory and the building filled up in a year. Every step below is aimed at one of these problems, so you draw the layout once and build it once.
Step 1: Gather the Data You Need Before You Draw Racks
A layout is only as good as the numbers behind it. Before you place a rack row on a drawing, collect the facts below. Most of it already lives in your warehouse management system, ERP, shipping software or purchasing records.
| Data to gather | Why it matters | Where to find it |
|---|---|---|
| Pallet and carton sizes | Sets beam length, frame depth and shelf spacing | Item master, receiving logs, a tape measure |
| Load weights | Sets beam and frame capacity and slab loads | Supplier spec sheets, shipping weights |
| Load height | Sets beam levels and how many levels fit under the sprinklers | Measure your tallest common loads |
| SKU count and growth | Sets how many pick faces and pallet positions you need | WMS or ERP reports, sales forecast |
| Order profile | Tells you pallet, case or each picking, which drives the storage type | Order history by line and unit of measure |
| Velocity by SKU | Decides which items go closest to shipping | Pick counts per SKU over 6 to 12 months |
| Lift truck fleet | Sets aisle width and the highest usable beam level | Truck data plates and spec sheets |
| Peak season volume | Sizes staging and dock space for your busiest weeks | Shipping history by week |
Profile your inventory
Group items by how they are stored and handled. Full pallets of one item go in pallet rack. Mixed cases and small parts go on shelving or carton flow. Long items like pipe, lumber and tube need cantilever rack. Items that need cold storage, a locked area or hazmat rules get their own zone. Note any odd shapes or overhanging pallets now, because they change beam length and frame depth.
Rank items by velocity
Velocity means how often an item gets picked. An ABC breakdown sorts SKUs into fast (A), medium (B) and slow (C) movers by pick count. In many warehouses a small share of SKUs makes up most of the picks, but check your own data rather than assume a ratio. The A items earn the spots closest to packing and shipping. The C items can live higher, deeper or farther away.
List your equipment and plan for growth
Write down every lift truck with its lift height, capacity at that height, and the aisle it needs. Then ask what will change. New SKUs, a new sales channel or a taller truck can all change the right layout. Plan the building for where the business is heading, not just where it is today.
Step 2: Confirm What Your Building Allows
The building sets hard limits on any layout. Survey it before you draw, and confirm anything you are not sure about with the landlord, the building drawings or a site visit.

- Clear height: measure to the lowest thing overhead, not the roof deck. That can be a joist, a light fixture, a heater, ductwork or a sprinkler line. Your top load has to stay below it with the clearance the fire code requires.
- Column grid: note column spacing and size. Rack rows and aisles should line up with the columns so the columns land inside a flue space or rack row, not in the middle of a working aisle.
- Slab: rack frames put concentrated loads on the floor through small base plates. Find out the slab thickness and strength, and look for joints, cracks or trenches where base plates would land. If nobody knows, an engineer can core or test the slab.
- Sprinklers: find out the sprinkler system type and design. It affects how high you can store, whether you need in-rack sprinklers, and how much space you must keep below the heads.
- Doors and docks: count dock doors and grade doors, note which walls they sit on, and measure the space in front of them for staging and truck turns.
- Exits, power and lights: mark every exit door, electrical panel, battery charging area and light fixture. Rack rows should not block exits or panels, and aisles need lighting that reaches the lower levels.
These numbers often decide the storage system for you. A low clear height may point to shelving or a mezzanine. A tight column grid may favor a certain bay width. A thin slab may limit frame loads until it is checked.
Step 3: Choose a Flow Pattern: U, L or I
The flow pattern is the path product takes from the receiving dock to the shipping dock. Where your docks sit usually narrows the choice to one or two options.
| Flow pattern | Dock setup | Best for | Watch out for |
|---|---|---|---|
| U-shaped flow | Receiving and shipping on the same wall | Smaller buildings, shared dock doors, cross-docking | Congestion when inbound and outbound peak at the same time |
| L-shaped flow | Receiving and shipping on two adjacent walls | Corner dock layouts, keeping inbound and outbound apart | Dead corners and longer routes for some SKUs |
| I-shaped (through) flow | Receiving and shipping on opposite walls | High volume, steady one-way flow, long buildings | Needs docks on two walls; slow items can end up far from both |
In a U-shaped flow, product comes in, moves into storage and loops back to the same wall to ship. Fast movers sit near the docks, so travel is short. It is common in smaller buildings. In an I-shaped flow, product enters on one side and leaves on the other in a straight line. It handles high volume with less cross traffic. An L-shaped flow turns the corner and keeps inbound and outbound traffic apart, which helps when trailers and staging compete for space.
Step 4: Plan the Five Functional Zones
Every warehouse layout breaks into a handful of zones. Size each one from your Step 1 data, then place them along the flow you chose in Step 3.
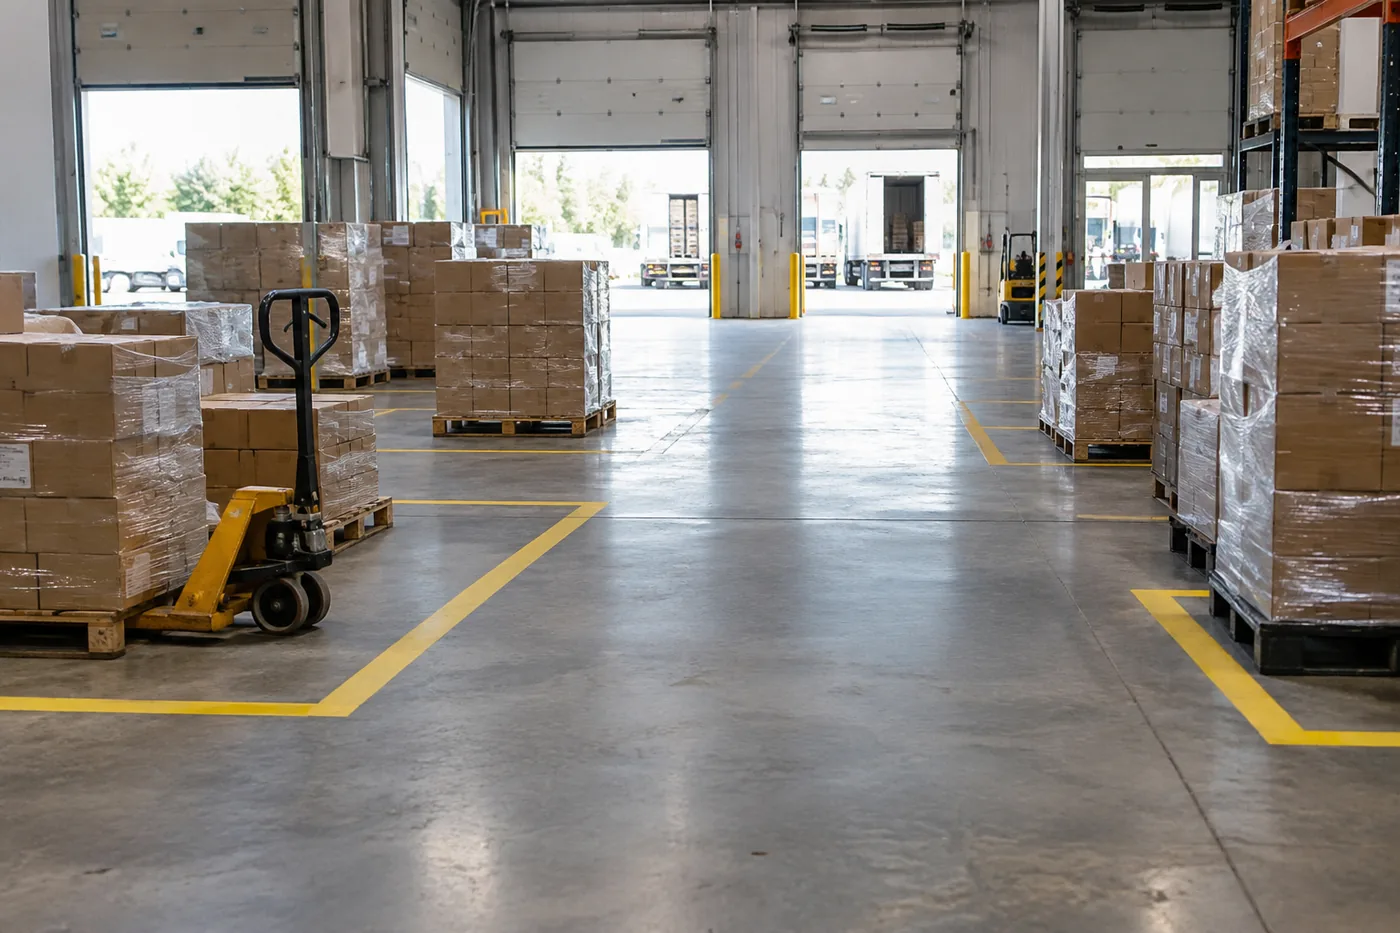
- Receiving: dock doors, a staging area to check and count loads, and a clear path to put-away. Size staging for your busiest inbound day, not an average one.
- Storage: usually the largest zone. Bulk pallets, reserve stock and overflow live here, mostly in pallet rack.
- Picking: forward pick faces for orders. Keep fast movers here, close to packing, and refill them from reserve storage.
- Packing and shipping: pack stations with supplies in reach, staging lanes by carrier or route, and outbound doors.
- Support areas: offices, break rooms, restrooms, battery charging and maintenance. A modular in-plant office adds an enclosed room without new construction.
For order-heavy operations, our picking and packing solutions show how pick zones and pack stations fit together.
Add secure zones for high-value or controlled stock
Some inventory needs a locked area: electronics, pharmaceuticals, returns waiting for inspection, tools or records. Wire mesh security cages create a lockable room inside the open warehouse while still letting air, light and sprinkler water through. Place them close to where the stock is received or shipped, and plan door widths for the carts or pallet jacks that will use them. You can price a cage in the security cage designer.

Step 5: Select Storage Systems That Fit Your Inventory
Pick storage systems zone by zone, based on what each zone holds and how it is picked. Most warehouses use more than one. Here is how the common options compare.
| Storage system | Best for | Trade-off |
|---|---|---|
| Selective pallet rack | Many SKUs, every pallet reachable, mixed velocity | Uses more floor space for aisles |
| Push-back rack | Several pallets of each SKU, last in first out | Less selectivity; each lane holds one SKU |
| Drive-in rack | Deep storage of a few SKUs with many pallets each | Slower access; trucks drive into the rack |
| Pallet flow rack | First in first out, dated or fast-moving stock | Higher cost per position; needs good pallets |
| Carton flow rack | Fast case picking in forward pick zones | Built for cases, not full pallets |
| Cantilever rack | Pipe, lumber, tube, sheet and other long loads | Not suited to standard pallets |
| Industrial shelving | Small parts, hand-picked cartons and bins | Lower capacity per level than pallet rack |
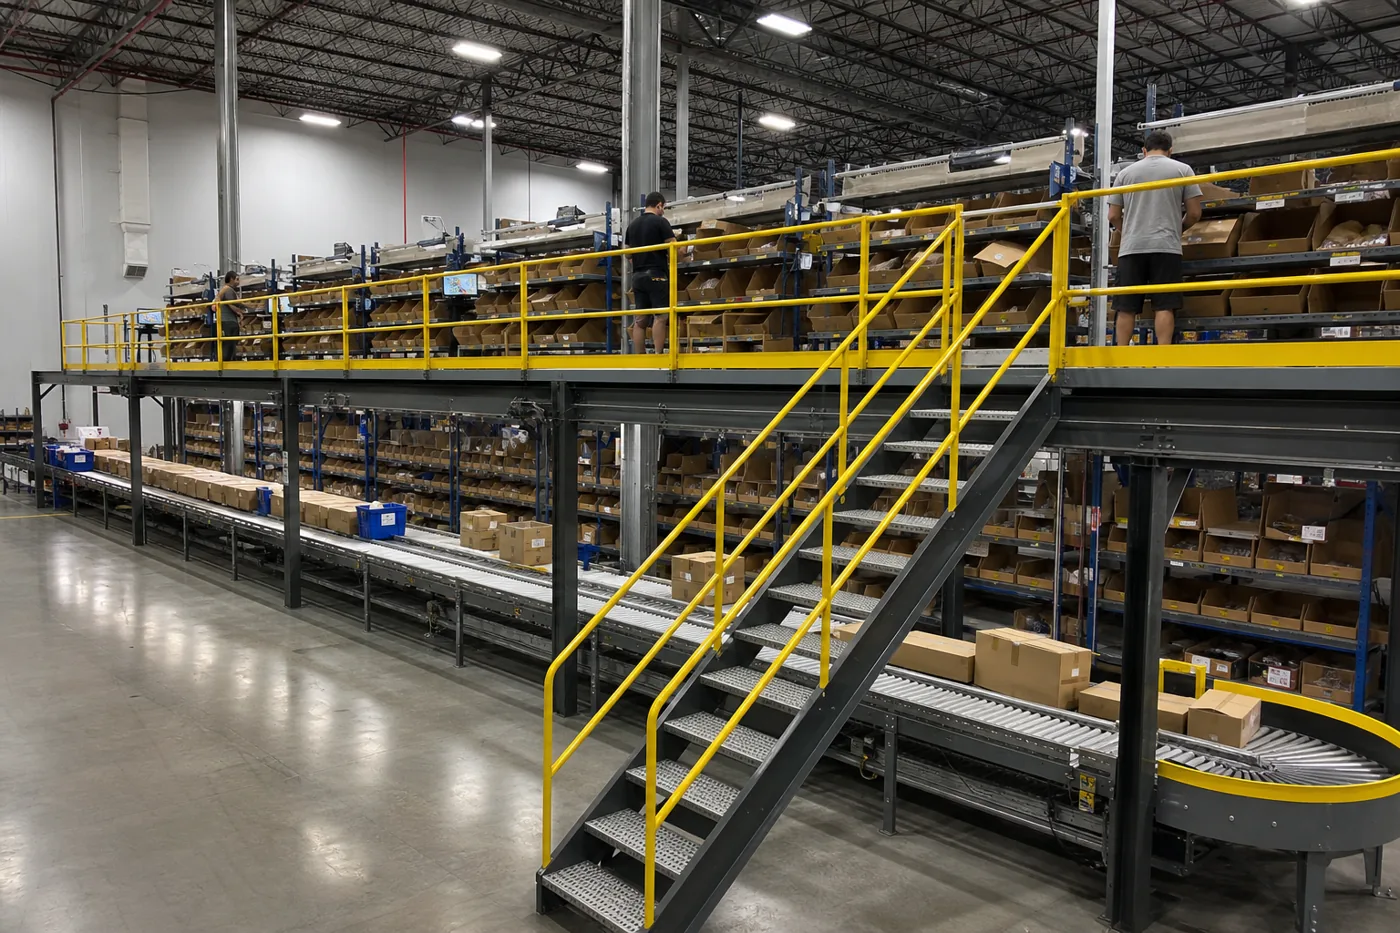
| Mezzanine | Adding floor area above picking, packing or storage | Needs permits, stairs, guardrail and load checks |
Selective pallet rack is the starting point for most layouts because every pallet is reachable. High-density systems like push-back and drive-in trade some of that access for more pallets per square foot. The right mix depends on how many pallets you hold per SKU and how you pick them.
Use your vertical space
Many buildings have more storage room above the floor than on it. If clear height allows, taller frames or added beam levels can add positions without a bigger footprint. A mezzanine adds a second floor for picking, packing or small-parts storage. Check the truck’s lift height, the sprinkler clearance and the slab before you go higher. Our mezzanine feasibility screener is a quick first check.

Slot products by velocity
Slotting is deciding which item goes in which location. A few simple rules go a long way:
- Fast movers close in: put A items nearest the pack and ship area and on the easiest levels to reach.
- Golden zone: for hand picking, the space between waist and shoulder height is the easiest to reach. Put the fastest items there.
- Heavy low, light high: heavy items go on lower levels to reduce lifting and strain.
- Group items sold together: items that often ship on the same order can sit near each other to cut travel.
- Re-slot on a schedule: velocity changes with seasons and new products, so review slotting a few times a year.
Reusing rack you already own
Many projects ask whether to reuse old rack or buy used. Be careful here. Used savings are often used up by installation, because parts that have been taken apart rarely fit well again, and the installer time to straighten and fit them can cost more than new. Reusing rack you already own can work, but new is sometimes still cheaper once you count the fix-up time. Mixed brands and damaged frames also complicate permits. A quick call to our sales team at (800) 326-4403 with pictures of what you have helps you decide.
Need a second set of eyes on your plan?
Send us your floor plan and inventory list for a free floor plan review, try the Rack Designer, or call (800) 326-4403. You can also request a quote online.
Step 6: Size Aisles for Your Equipment
Aisle width is one of the biggest choices in a layout. Narrow aisles fit more rack, but they need trucks built for them. Wide aisles are easier to work in but give up storage. Start with the truck you have or plan to buy.
| Truck type | Relative aisle width | What to confirm |
|---|---|---|
| Counterbalance forklift | Widest | Right-angle stack figure for your pallet size, plus clearance |
| Reach truck | Medium | Reach and lift height at the top beam level |
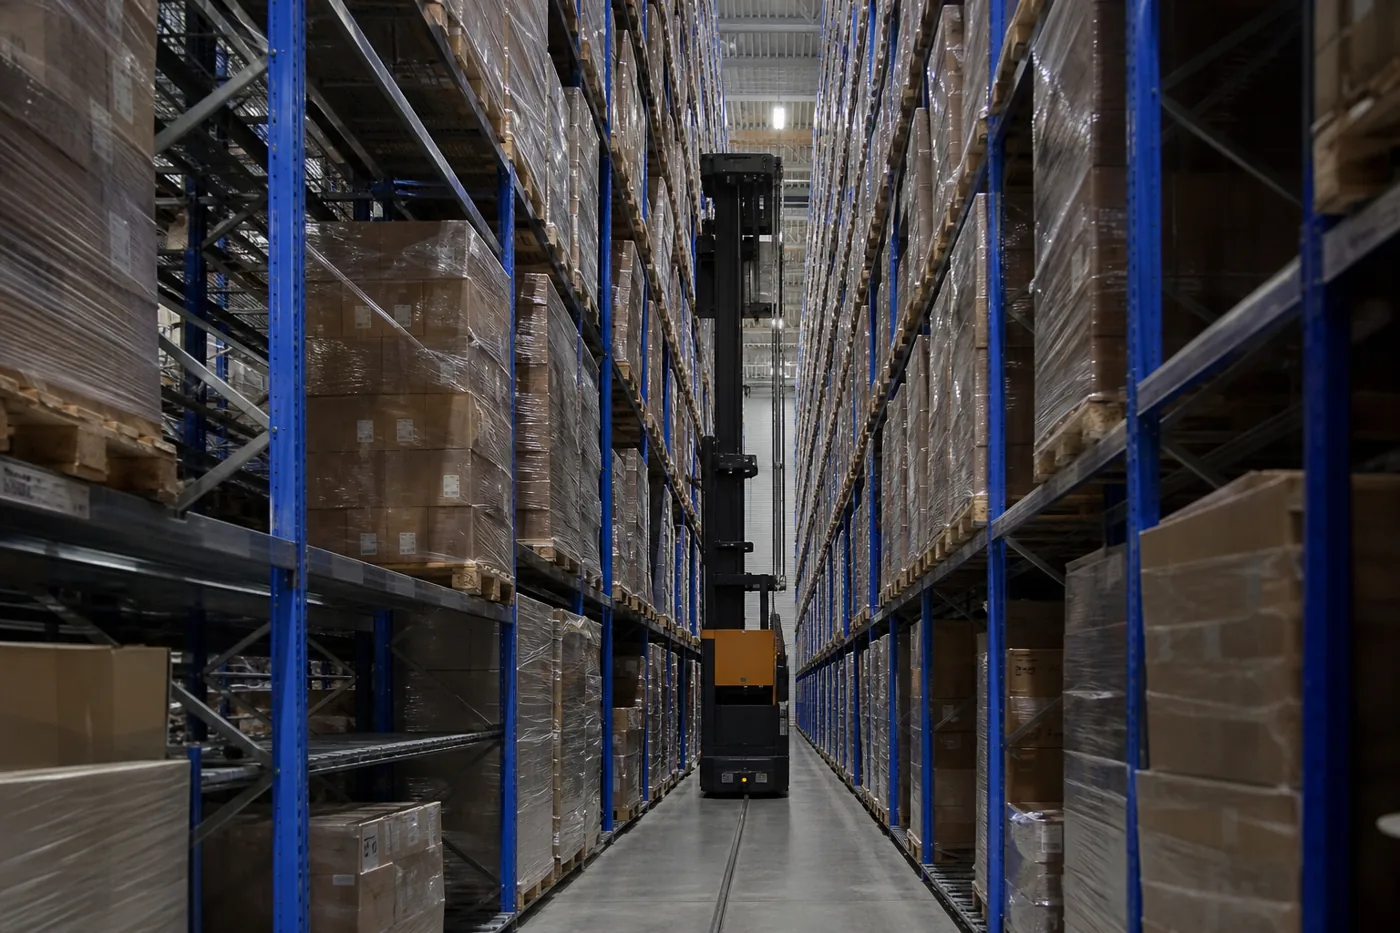
| Turret or very narrow aisle truck | Narrowest | Wire or rail guidance, floor flatness and rack tolerances |
| Walk-behind stacker or pallet jack | Varies | Turning space at aisle ends and load length |
| Hand picking, no truck | Narrowest walk aisles | Room for carts and two-way foot traffic where needed |
The number to use is the truck’s right-angle stacking aisle from its spec sheet, adjusted for your pallet size and the clearance you want. Our forklift aisle width guide shows how to size each aisle type step by step. If you are weighing a fleet change, see narrow aisle pallet rack to learn what very narrow aisle storage asks of the building and the trucks.
Plan the other aisles too. Cross aisles let trucks move between rows without driving the full length. Main traffic aisles need room for two-way traffic near the docks. Pedestrian walkways should be marked and kept apart from truck routes where you can. Under OSHA’s materials handling rule, 29 CFR 1910.176, aisles used by mechanical handling equipment need safe clearance and permanent aisles must be marked.

Step 7: Plan for Permits, Seismic Design and Fire Code
Code review is where many plans get sent back. Bring it in early, while the layout can still change easily.
- Building permits: many jurisdictions require a permit for storage rack over a set height, with layout drawings and engineering calculations. The height and paperwork vary, so ask your local building department. Our pallet rack permits and engineering page explains what is usually needed.
- Seismic design: in seismic areas, rack has to be designed for earthquake loads, with anchors and base plates sized to match. Steel storage rack is designed to the ANSI MH16.1 specification from the Rack Manufacturers Institute. See pallet rack seismic compliance for how this affects frame and anchor choices.
- Fire and sprinkler review: sprinkler rules for rack storage come from NFPA 13, and high-piled storage rules come from the fire code your area adopts. They set the clearance below sprinkler heads, flue spaces between loads, and when in-rack sprinklers are needed. Your fire marshal has the final word.
- Exits and access: rack cannot block exit routes, exit doors, fire department access, electrical panels or fire equipment.

Permits take time. Build the review into your schedule before you set an install date, and keep the stamped drawings on site for inspection.
Step 8: Build in Safety and Traffic Control
Safety belongs in the drawing, not added after go-live. Plan these items into the layout:
- Separate people and trucks: marked walkways, guarded crossings and barriers where foot traffic meets truck routes.
- Protect the rack: column protectors and end-of-aisle guards where trucks turn, and row spacers on back-to-back rows.
- Keep exits clear: OSHA’s exit route rules in 29 CFR 1910.37 require exit routes to stay unobstructed.
- Fire extinguishers and panels: keep them visible, reachable and out of rack rows.
- Lighting: place fixtures over aisles, not over rack tops, so light reaches labels and lower levels.
- Load signs: post rated capacities on each rack run so loads stay within the design.

Step 9: Implement in Phases and Measure Results
Once the plan is approved, turn it into a schedule. Most re-layouts happen while the building keeps shipping, so phase the work.
- Finalize the drawing: rack elevations, aisle widths, beam levels and anchor locations, approved by your team and the permit office.
- Set phases: pick an area to clear first, often overflow or slow movers, and plan where that stock goes during the work.
- Mark the floor: chalk or paint frame locations and check them against columns, joints and sprinkler lines before anchoring.
- Install and inspect: install each phase, check plumb, anchors and beam locks, and post load signs.
- Move stock and re-slot: move product into the new locations using your velocity ranking, then repeat for the next phase.
- Measure: track travel time, pick rate, order accuracy, dock-to-stock time and space use, and compare them with your numbers before the change.

Review the layout again after a few months. Velocity shifts, new SKUs arrive and staging needs change. Small re-slotting moves keep a good layout working. For rack-specific layout detail, read how to design a pallet rack layout.
Common Warehouse Layout Mistakes
These mistakes show up again and again. Each one is easy to avoid in the plan.
- Planning for today only. The building fills up and the layout has no room for growth.
- Measuring to the roof instead of the lowest obstruction. The top beam ends up too close to sprinklers, lights or heaters.
- Sizing aisles for the wrong truck. A new truck or a longer pallet no longer fits the aisle.
- Mixing people and truck traffic. Walkways cross busy truck routes with no marking or barriers.
- Random slotting. Fast movers end up far from shipping and pickers walk more than they need to.
- Too little staging. Receiving and shipping spill into aisles on busy days.
- Skipping code review. The permit or fire review forces changes after the rack is ordered.
- Forgetting utilities. Power, data, charging areas and lighting get planned last and end up in the wrong spot.
If you want help catching these early, our team handles full warehouse design solutions, from the first floor plan through installation.
Frequently Asked Questions
What is warehouse planning?
Warehouse planning is the work you do before you buy or move anything. You gather inventory, order and equipment data, confirm what the building allows, choose a flow pattern, lay out zones and aisles, pick storage systems, and clear permits. The output is a scaled drawing and a phased install plan.
What is the first step in designing a warehouse layout?
Start with data, not drawings. List your SKUs, pallet and carton sizes, weights, daily inbound and outbound volume, and the lift trucks you use. Then measure the building: clear height, column spacing, doors, docks, slab and sprinkler type. The layout comes after both are known.
What is the most efficient warehouse layout?
There is no single best layout. A U-shaped flow suits buildings with docks on one wall and smaller volumes. An I-shaped or through flow suits high volume with docks on opposite walls. An L-shaped flow works when docks sit on two adjacent walls. Pick the one that matches your docks and order volume.
How wide should warehouse aisles be?
Aisle width depends on the lift truck. Counterbalance trucks need the widest aisles, reach trucks need less, and turret or very narrow aisle trucks need the least. Use the right-angle stacking figure from your truck's spec sheet with your pallet size, then add clearance. Our forklift aisle width guide walks through the math.
Do I need a permit to install pallet rack?
Often, yes. Many cities and counties require a building permit for storage rack over a set height, and high-piled storage can also need a fire permit. Rules vary by jurisdiction and seismic zone, so check with your local building and fire departments before you order. We can help with the drawings and calculations they ask for.
How do I plan for future growth in a warehouse layout?
Plan for more SKUs, more volume and new equipment, not just today. Leave expansion room at the end of rack rows, choose rack that can take added beam levels, keep main aisles and dock approaches clear of storage, and reserve space near docks for added staging.
Can I redesign my warehouse layout without shutting down?
Usually. Most redesigns run in phases. You clear and rebuild one area while the rest of the building keeps working, then move stock into the new area and repeat. A written phase plan that lists which locations move each week keeps orders flowing.
Does Material Handling USA help with warehouse design?
Yes. Our team reviews your floor plan and data, drafts layout options, and supplies and installs pallet rack, shelving, mezzanines, security cages and modular offices. Call (800) 326-4403 or request a quote to get started.
Related Guides and Planning Tools
- Warehouse design and layout services: our team drafts and installs the plan.
- Warehouse design and layout solutions: how we approach new buildings and re-layouts.
- Free design tools: rack, shelving, cage, mezzanine and modular office planners.
- Rack Designer: lay out pallet rack runs and get a parts list.
- How to design a pallet rack layout
- Forklift aisle width guide
Get Help With Your Warehouse Plan
Material Handling USA designs, supplies and installs warehouse storage across the country, and we are an authorized Interlake Mecalux distributor. Send us your floor plan, your inventory list and a few photos, and we will help you turn them into a layout that fits your building, your trucks and your local codes. Call (800) 326-4403 or request a free quote.